To The Finish Line!
There were quite a few projects waiting in the shop for completion, so the accessories department was asked to take them on.
The first on the list was Adelaide's wig stand. How the basic stand was constructed is described in a previous post.Though usable, the styrofoam 'head' needed some strengthening. Eventually, all the pinning and hair pulling will take its toll.
It was determined that tissue paper and white glue would do the job.
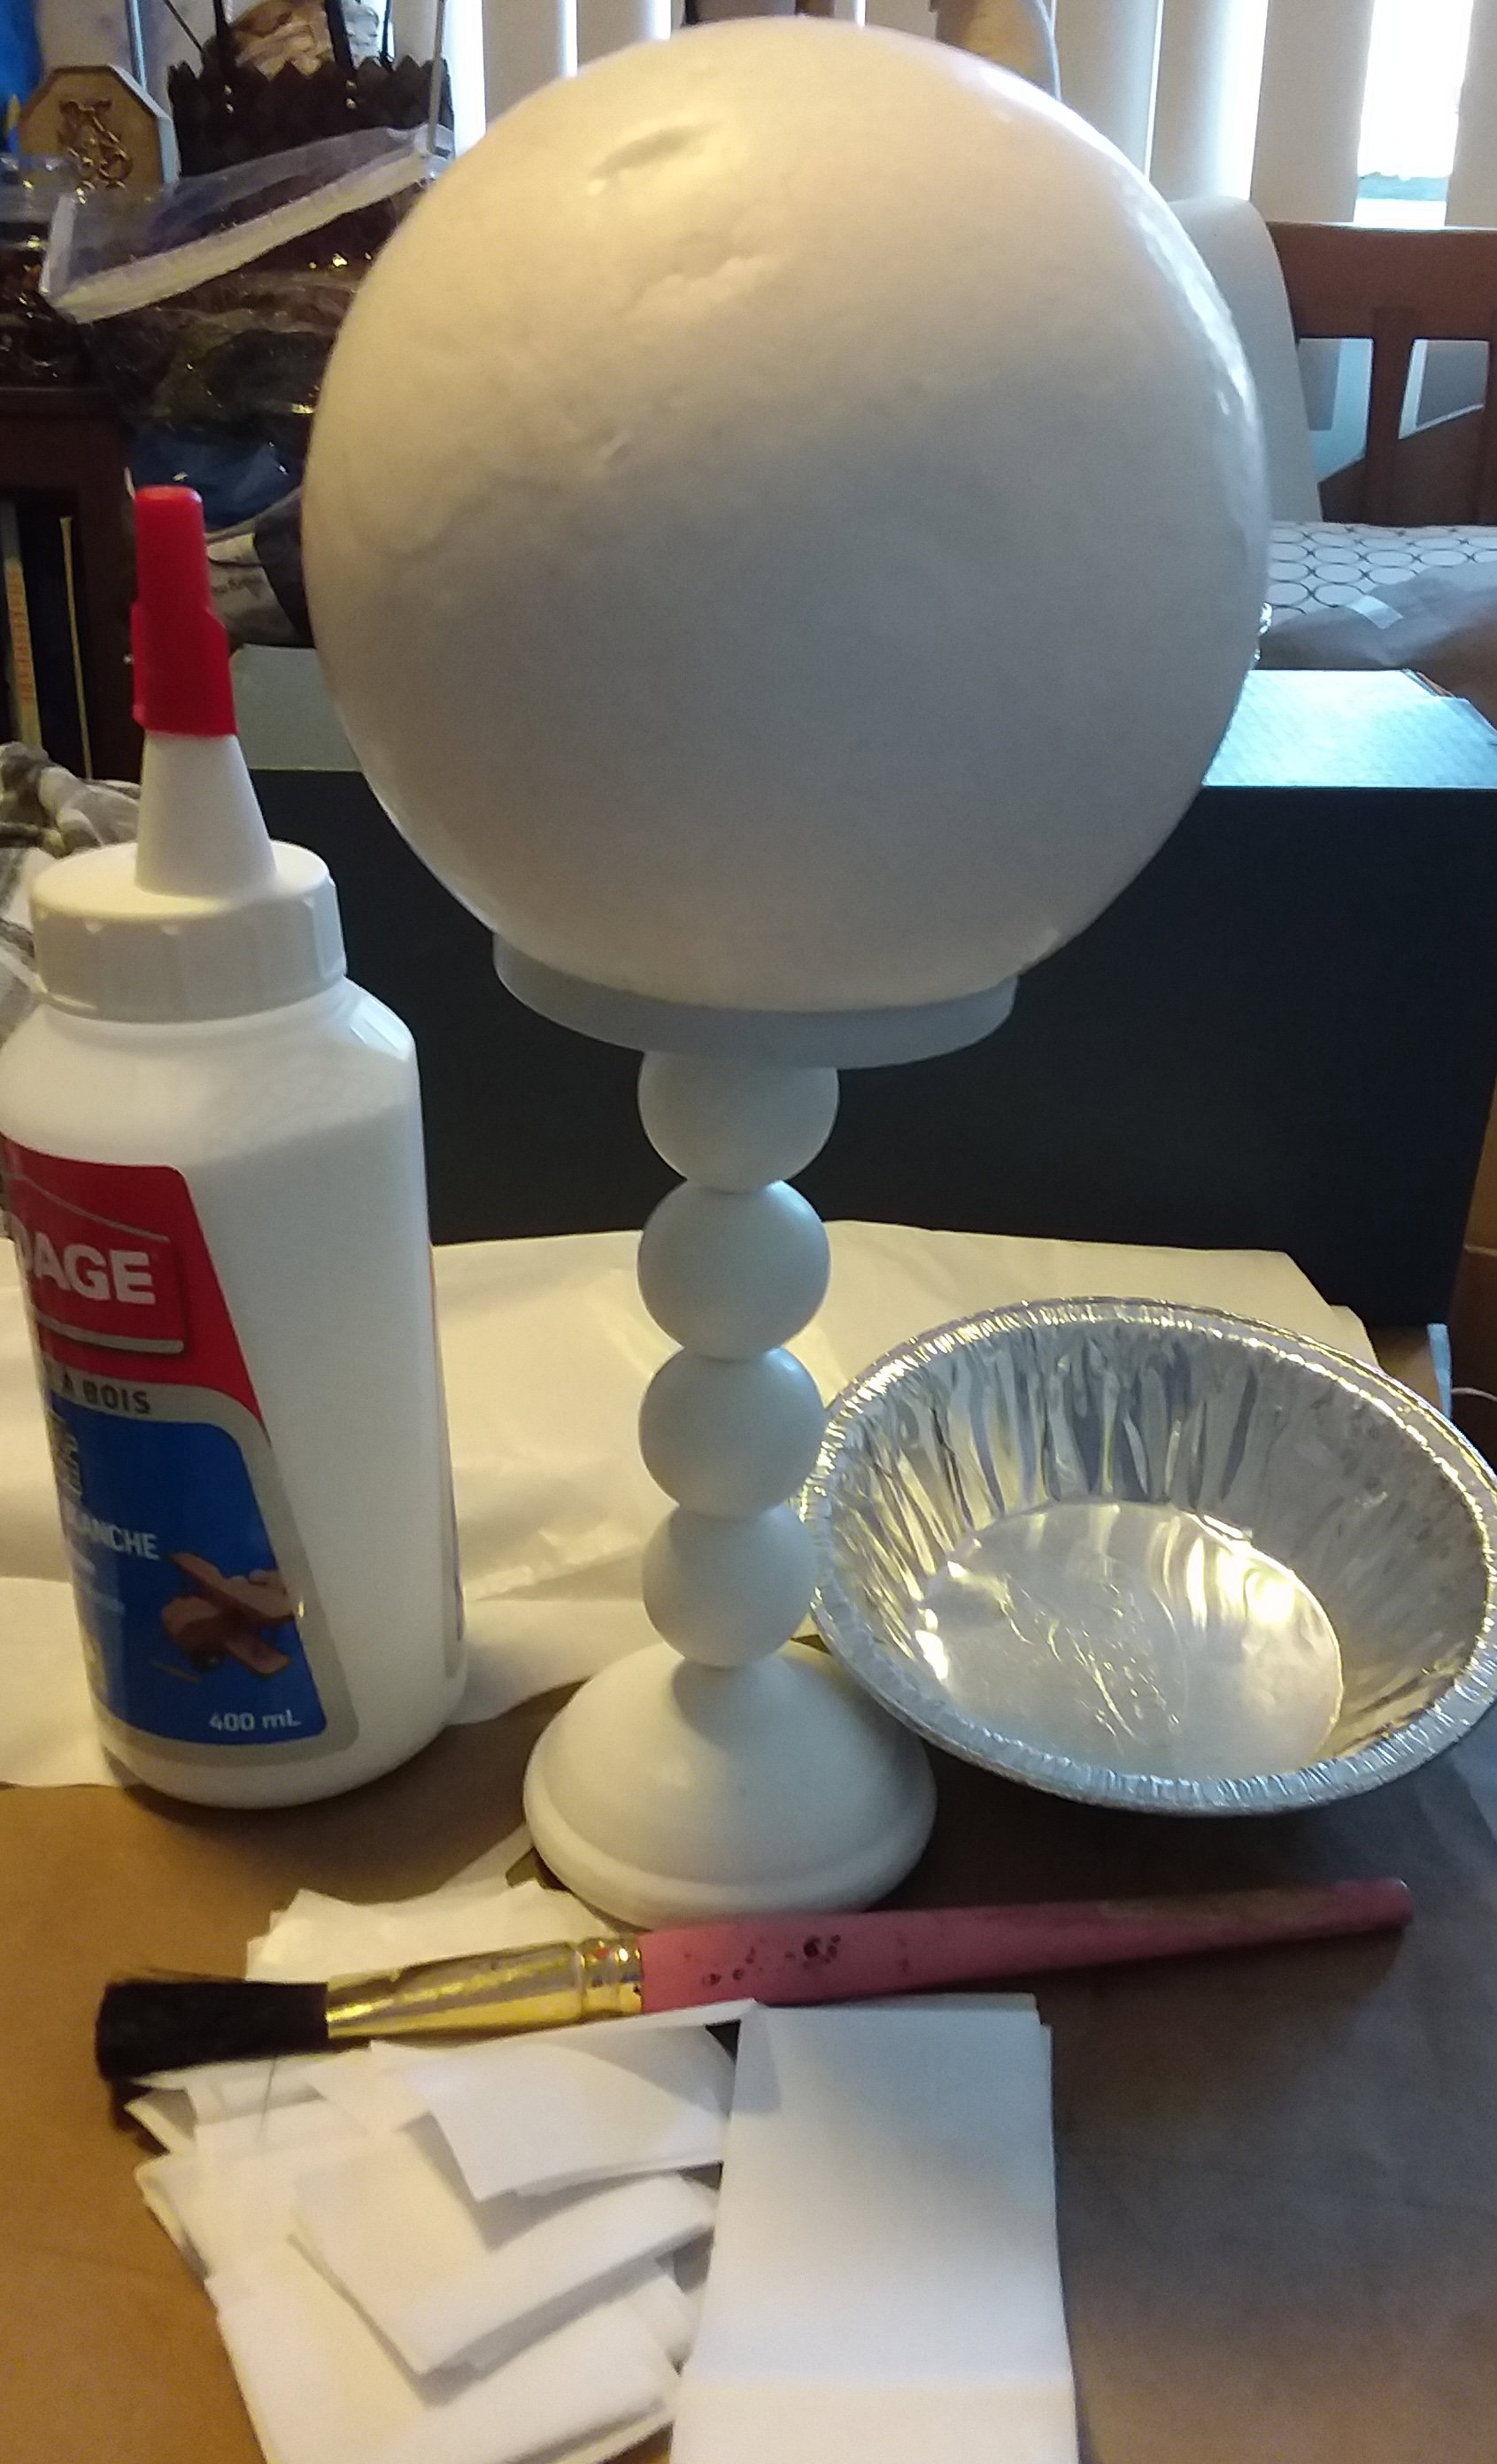
As usual, lessons were learned. Smaller squares of tissue might have prevented any 'texture' (ie. lumps, folds and tears).
Also, white on white made it difficult to see where one square started and another ended. Maybe cream or pink next time?
Apply masking tape around the lip of the candle holder to keep it free of glue. The accessorist started applying the tissue paper at the bottom of the ball and worked her way up.
The glue was applied straight from the bottle, with a layer beneath each square and then on top to smooth it out. The glue set up quickly and left little room for error. It gummed up the brush just as quickly and so required frequent cleaning. Use a disposable brush rather than something dear to your heart.
It was decided not to add a second layer of tissue. Any dings or sratches on the styrofoam filled in nicely.
Here is the finished stand:
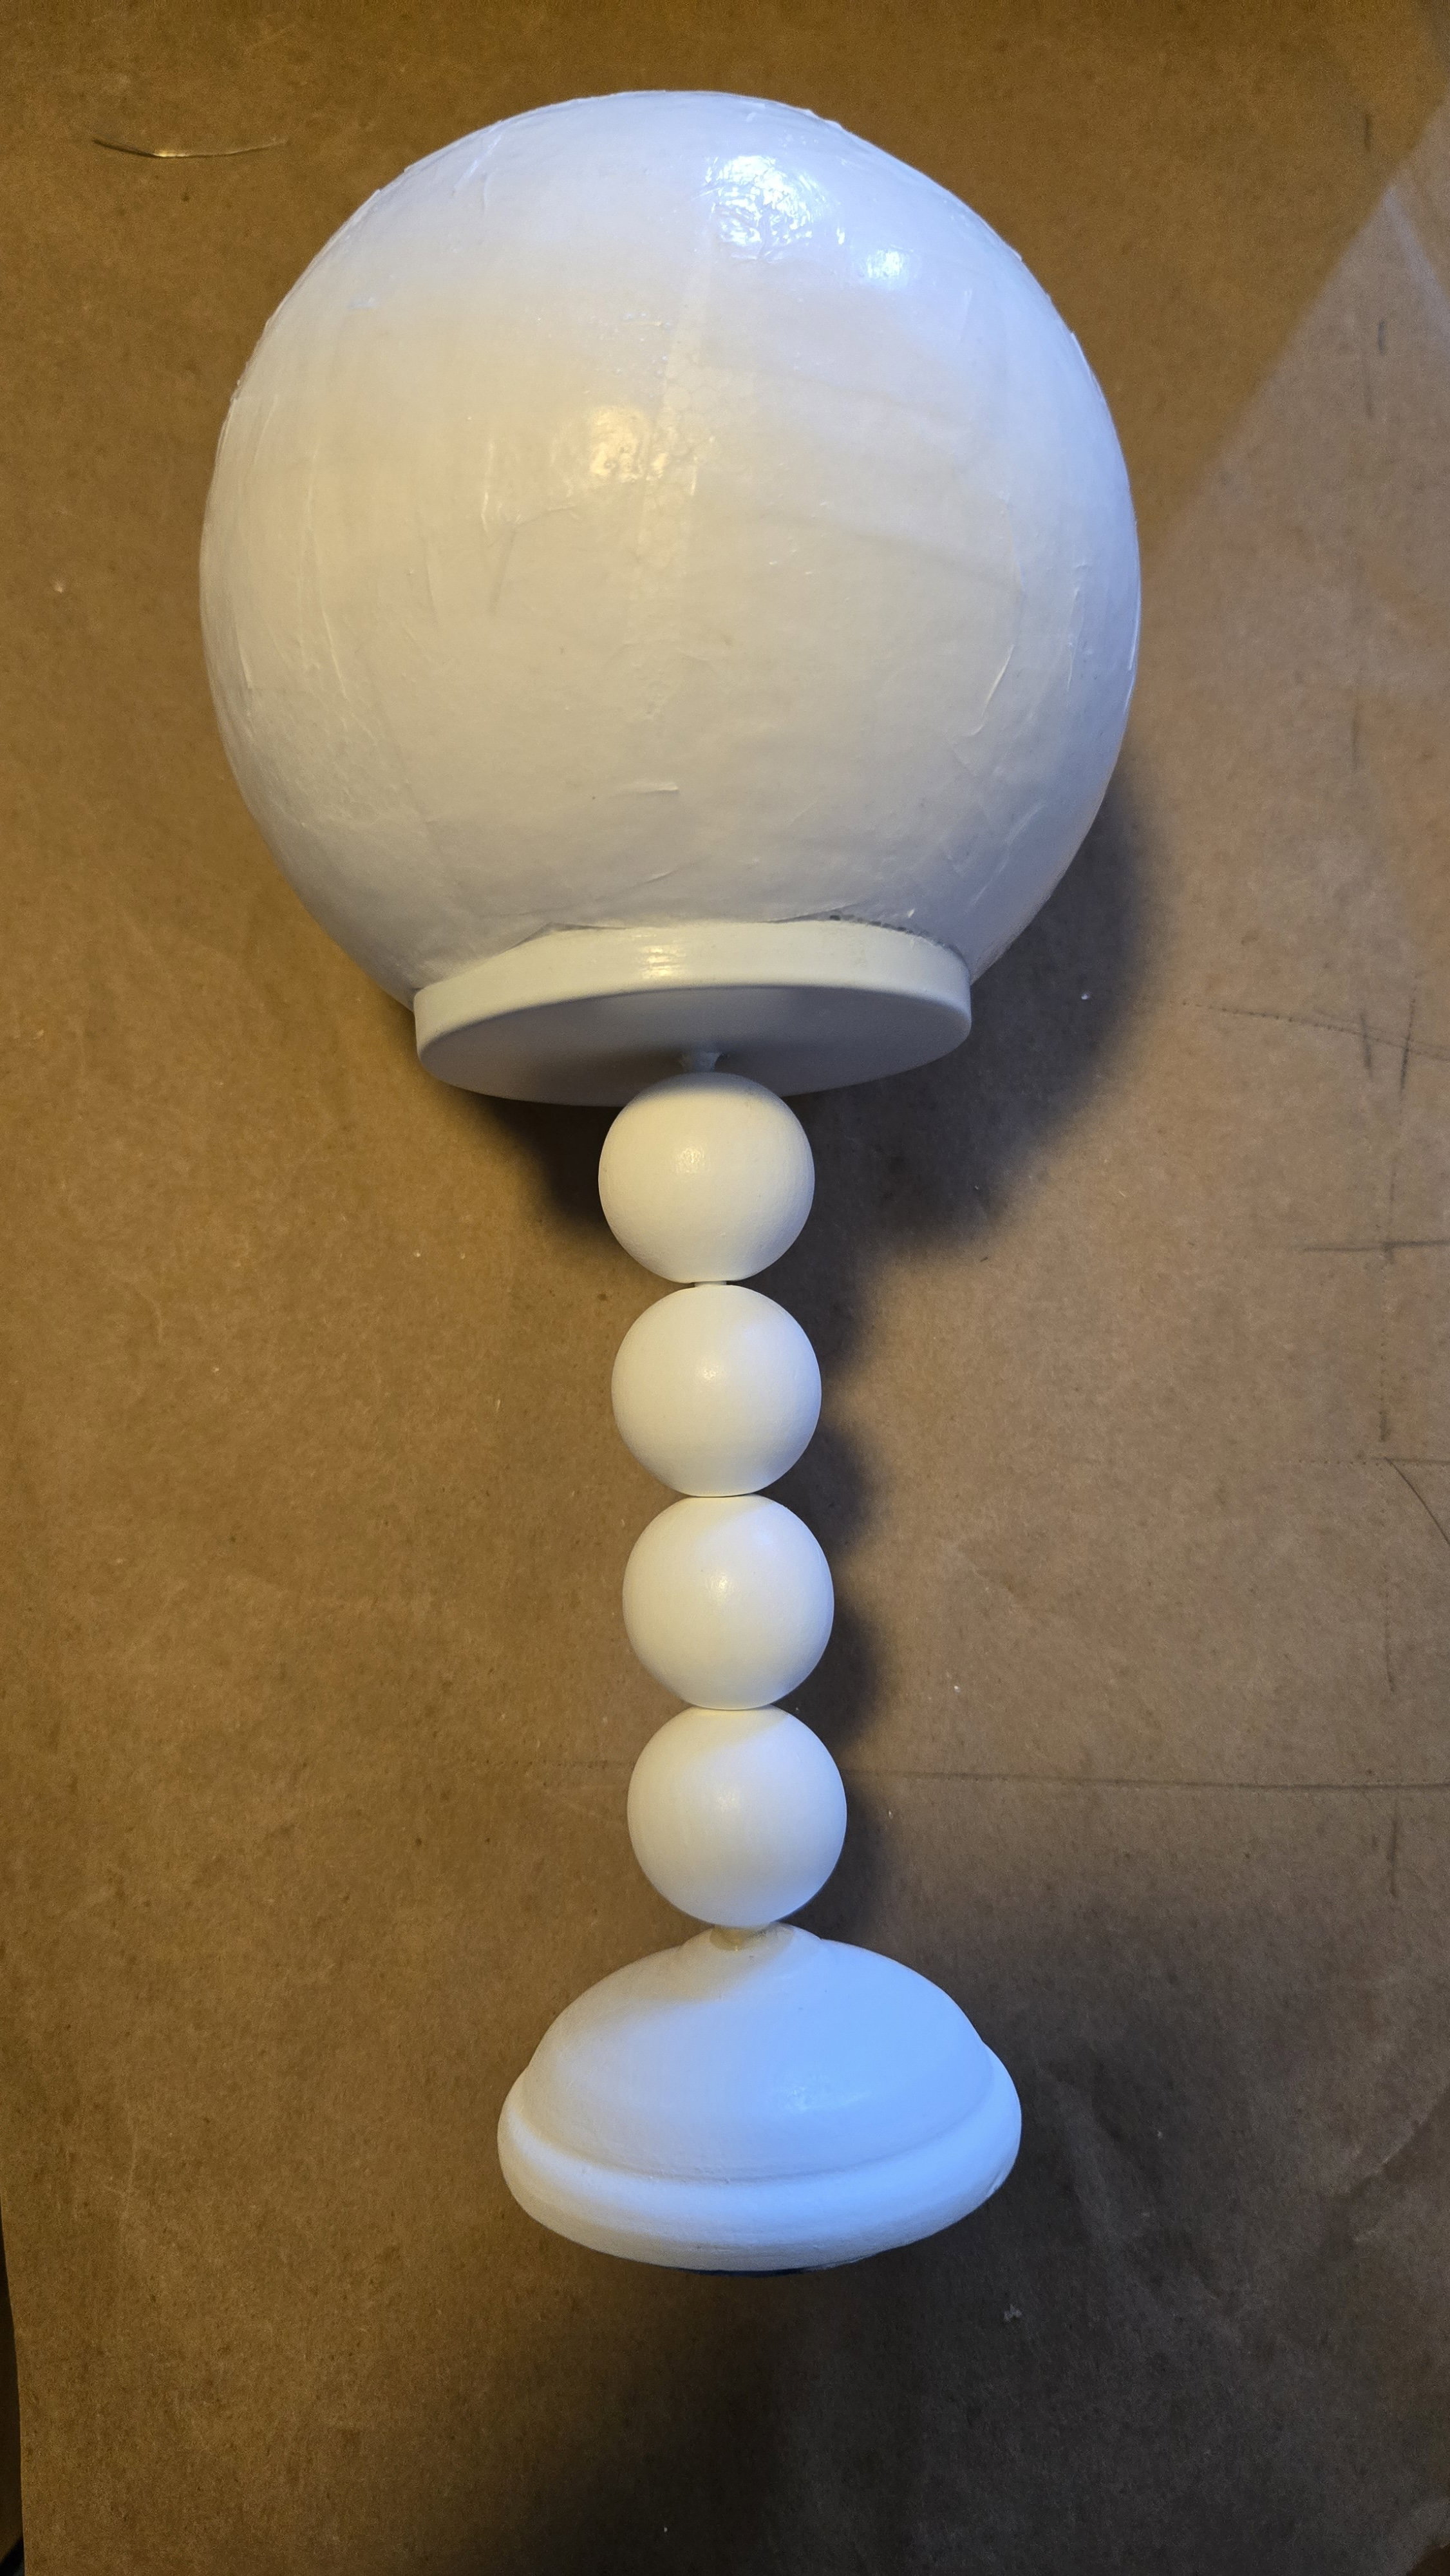
The stand sits firmly on it's own, but it is top heavy with the wig pinned in place. Three large metal washers were super glued together and then glued to the bottom of the stand.
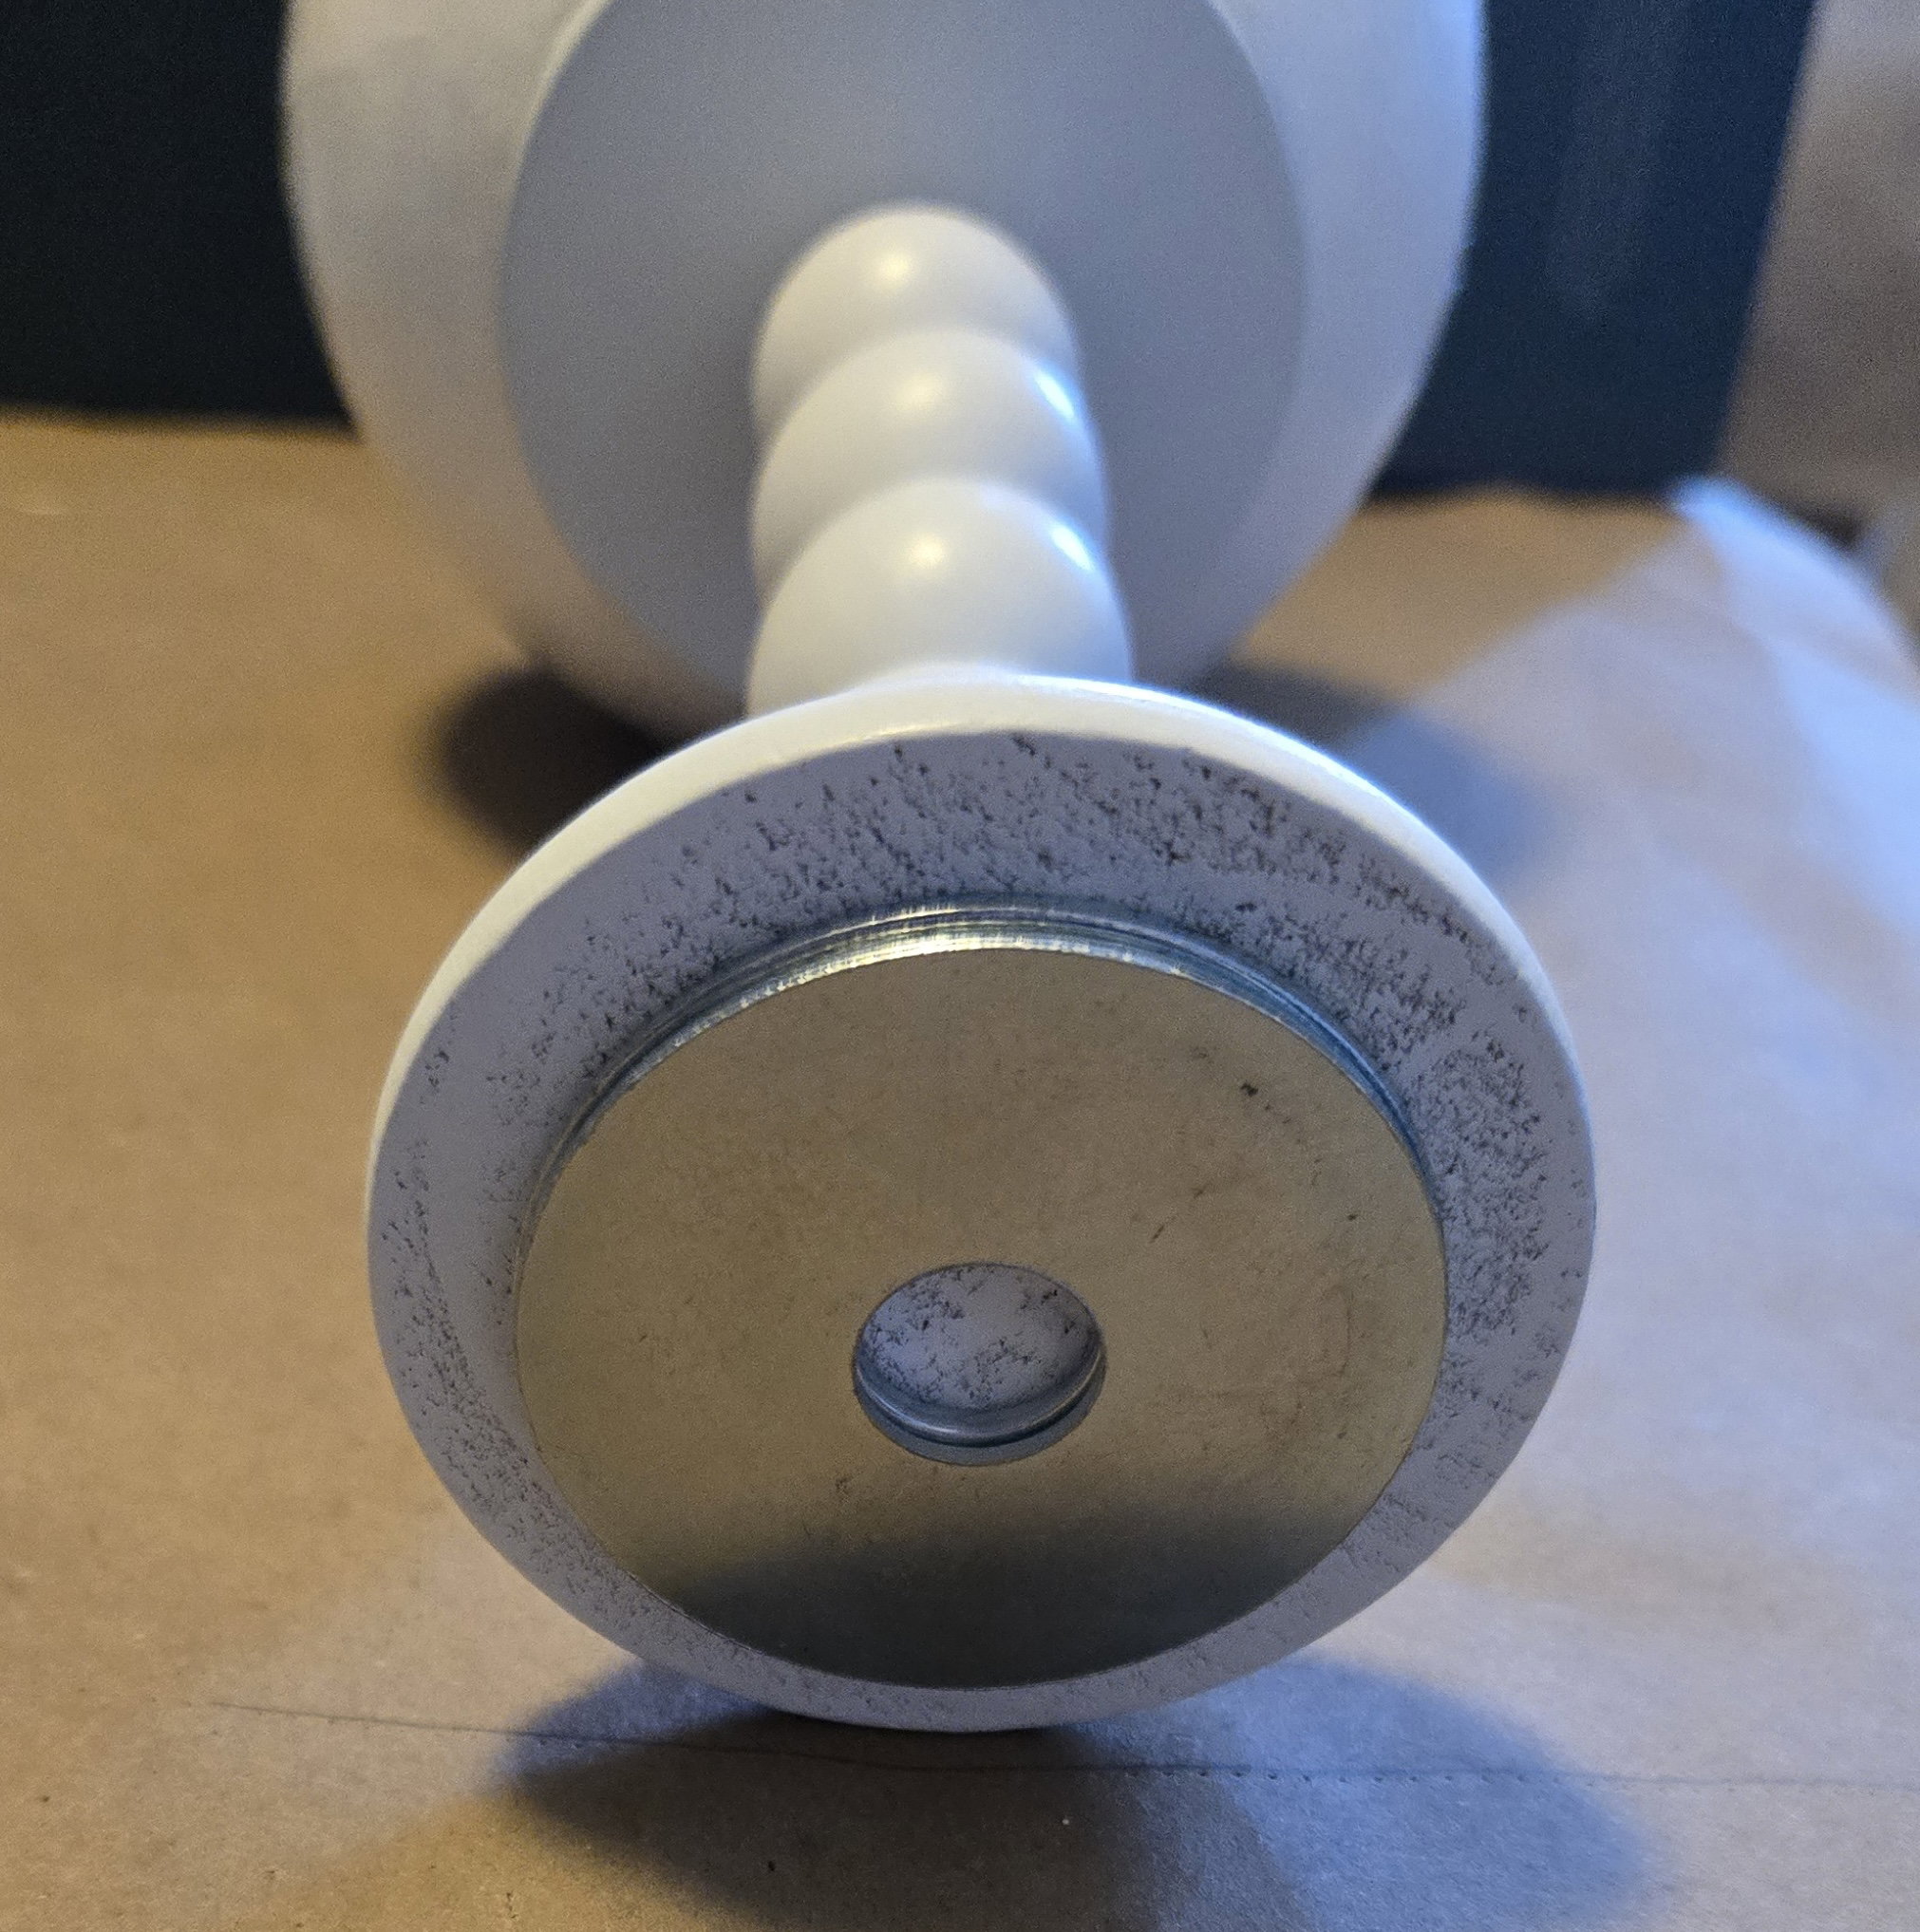
So far it works well.
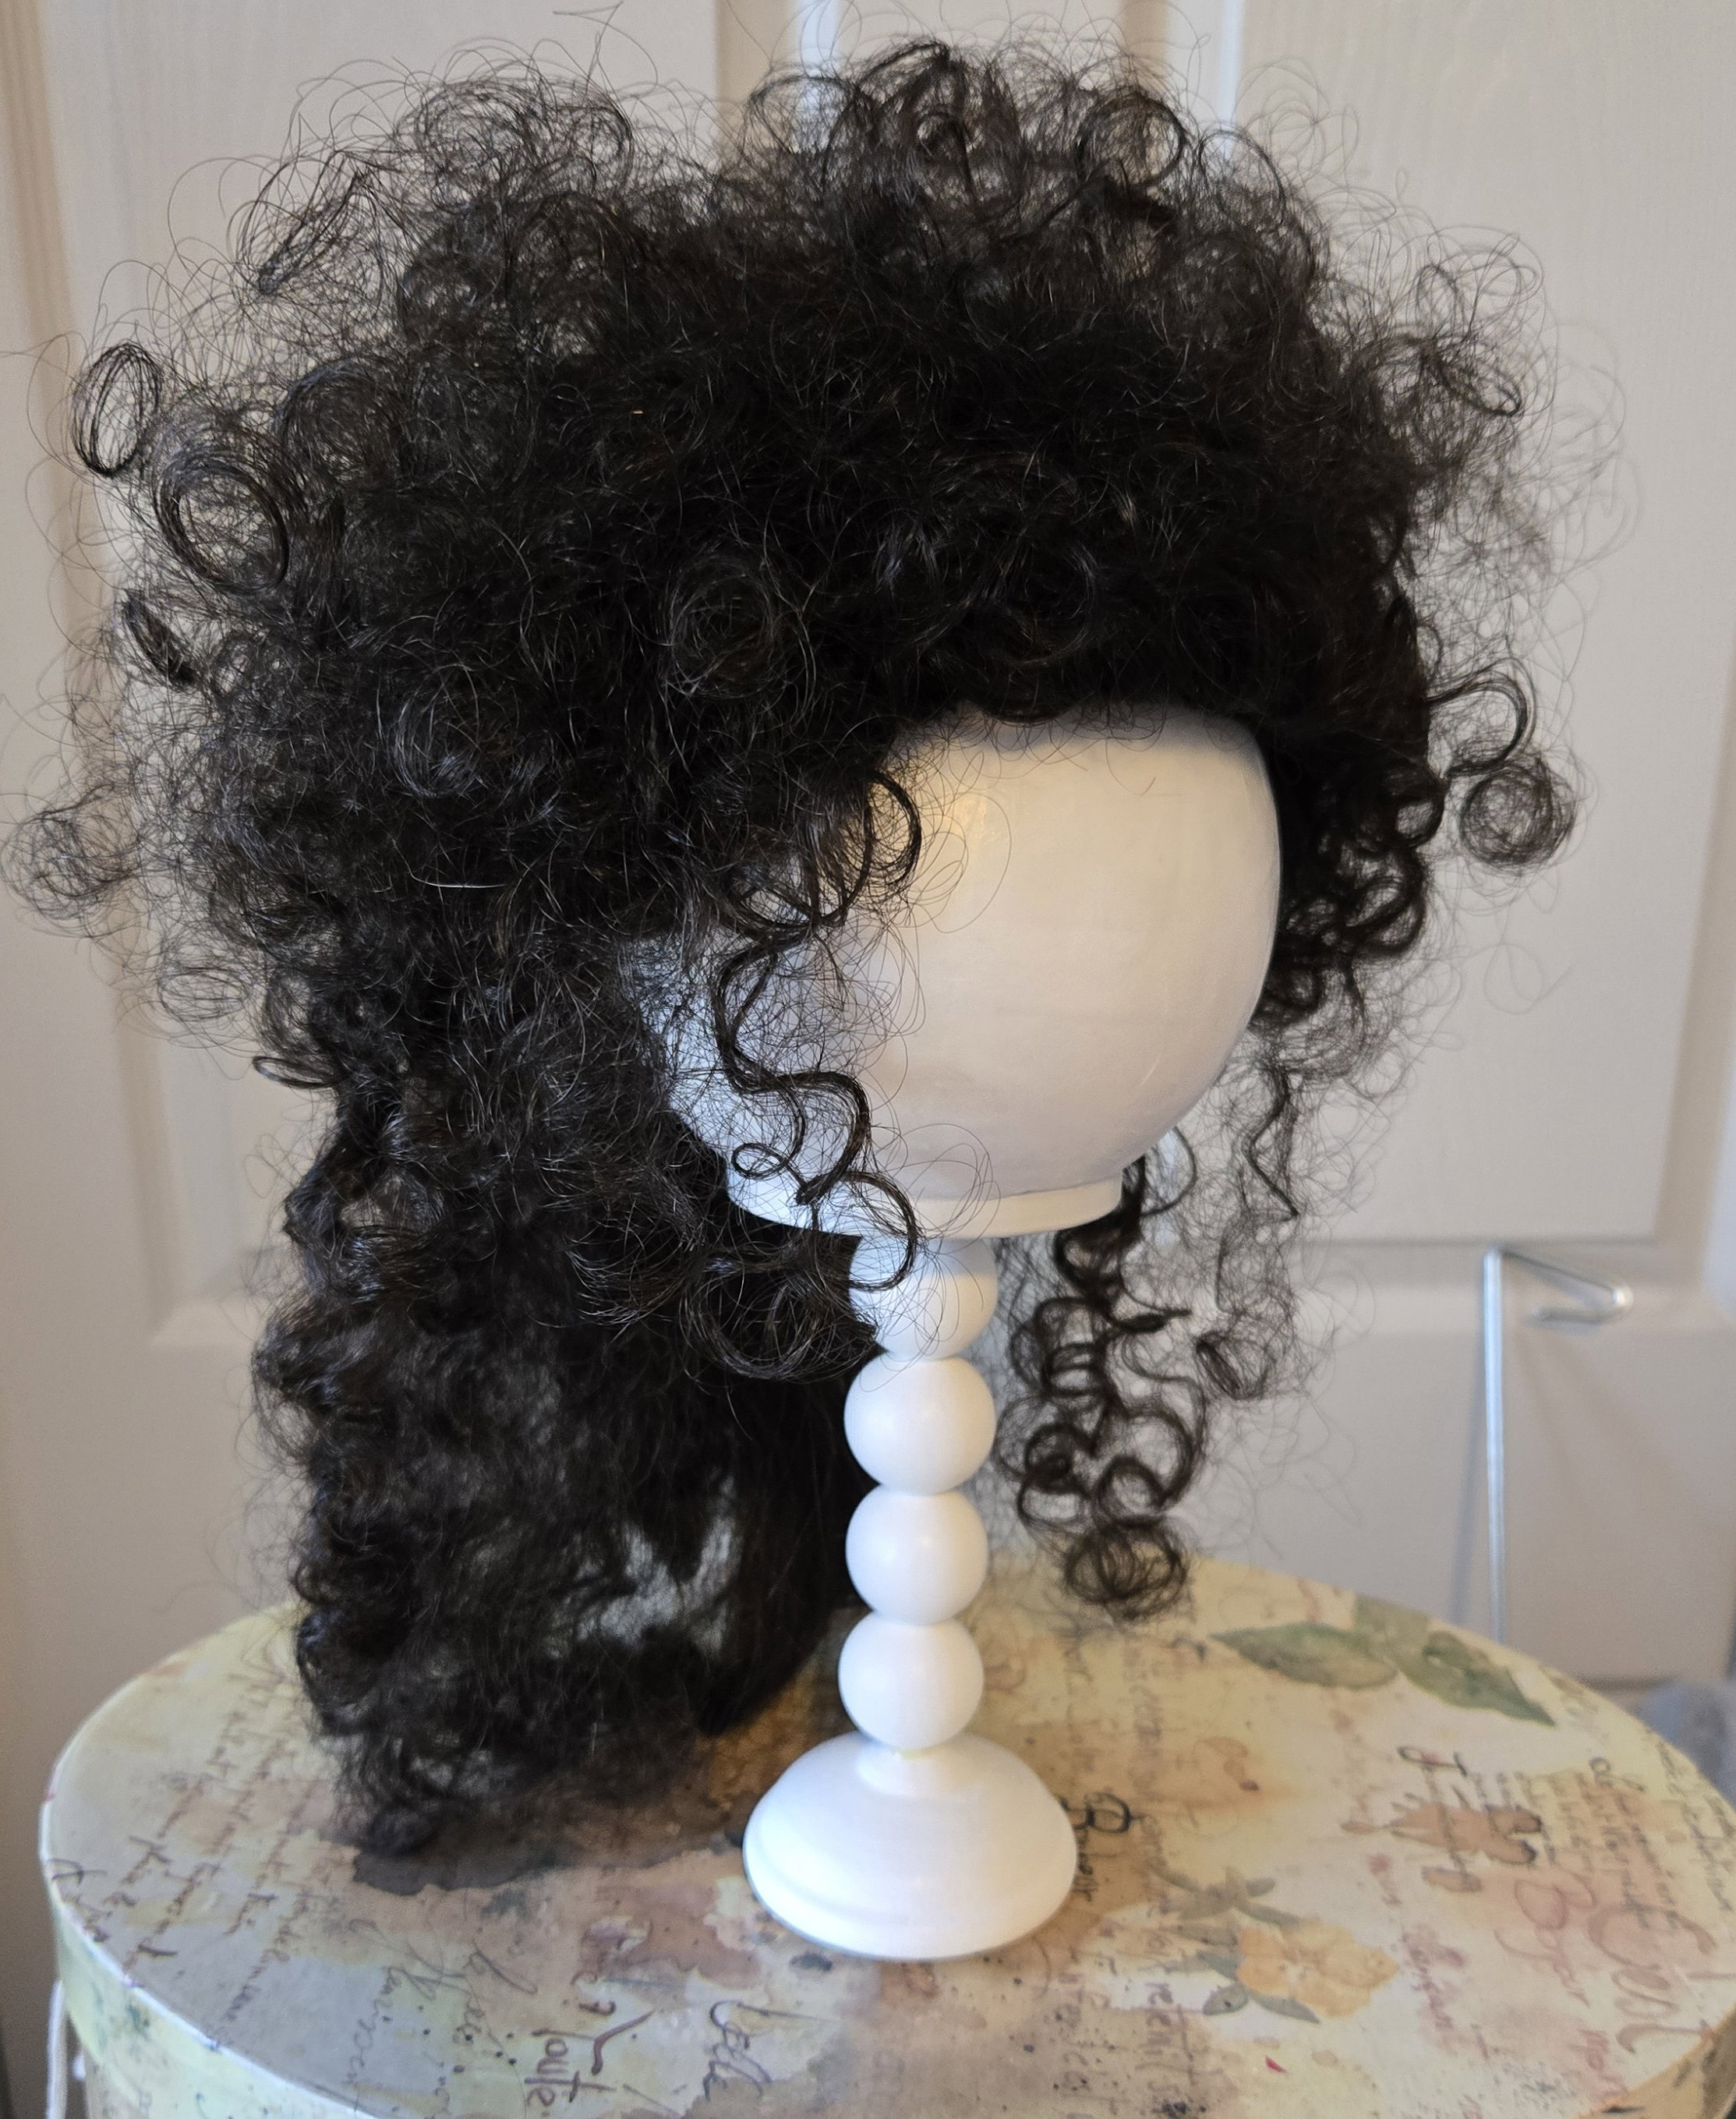
Up next in the list of projects was the dish soap container jewelry stand.
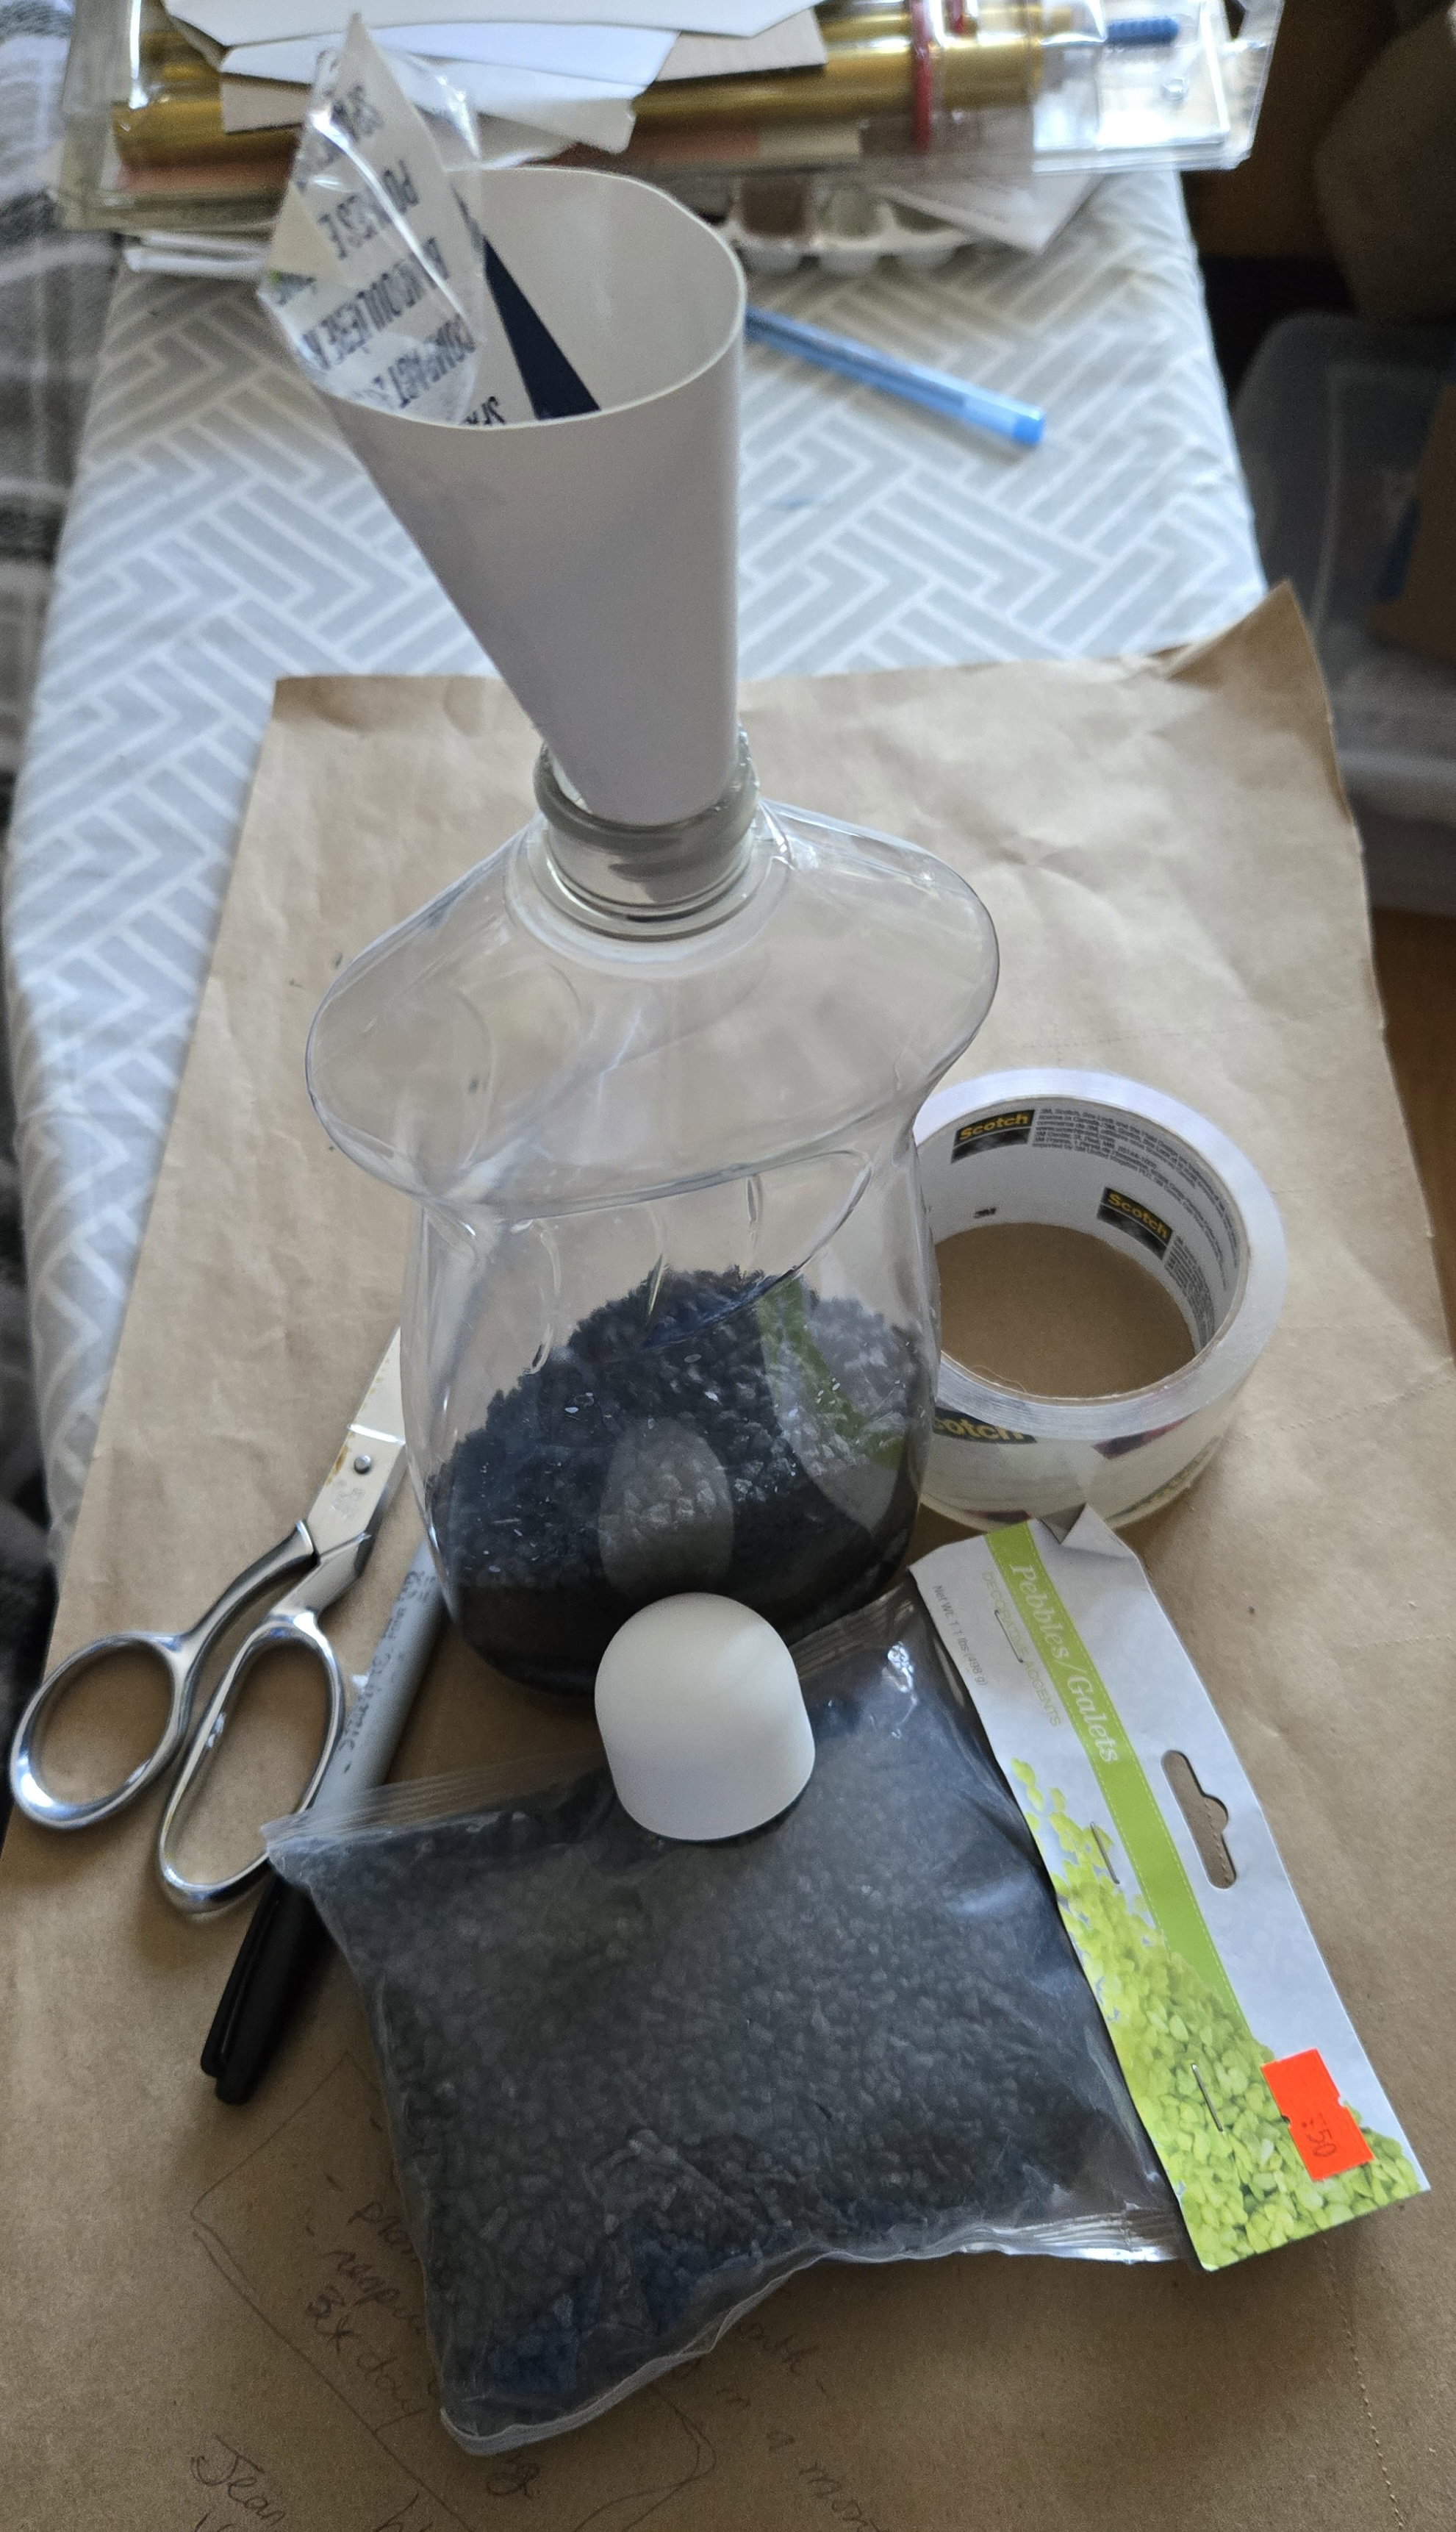
Made of light plastic, this bottle would certainly not sit as firmly as the wig stand. The shop had been waiting patiently for the Buyer to find something not only to give it weight, but have it look good too. During her search for new thrifting territory, didn't she go and find three bags of decor pebbles. What they are used for we don't know, but they do the job and then some.
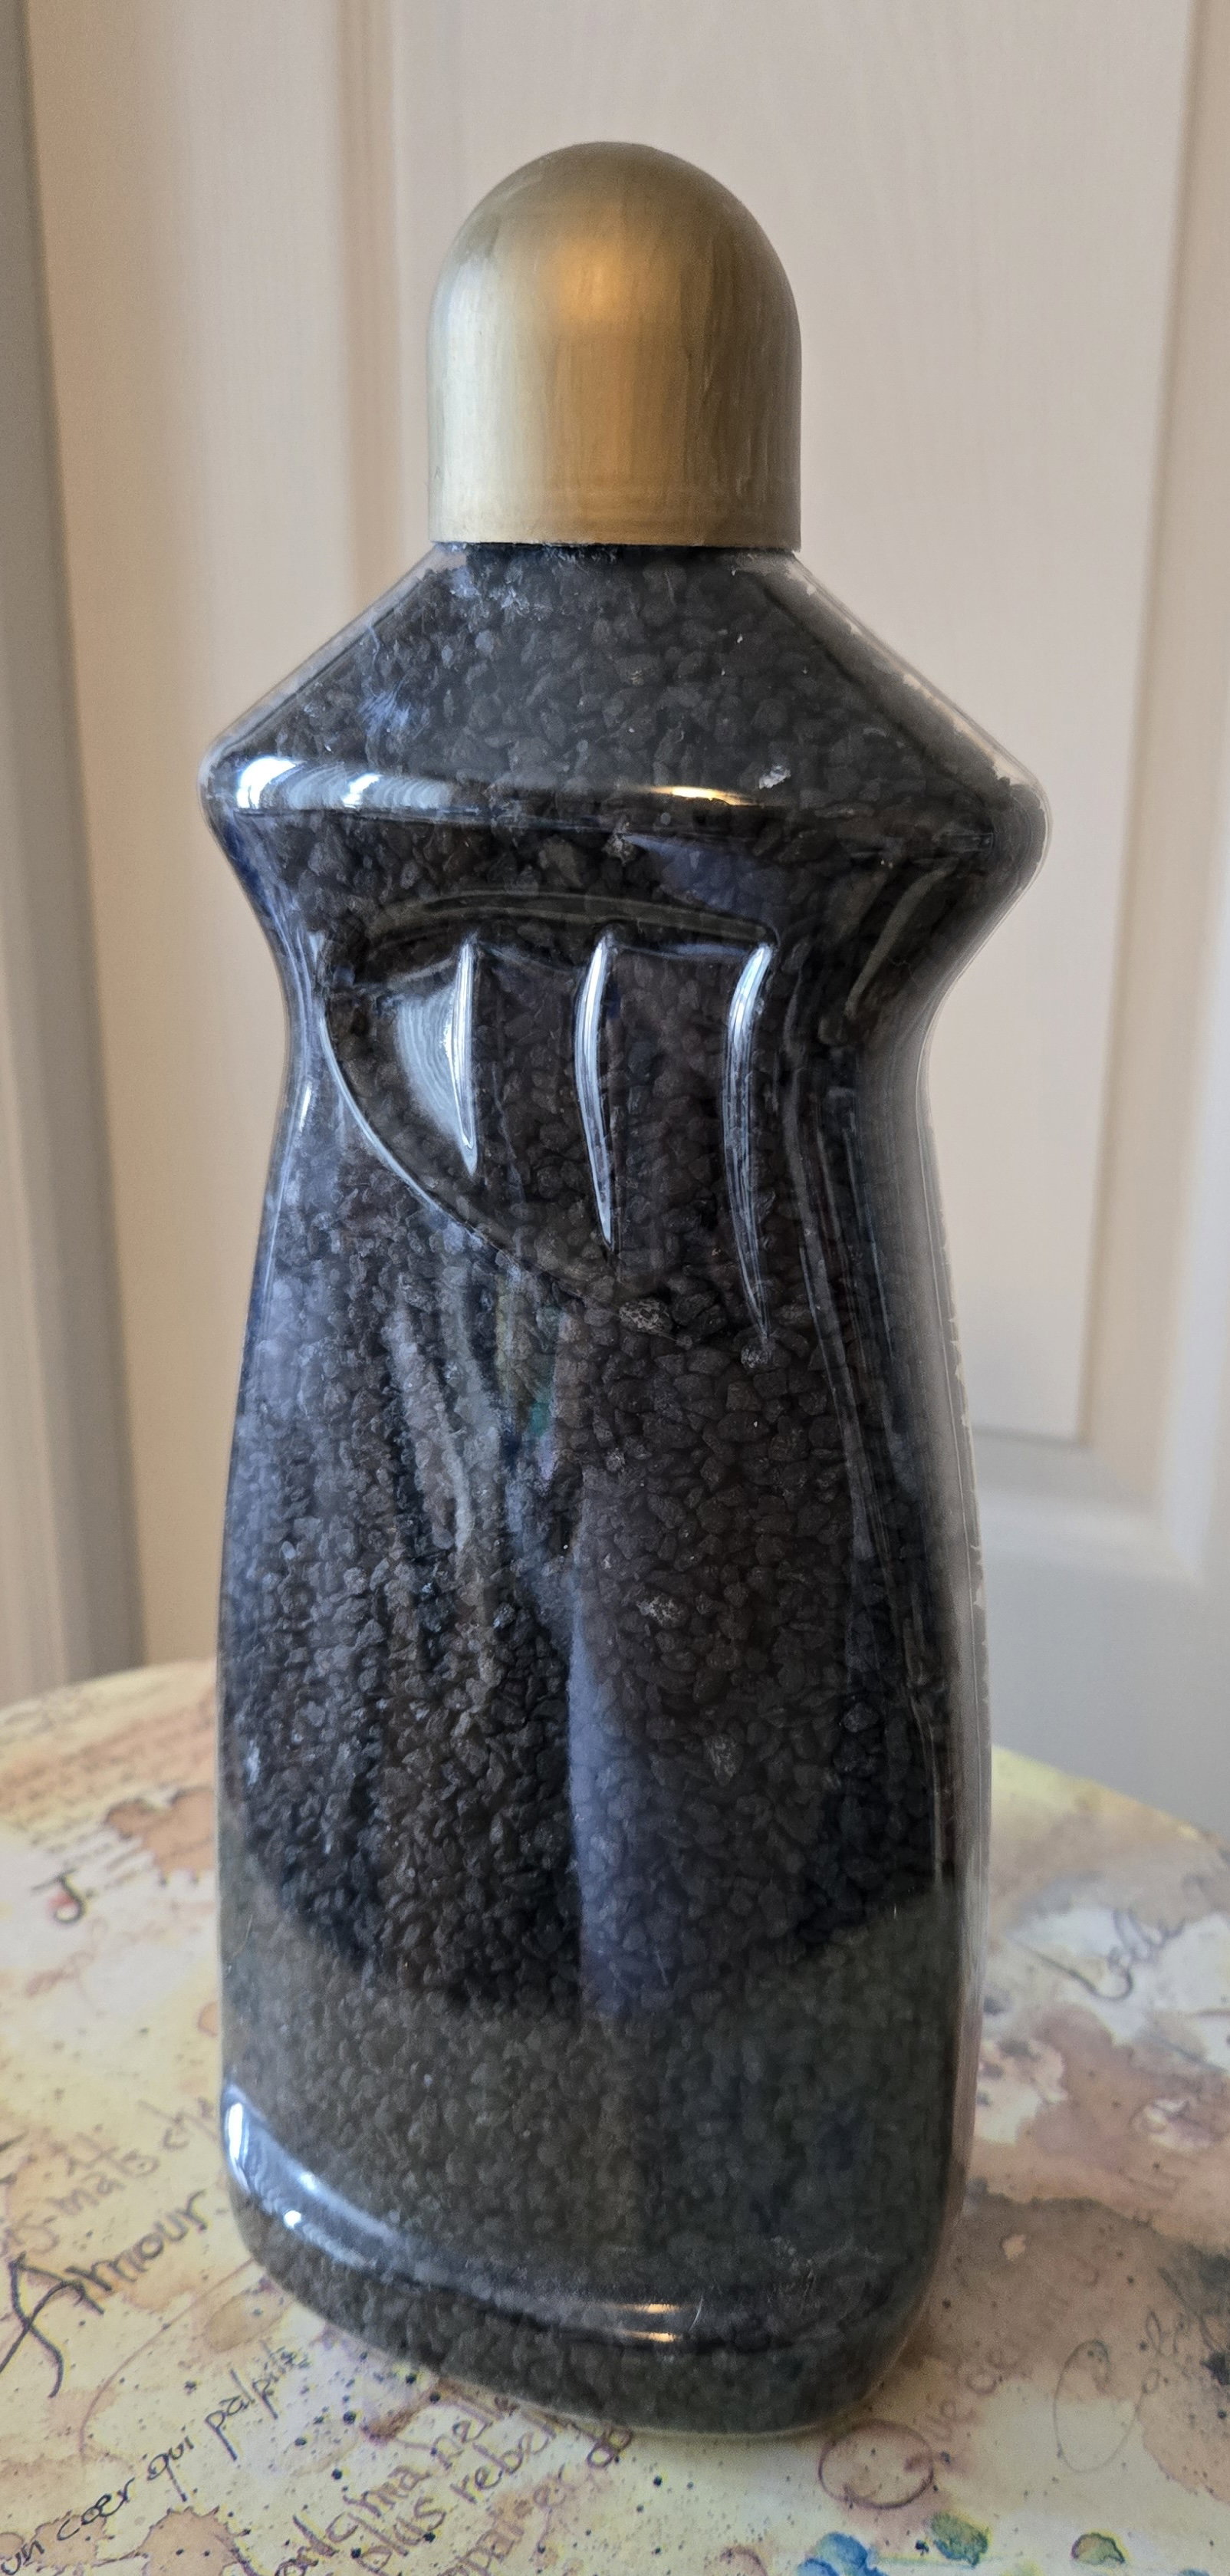
Each bag weighed 1.1 pounds. And it took almost all three bags to fill the container! It is NOT going to fall over.
Lesson learned here? Let the pebbles settle before closing off the bottle. Good thing the 'neck' had not been glued with super glue.
The 'neck' is the lid from a deodorant bottle. It took the gold metallic Sharpie well, without being sticky or rubbing off. It took a bit of time to dry though.
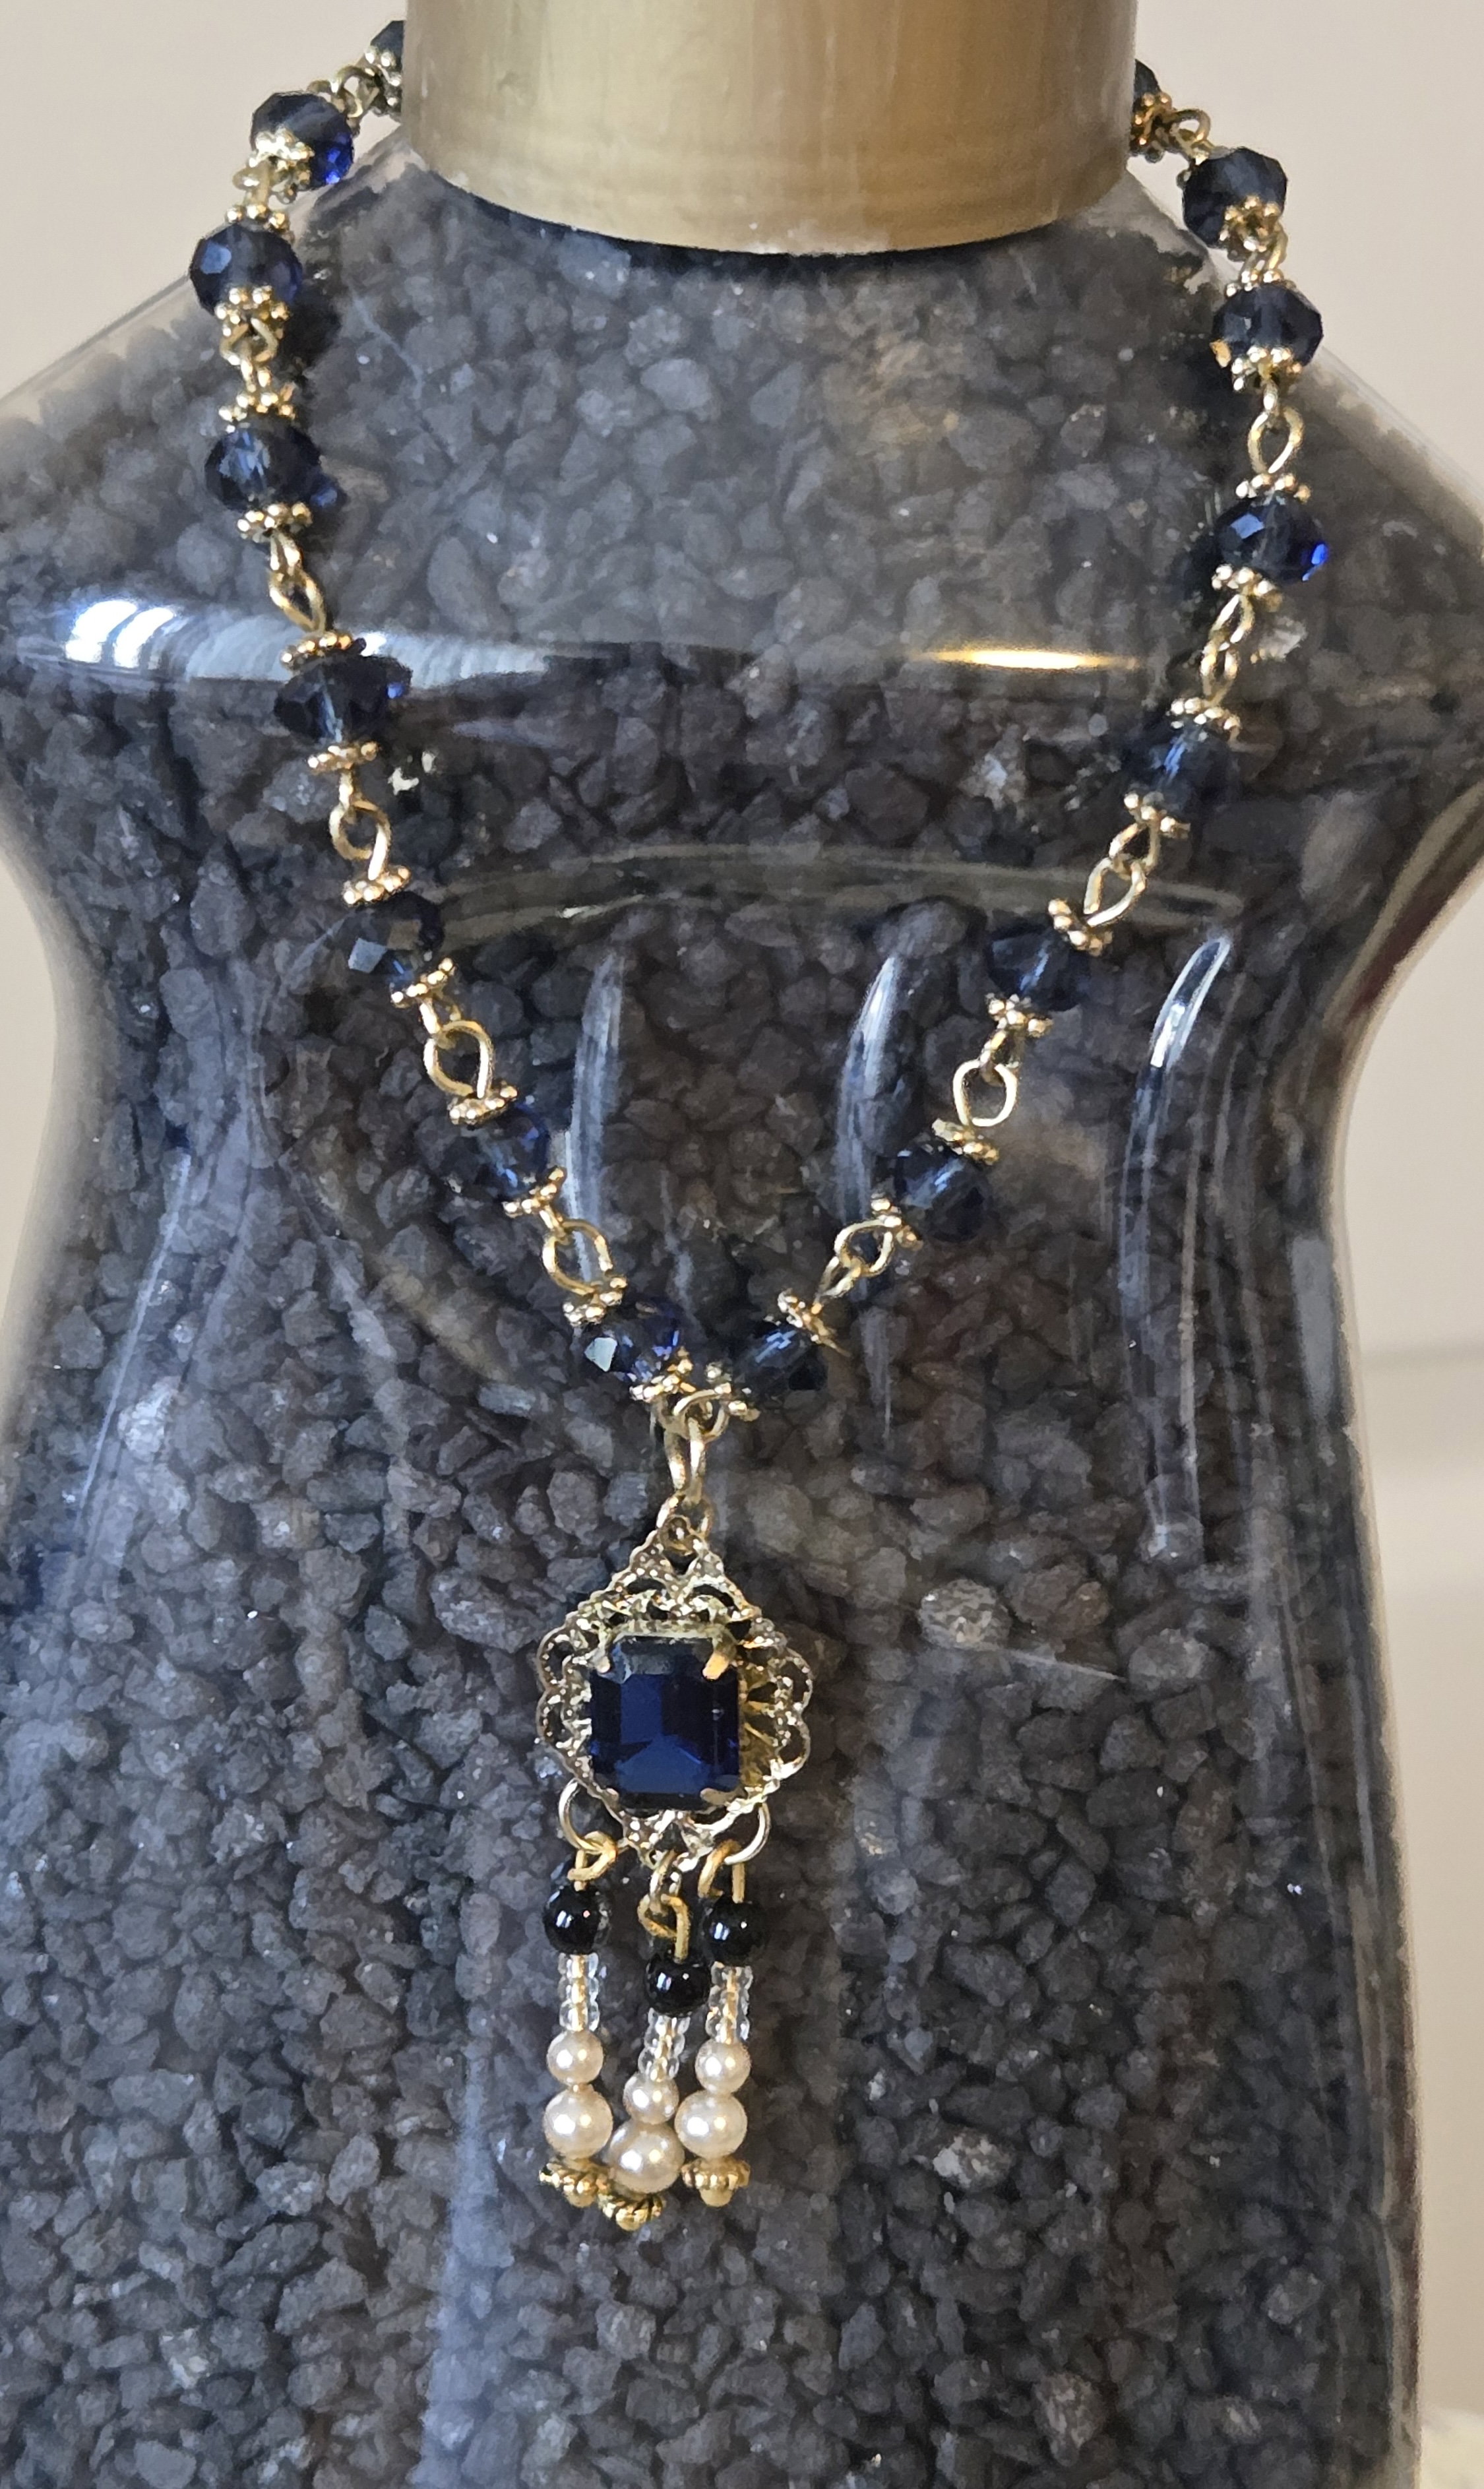
Here it is the new stand showing off one of Addy's best jewelry pieces.
The accessorist handed off the next project to the hairstylist.
You may recall a blog post on an earlier style of wig for Adelaide. There was still some work to do with tacking the wefts in place and adding an invisible hair net to keep the chignon tidy.
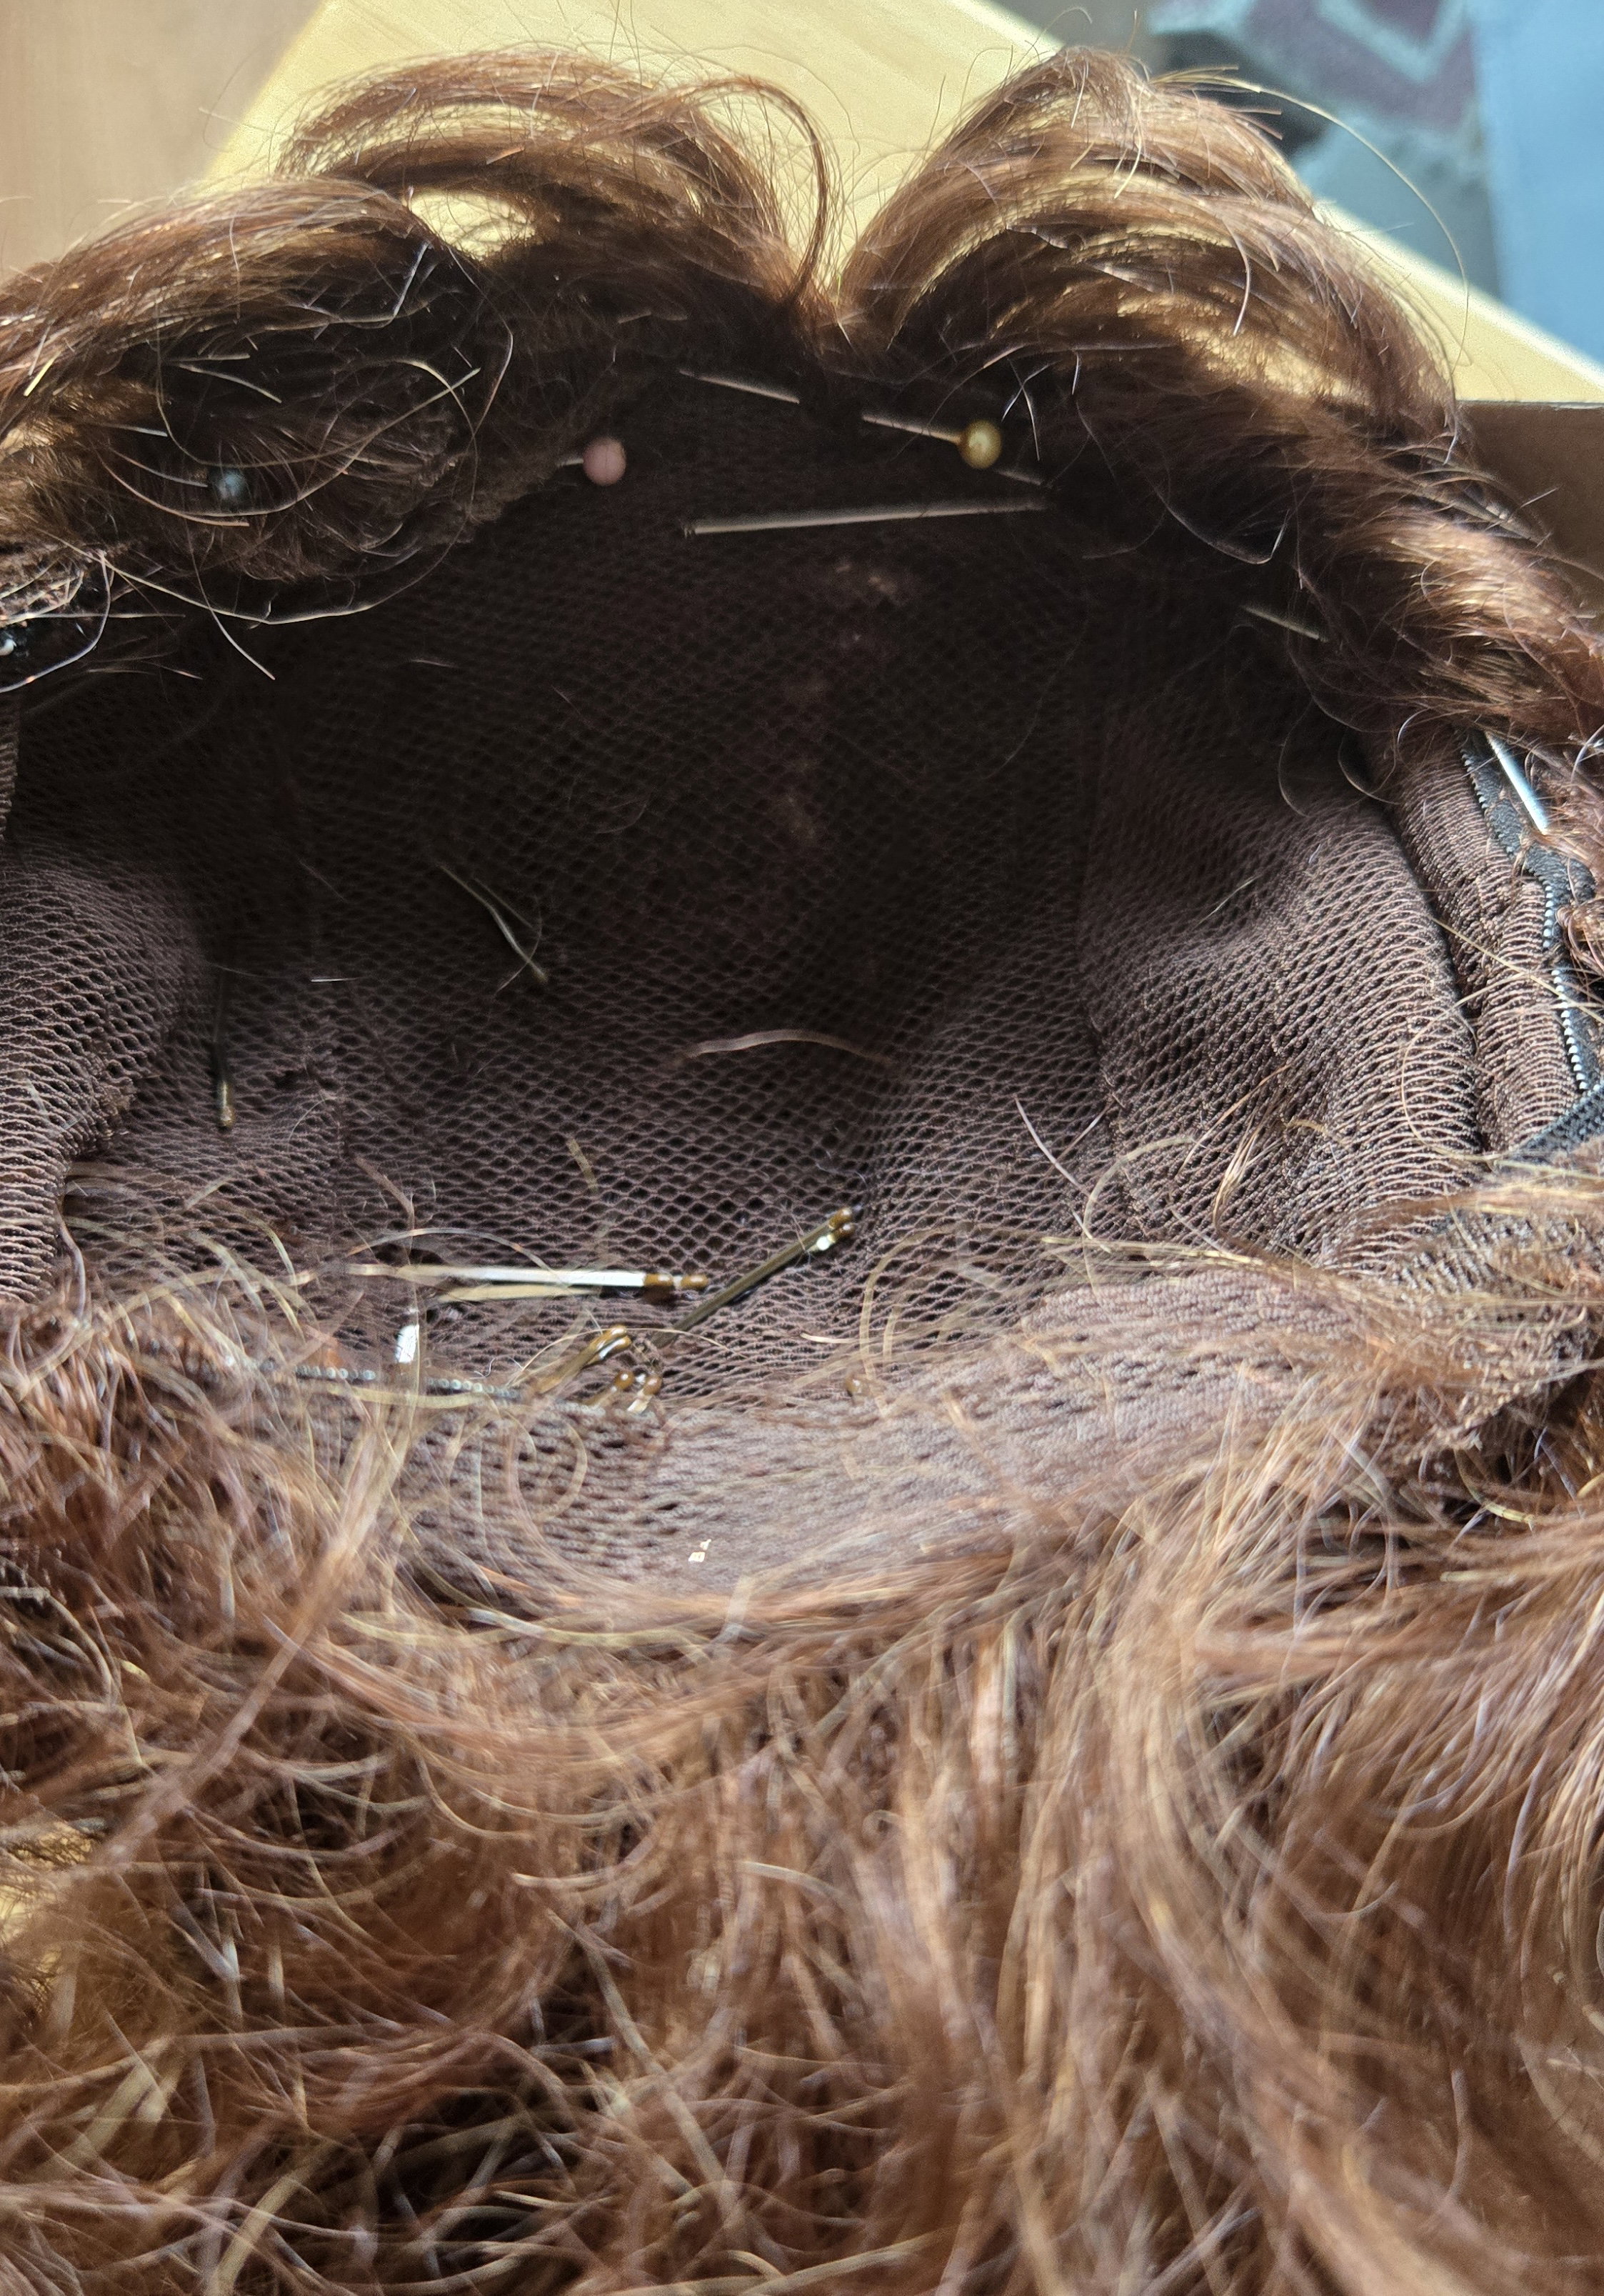
The hairstylist left the original hair net on the wig to keep things tidy while working. She used a matching thread to whipstitch the wefts in place, making sure that the elastic and wig cap would still stretch.
The new hair net was wrapped over the chignon and whip stitched in place too. It was then trimmed off close to the stitching.
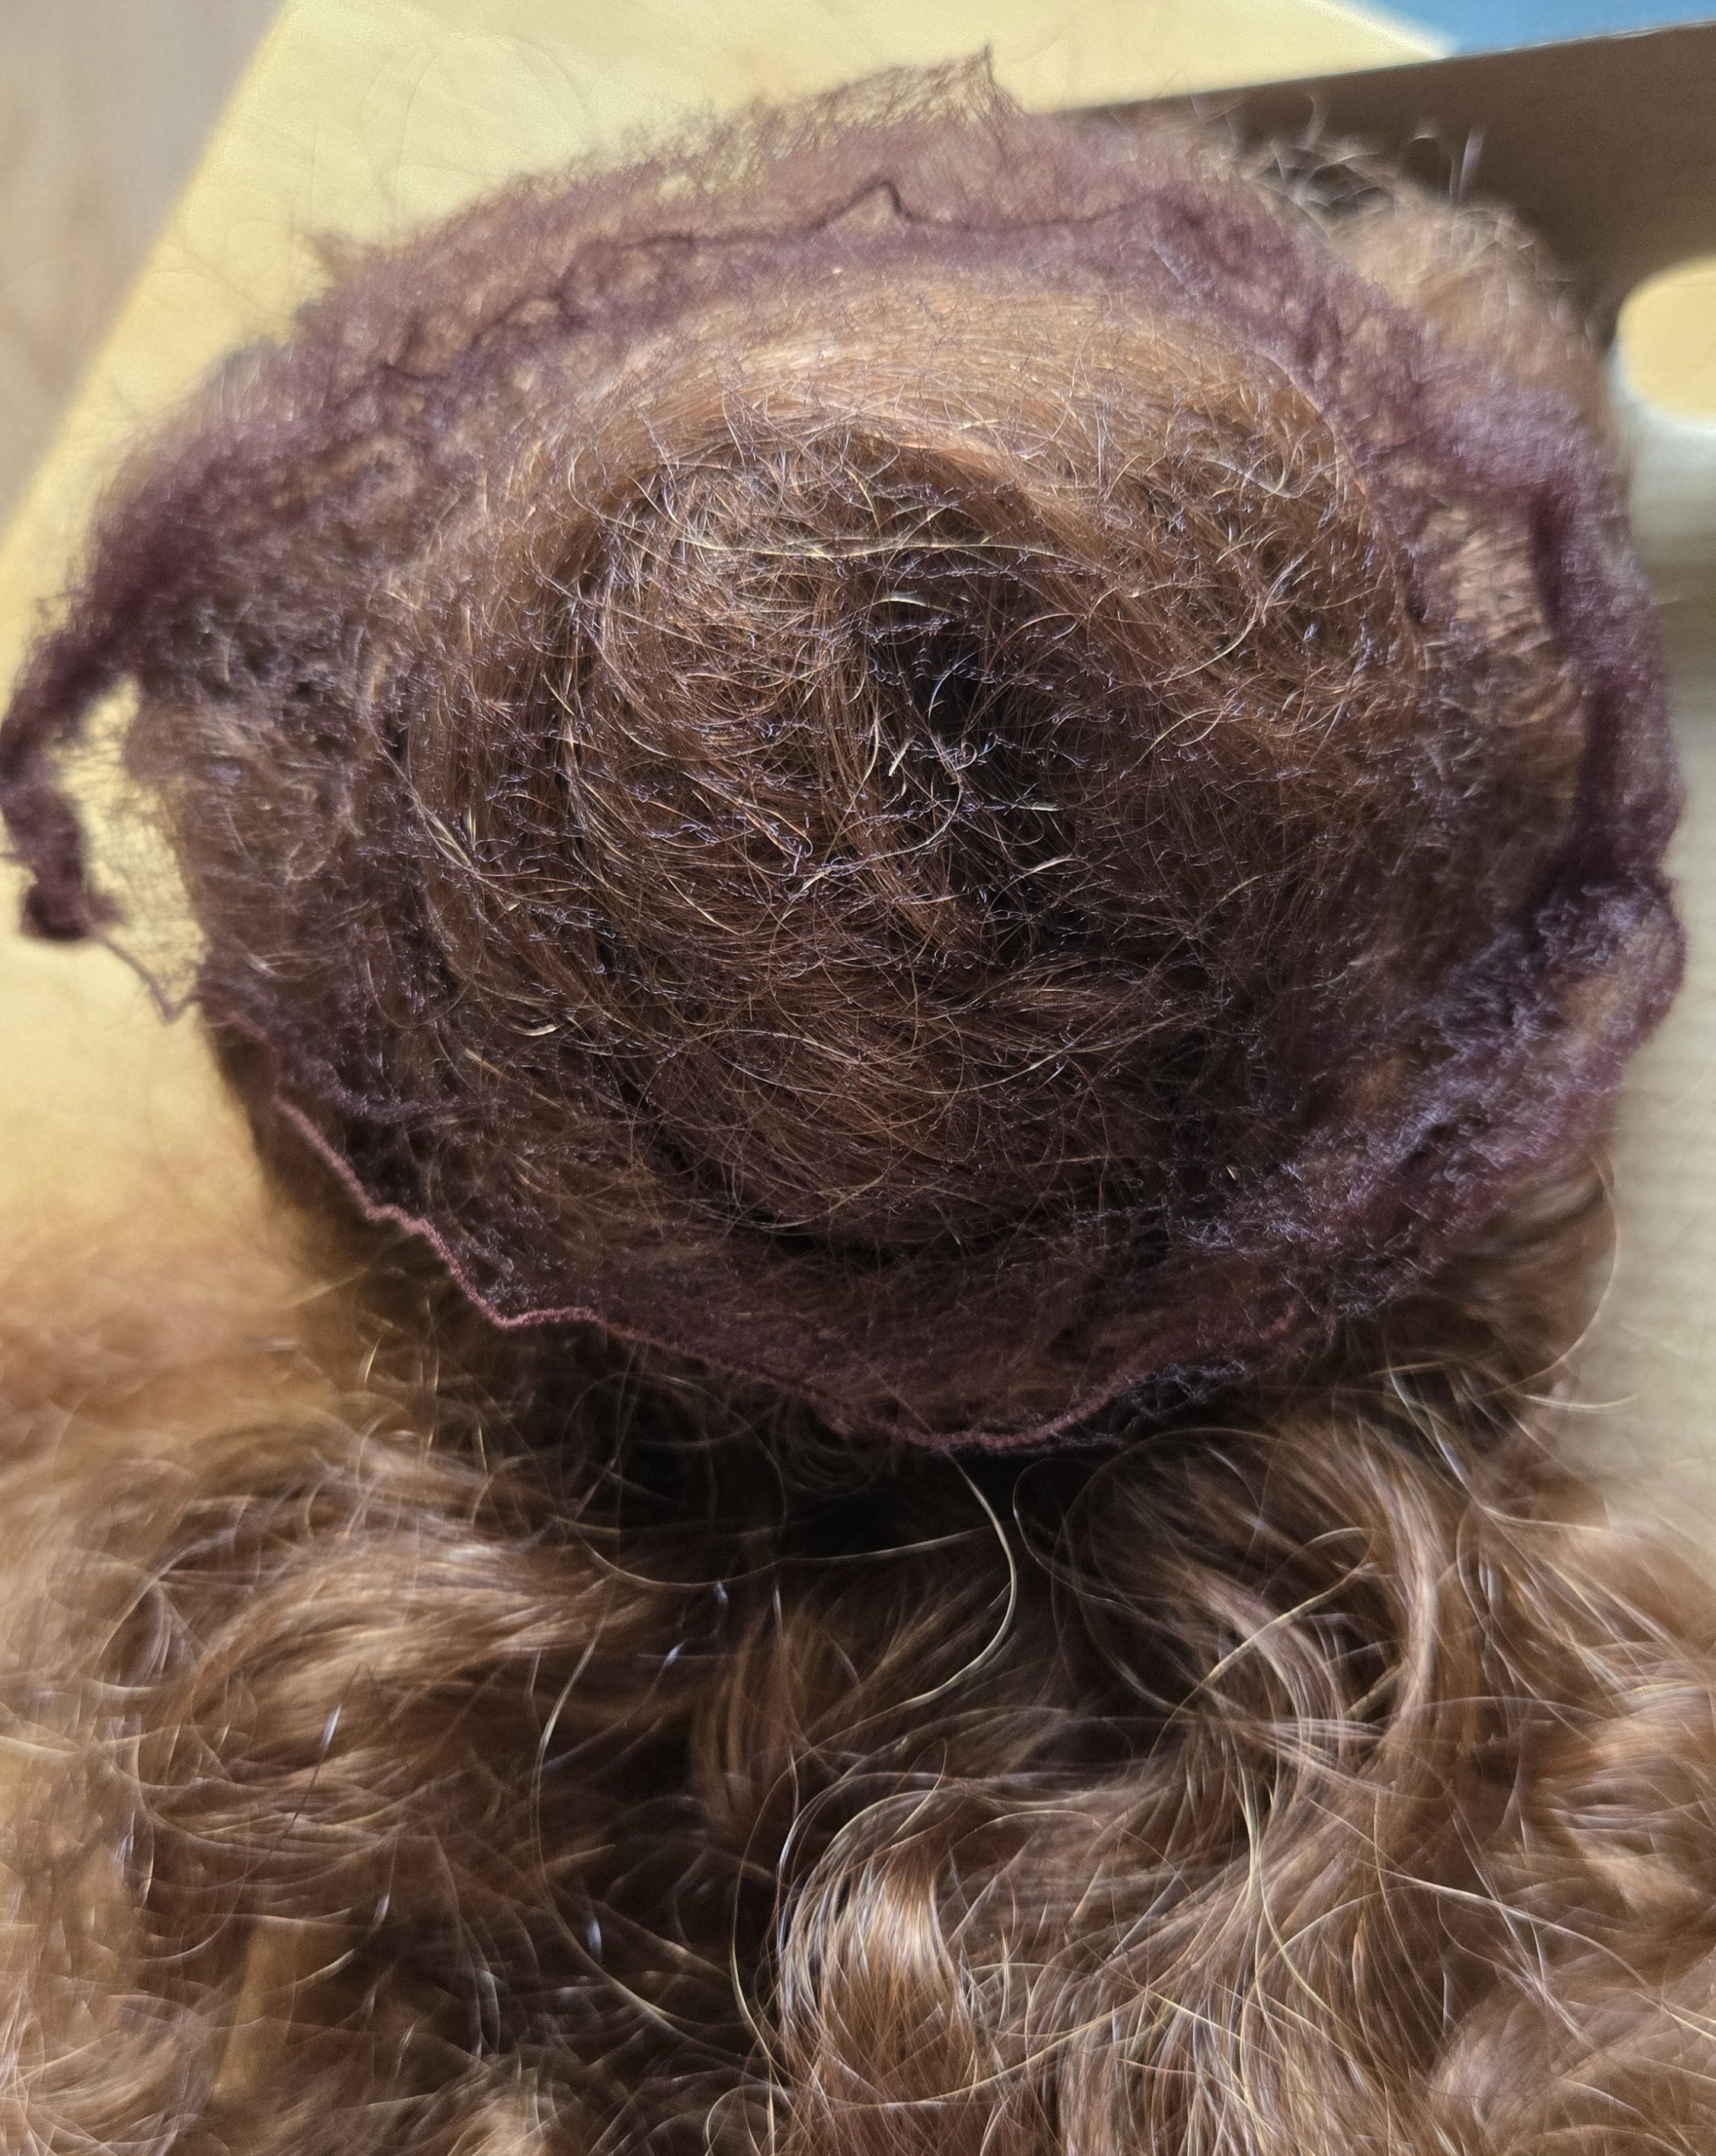
This proved to be a successful technique.
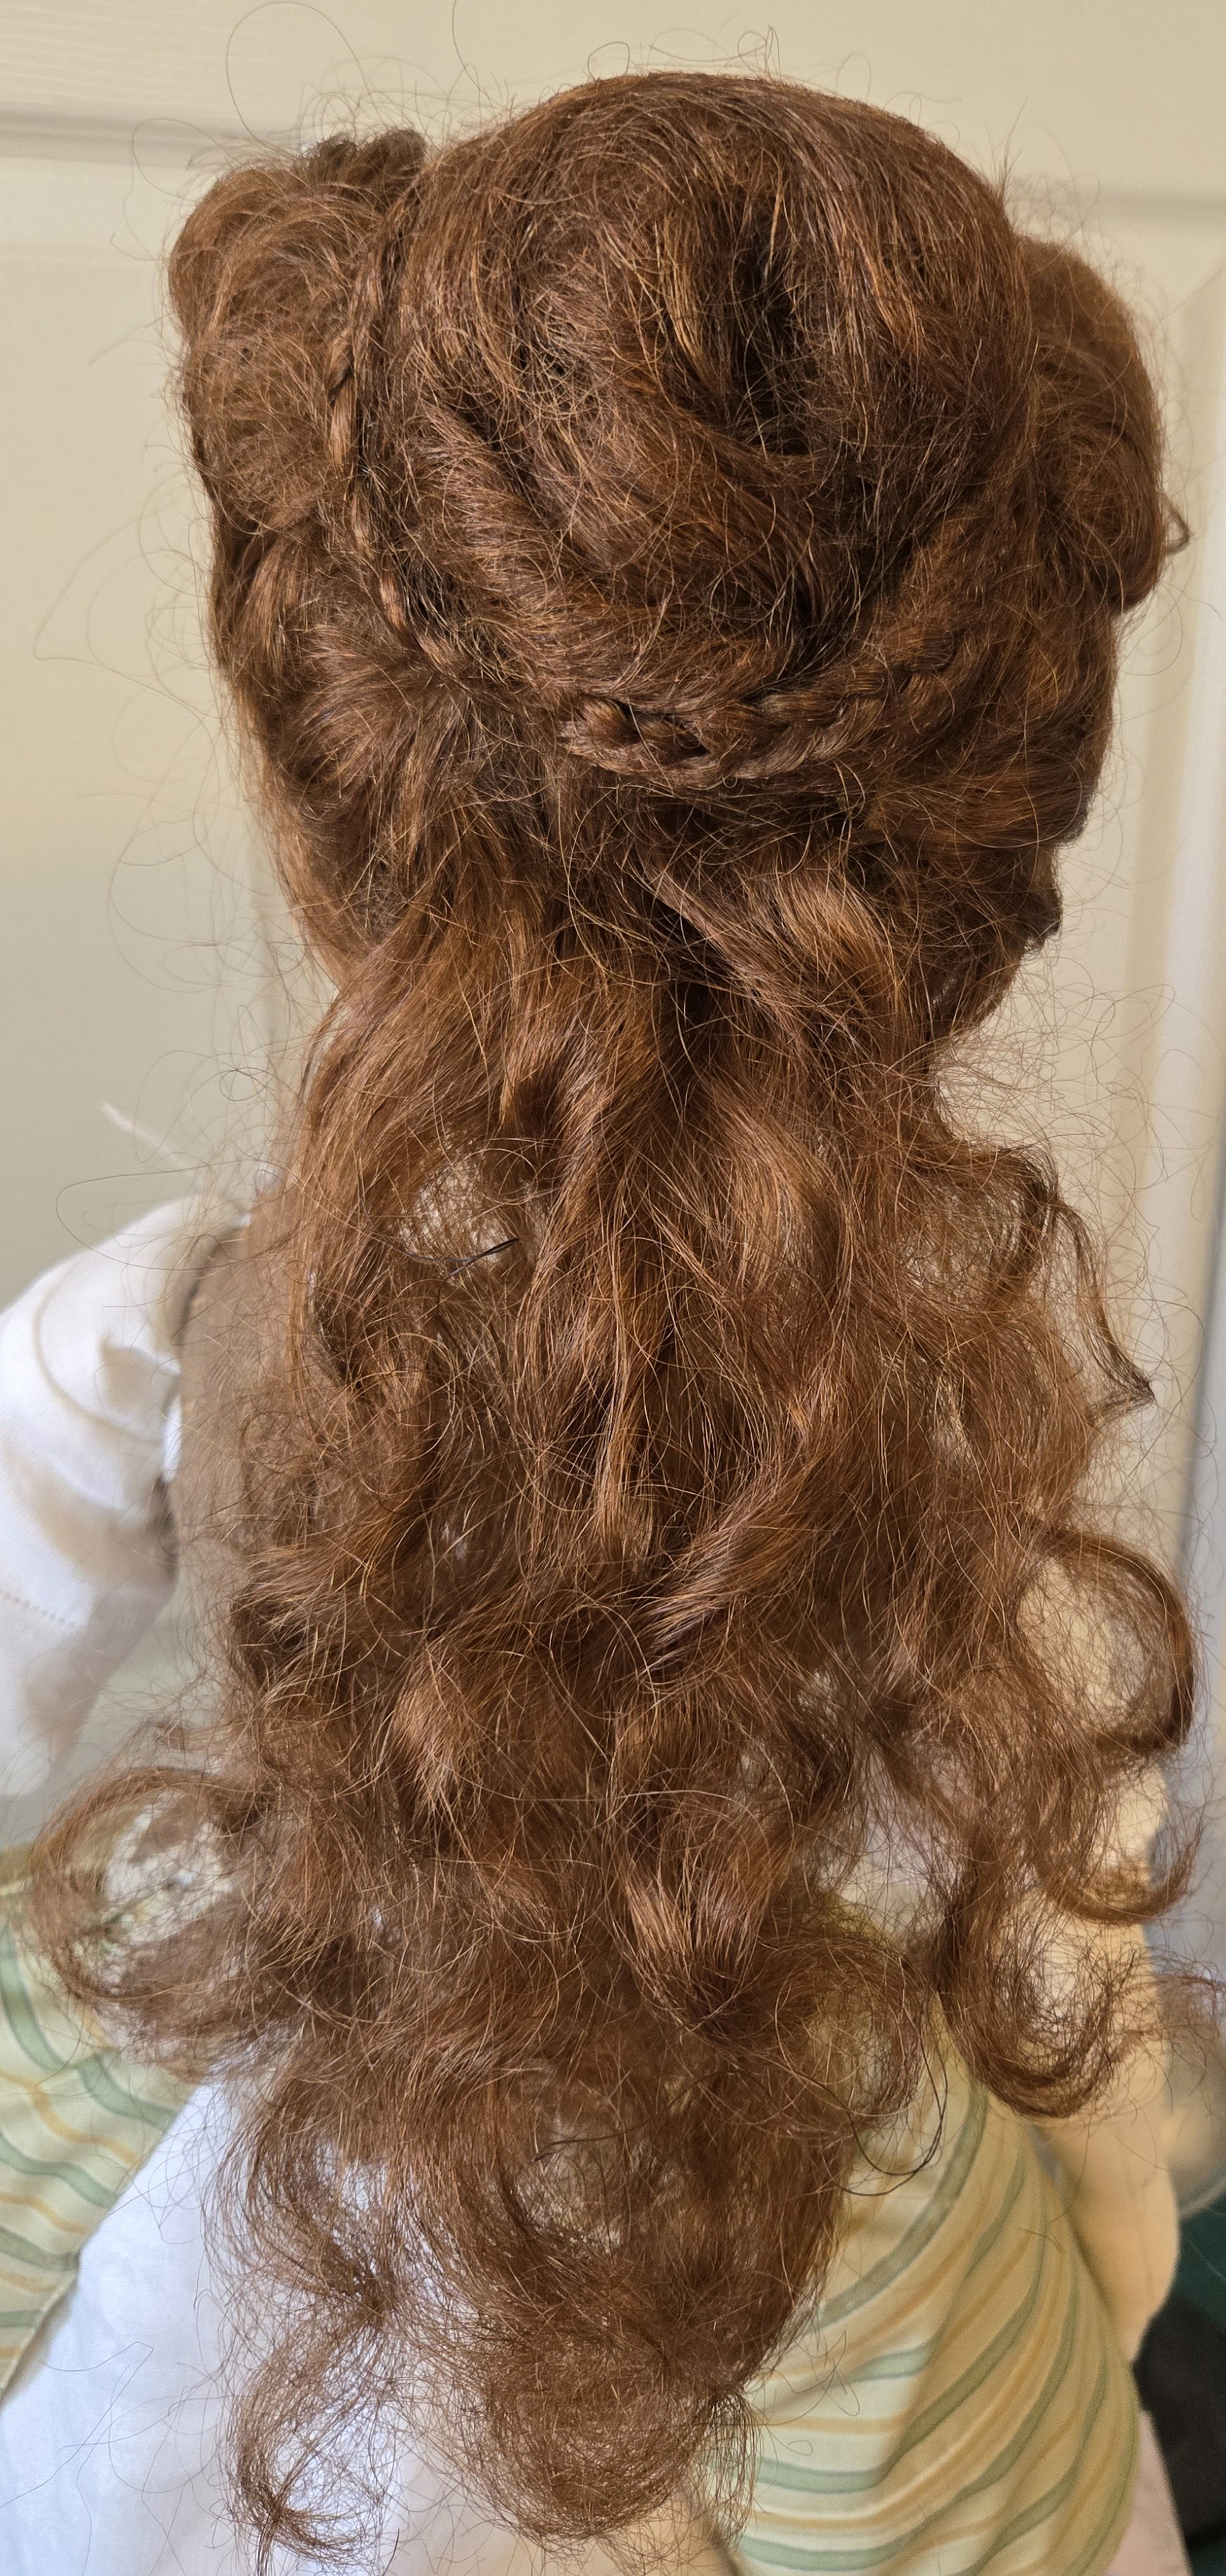
The curls on the forehead were hair-sprayed in place, with a light dusting on the whole wig. It will be worn with a dress style from the early 1700's.
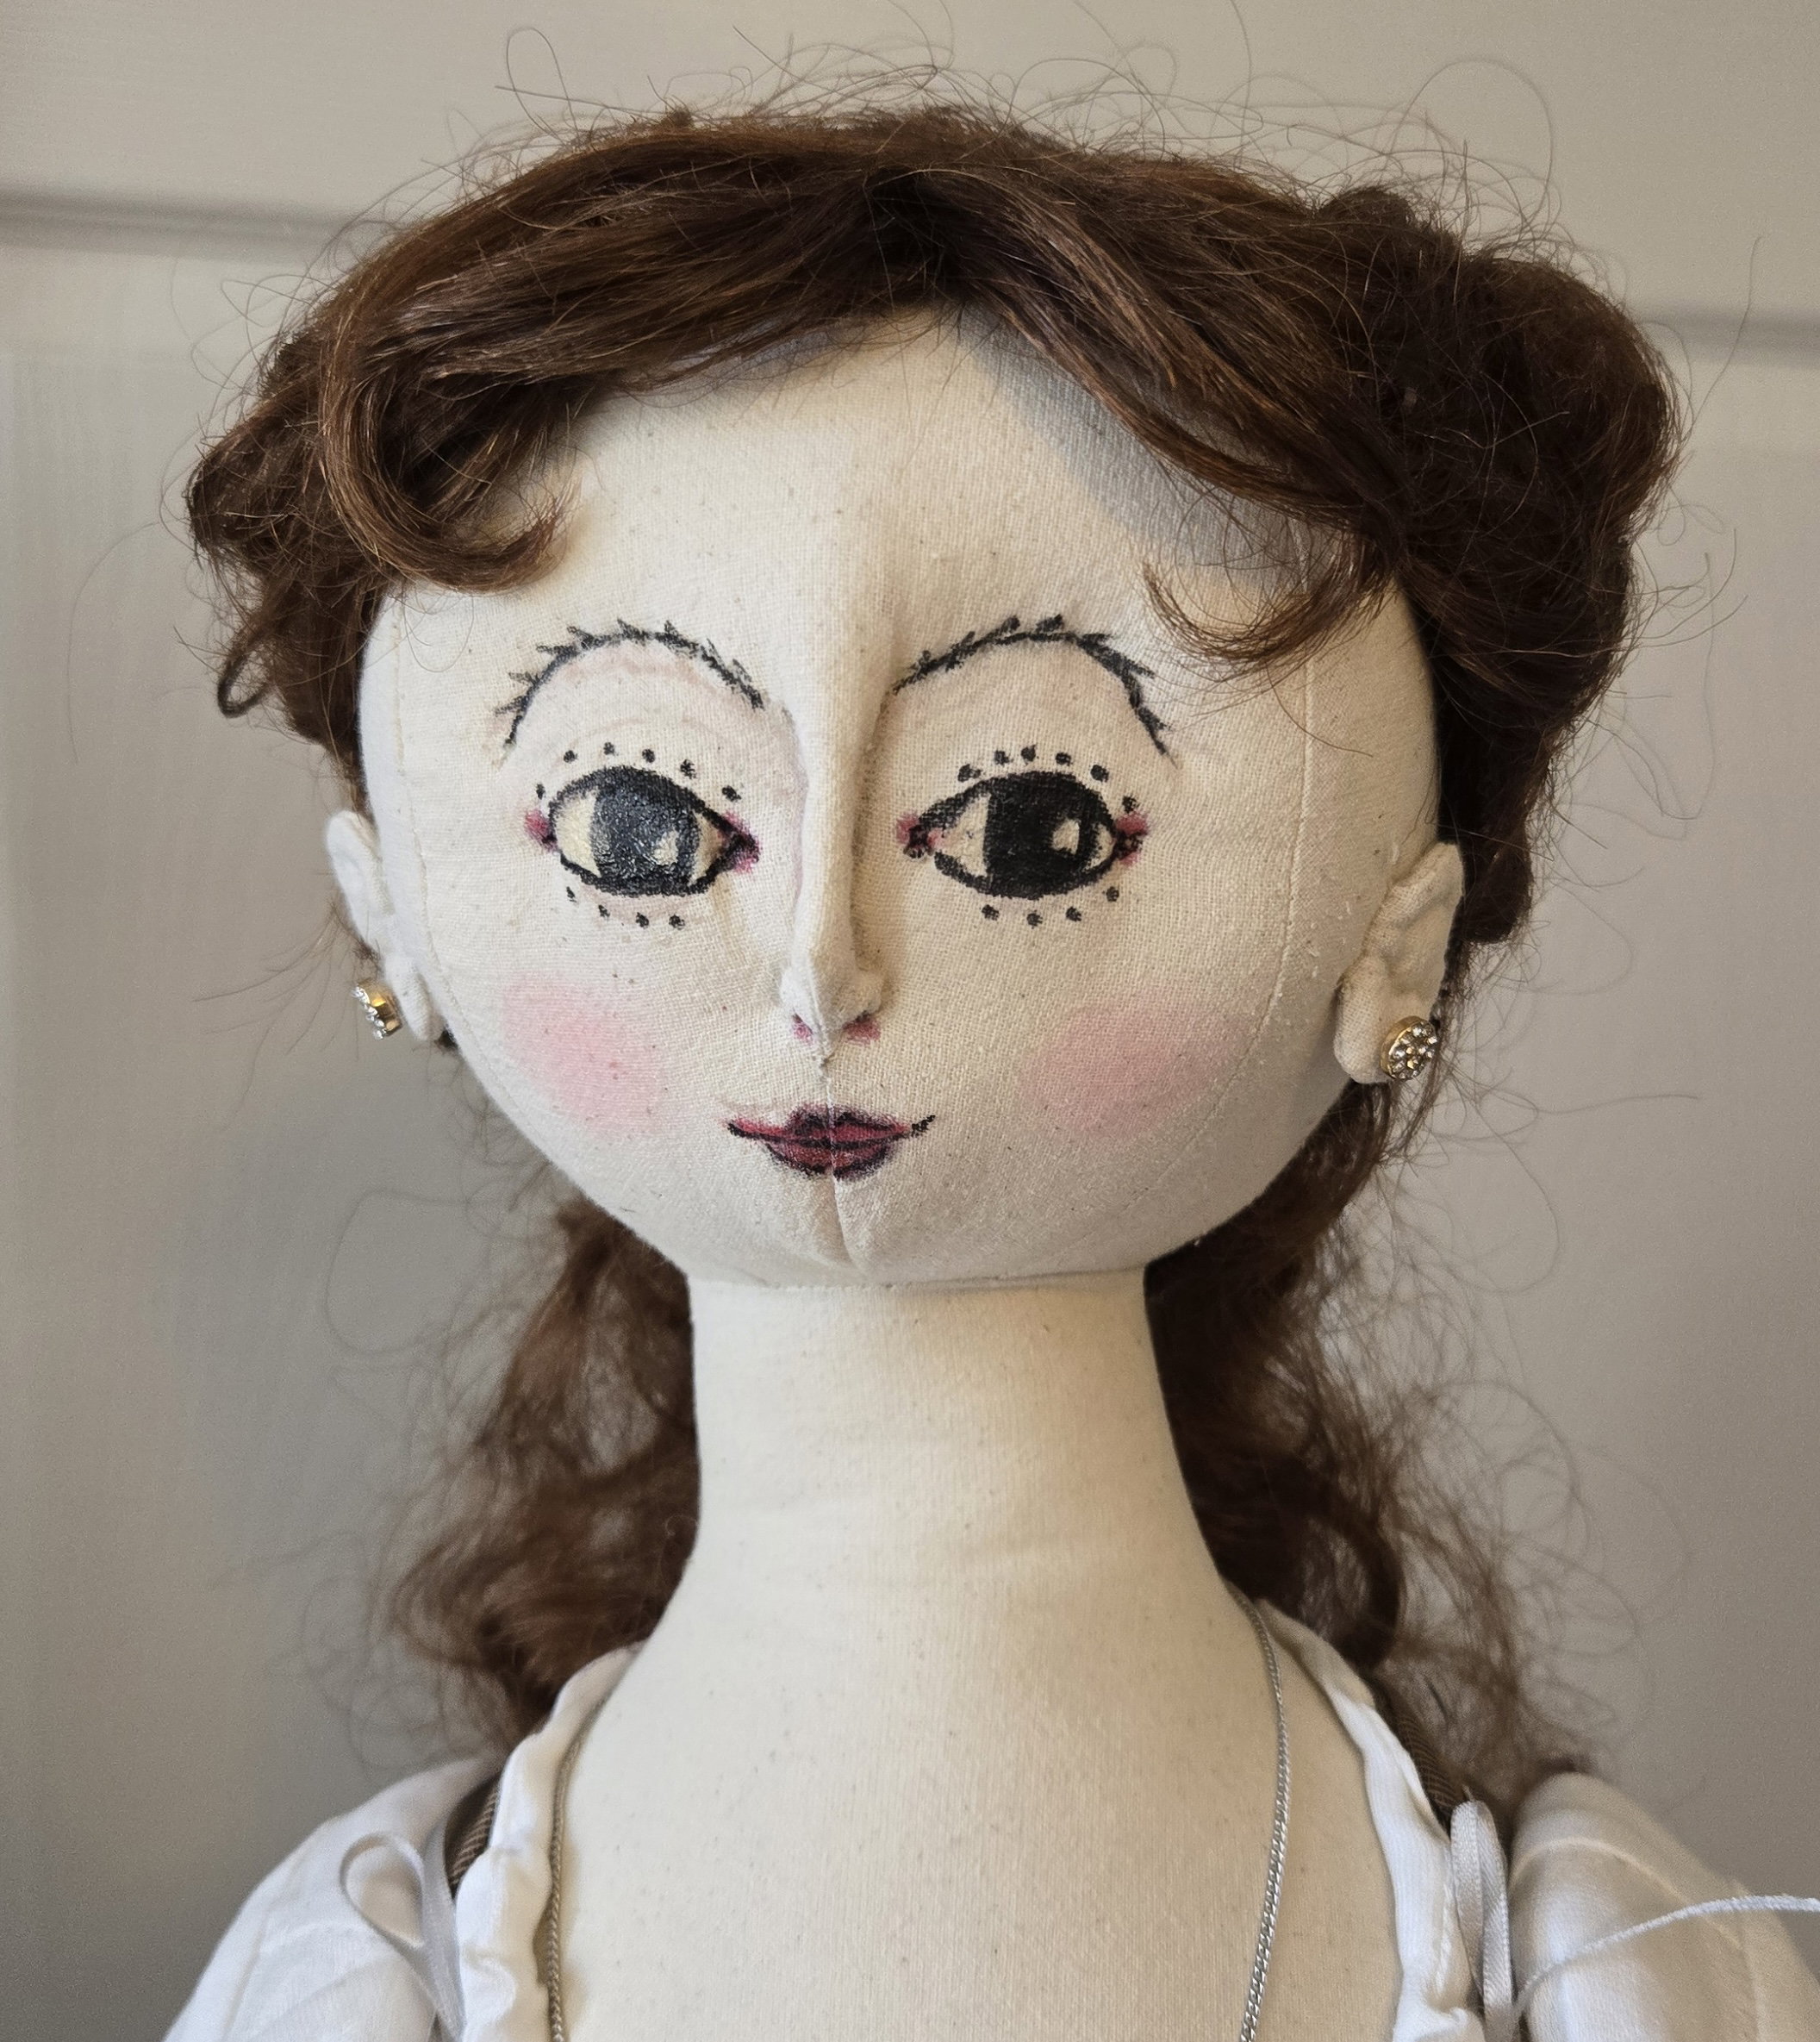
Another view of the completed wig.
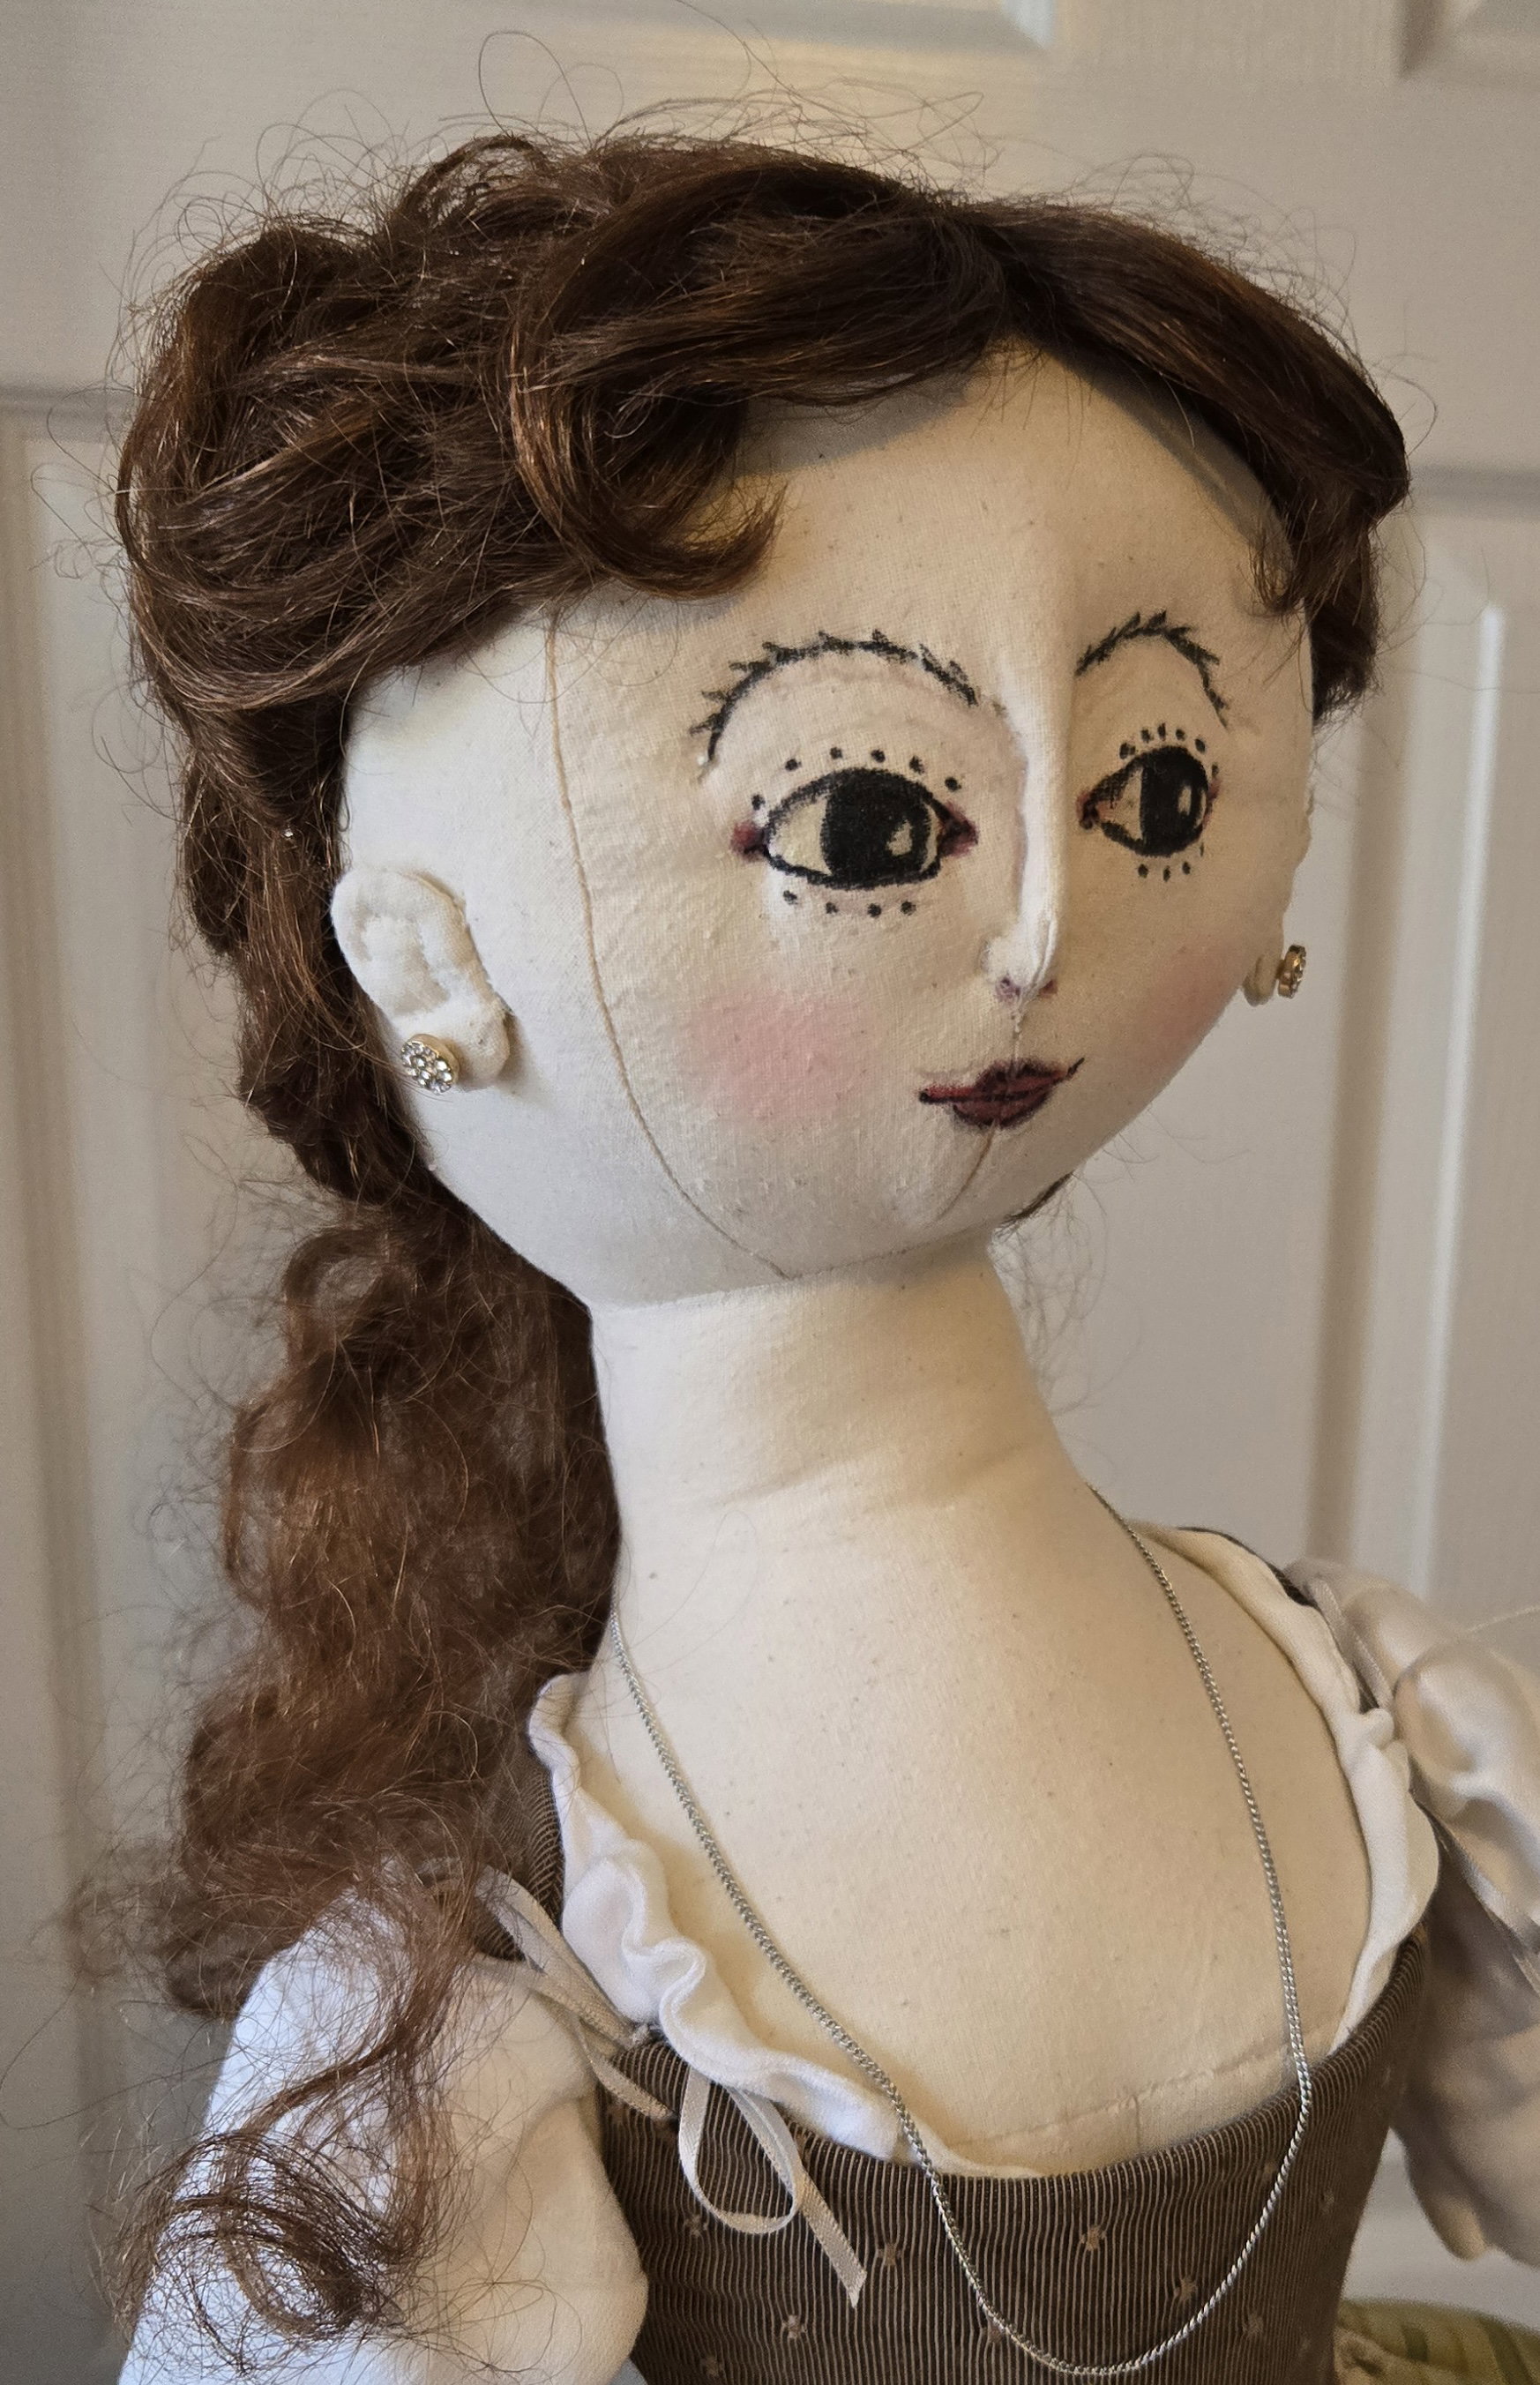
The Designer has assigned more fabrics for Addy's wardrobe. Can you imagine what looks they will help create?What would you like to see Addy wear?
There are always items to be made and finished in the shop. New shoes and Armand's shirt are in the line up.
Leave us a comment please. Your suggestions and support are always appreciated.
Back to work now.