Tiny and Shiny.
The Bijoux department has been making jewelry for the ladies again. The Queens were all too busy to model their new bling, so there followed much discussion on how to display the new items.
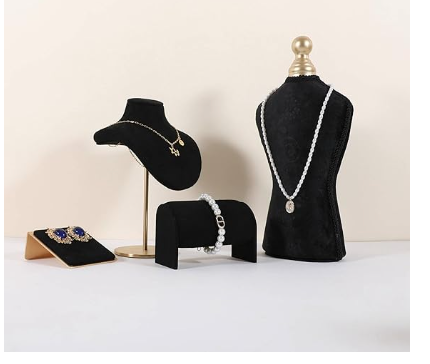
Window shopping, disguised as research, went into finding ideas for these displays, and after consulting the Boss, it was decided to create small stands based on a few found on Amazon.
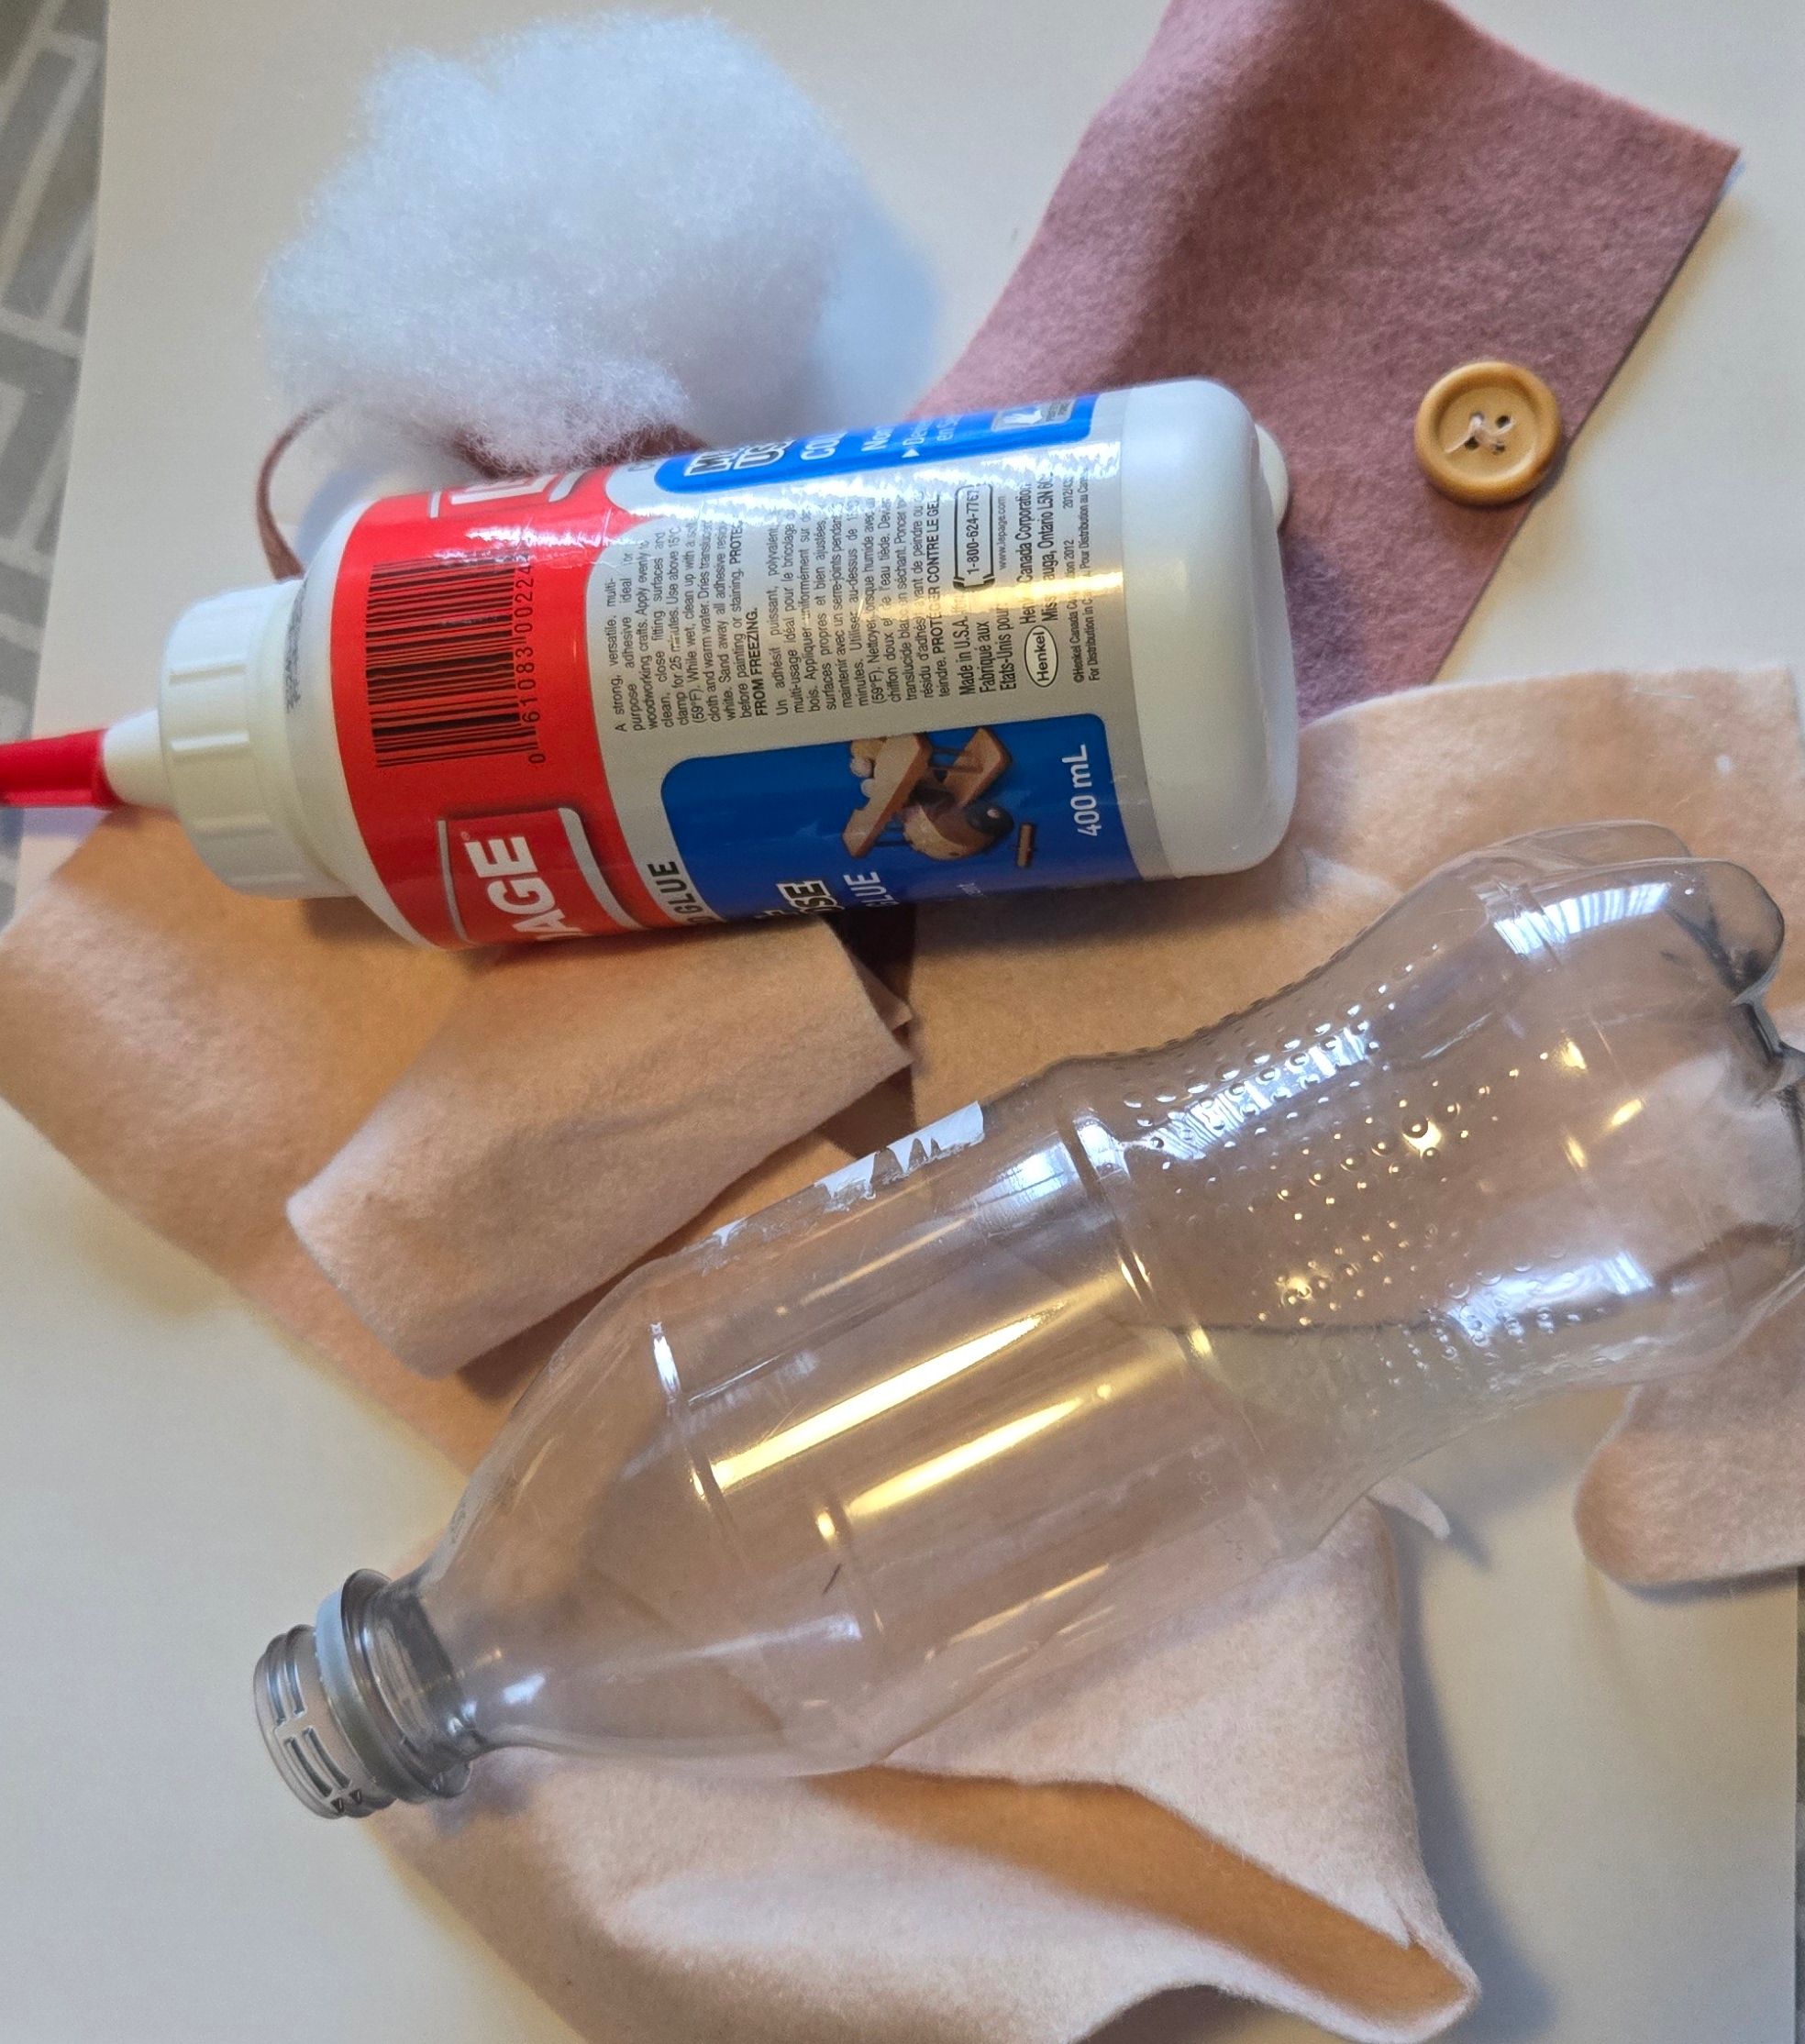
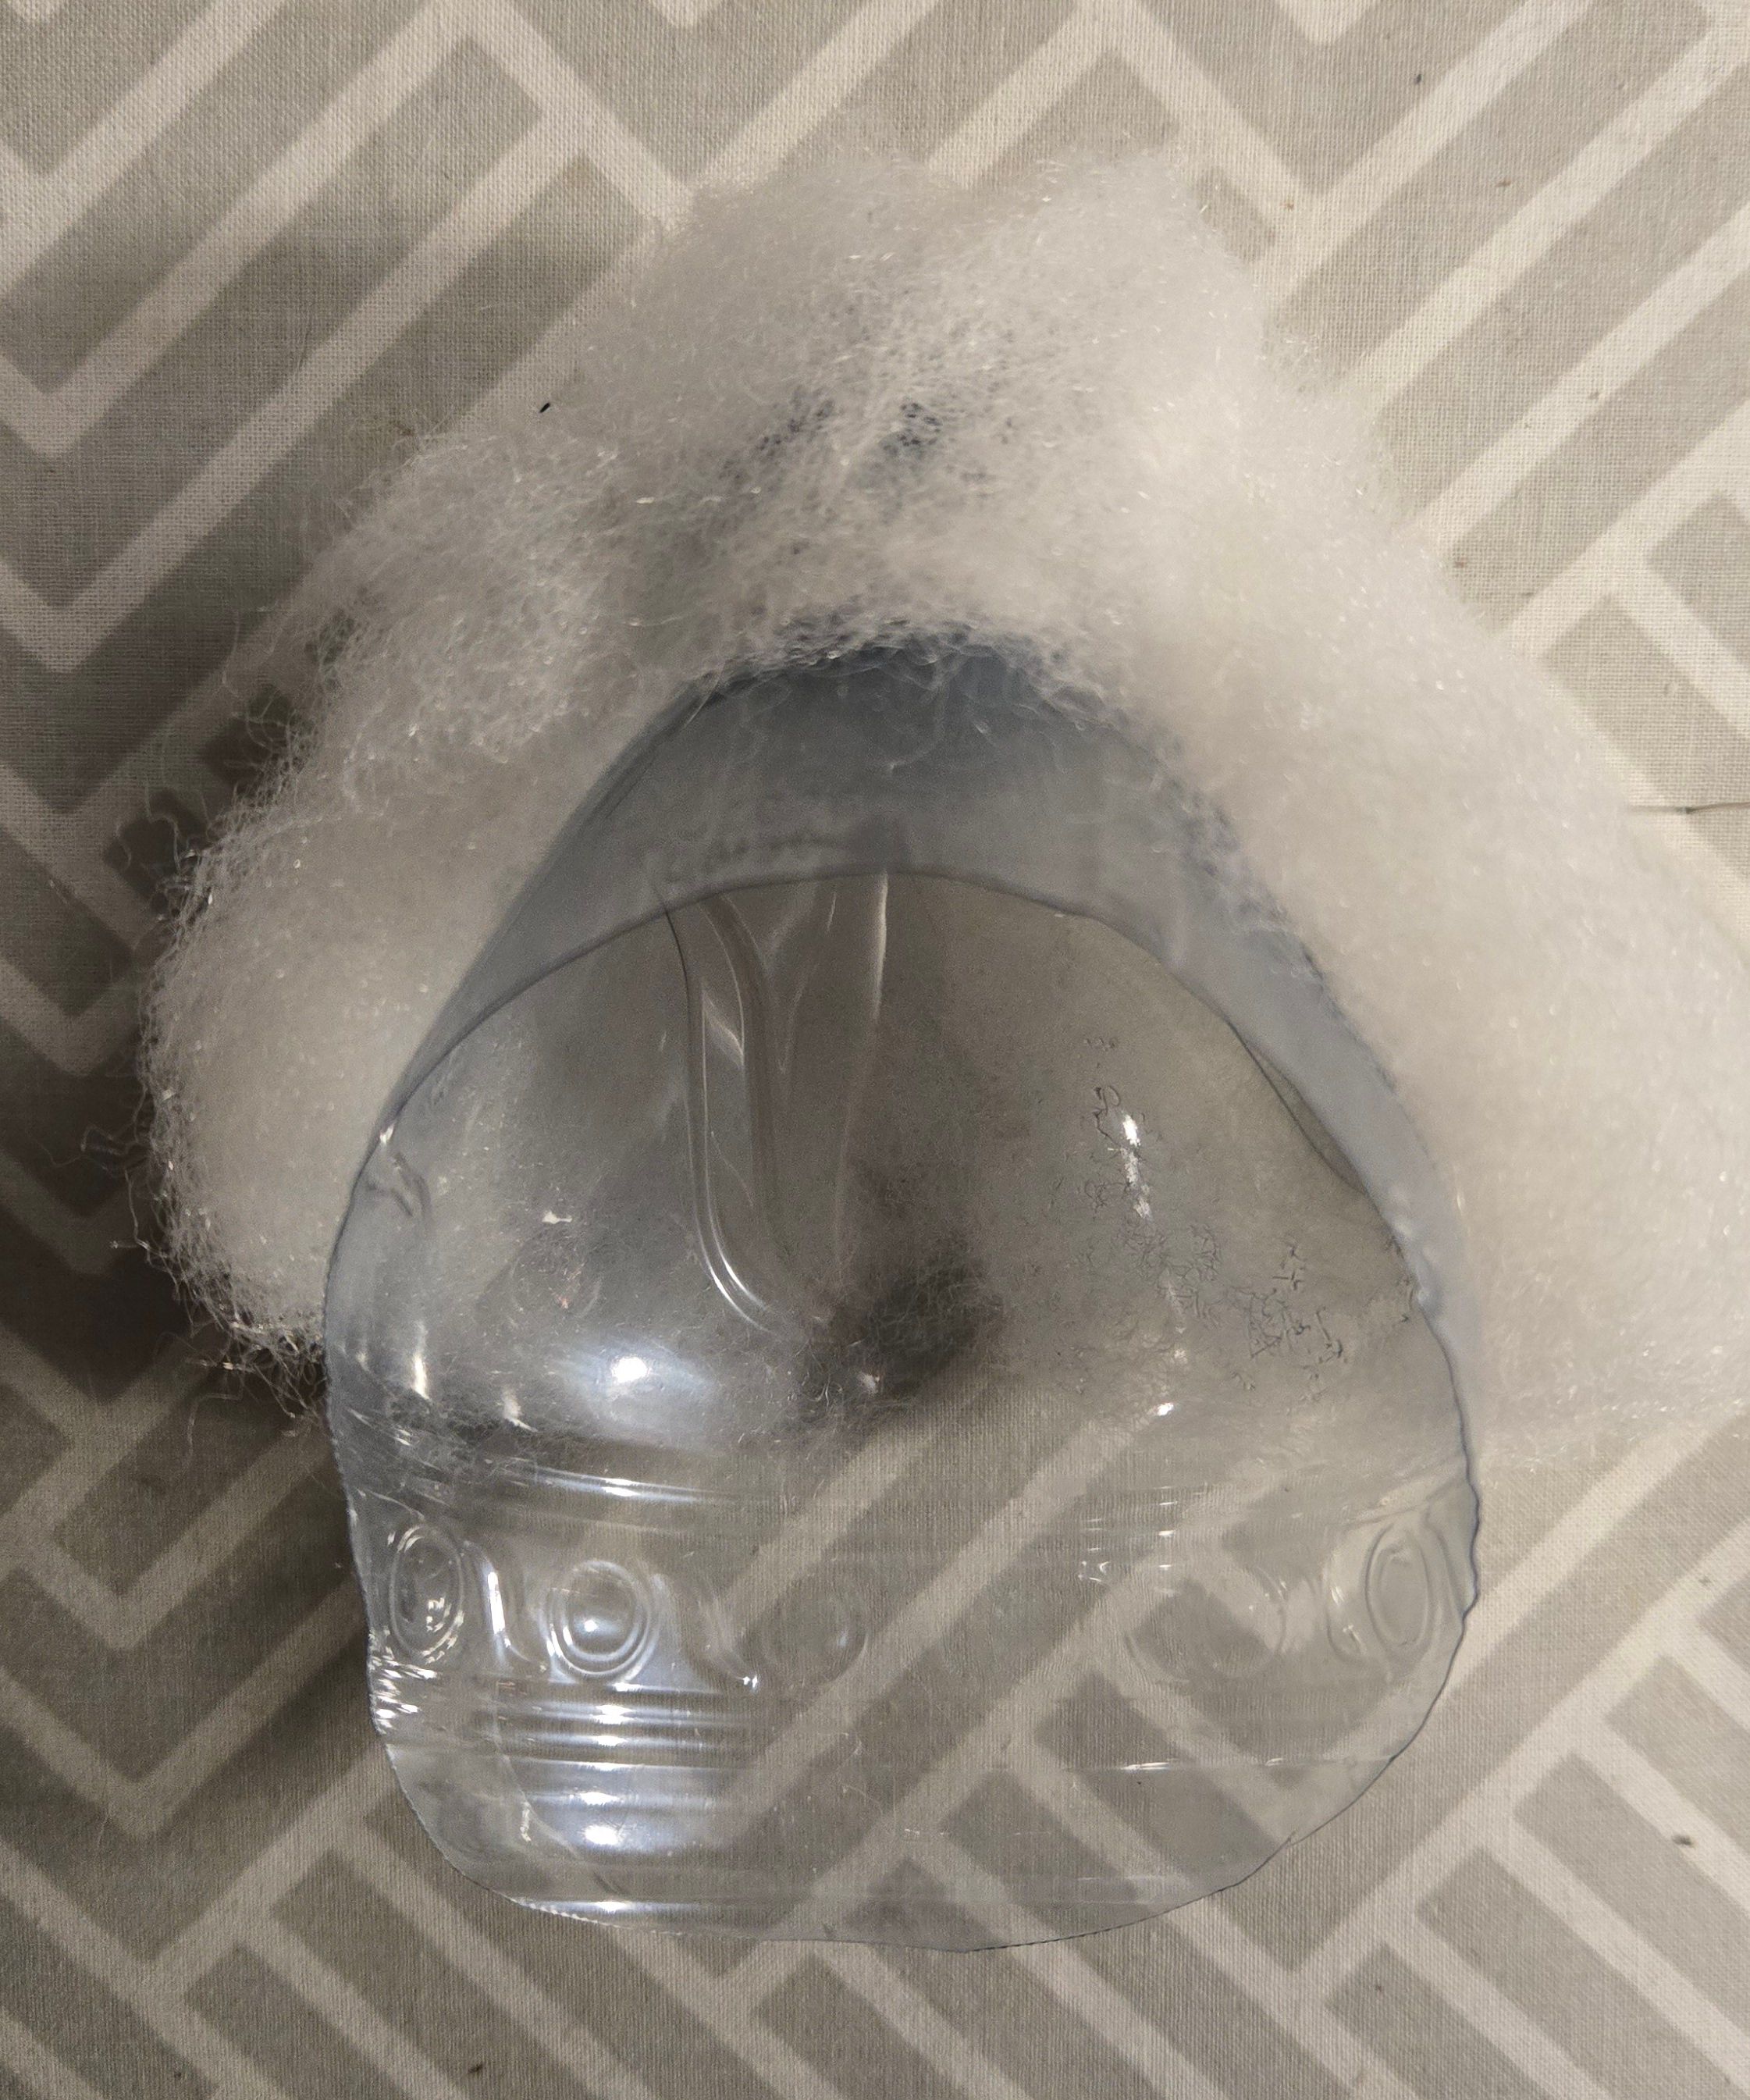
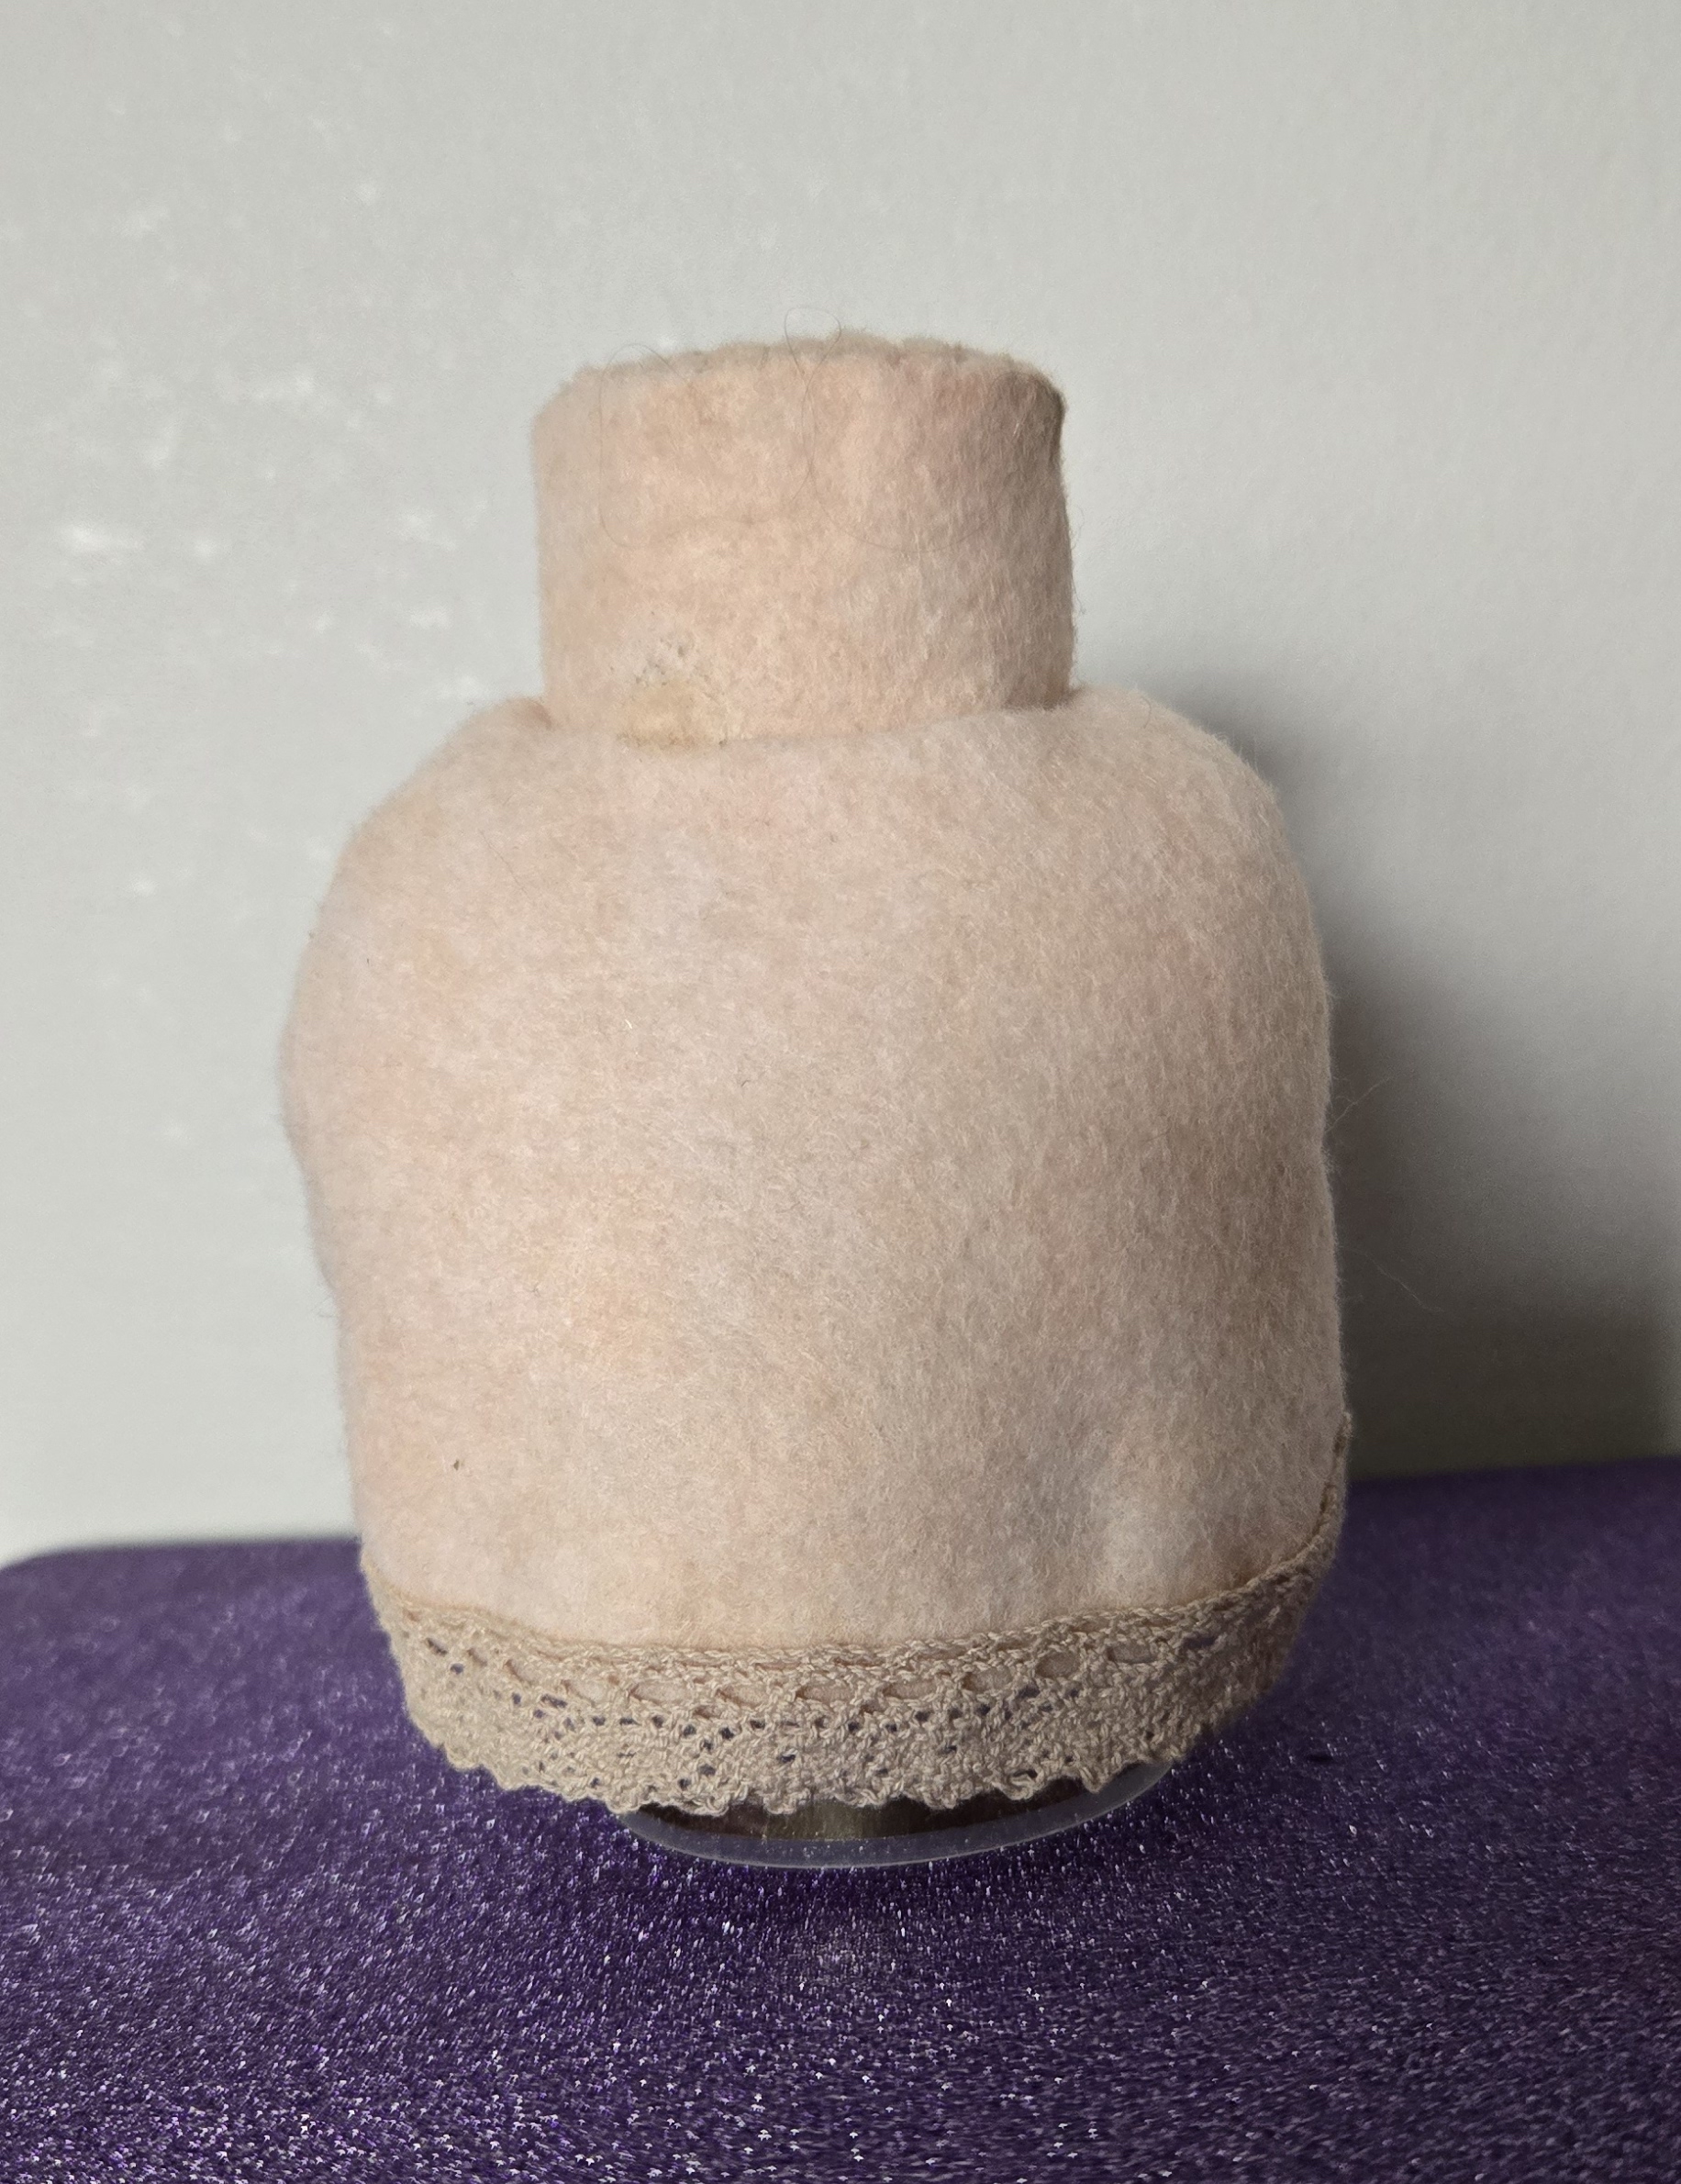
Since the smaller ladies' asked their display stand be constructed first, the Designer promptly ordered a bust form made from plastic soda bottles and felt. Materials were then gathered from stock. And the recycle bin.
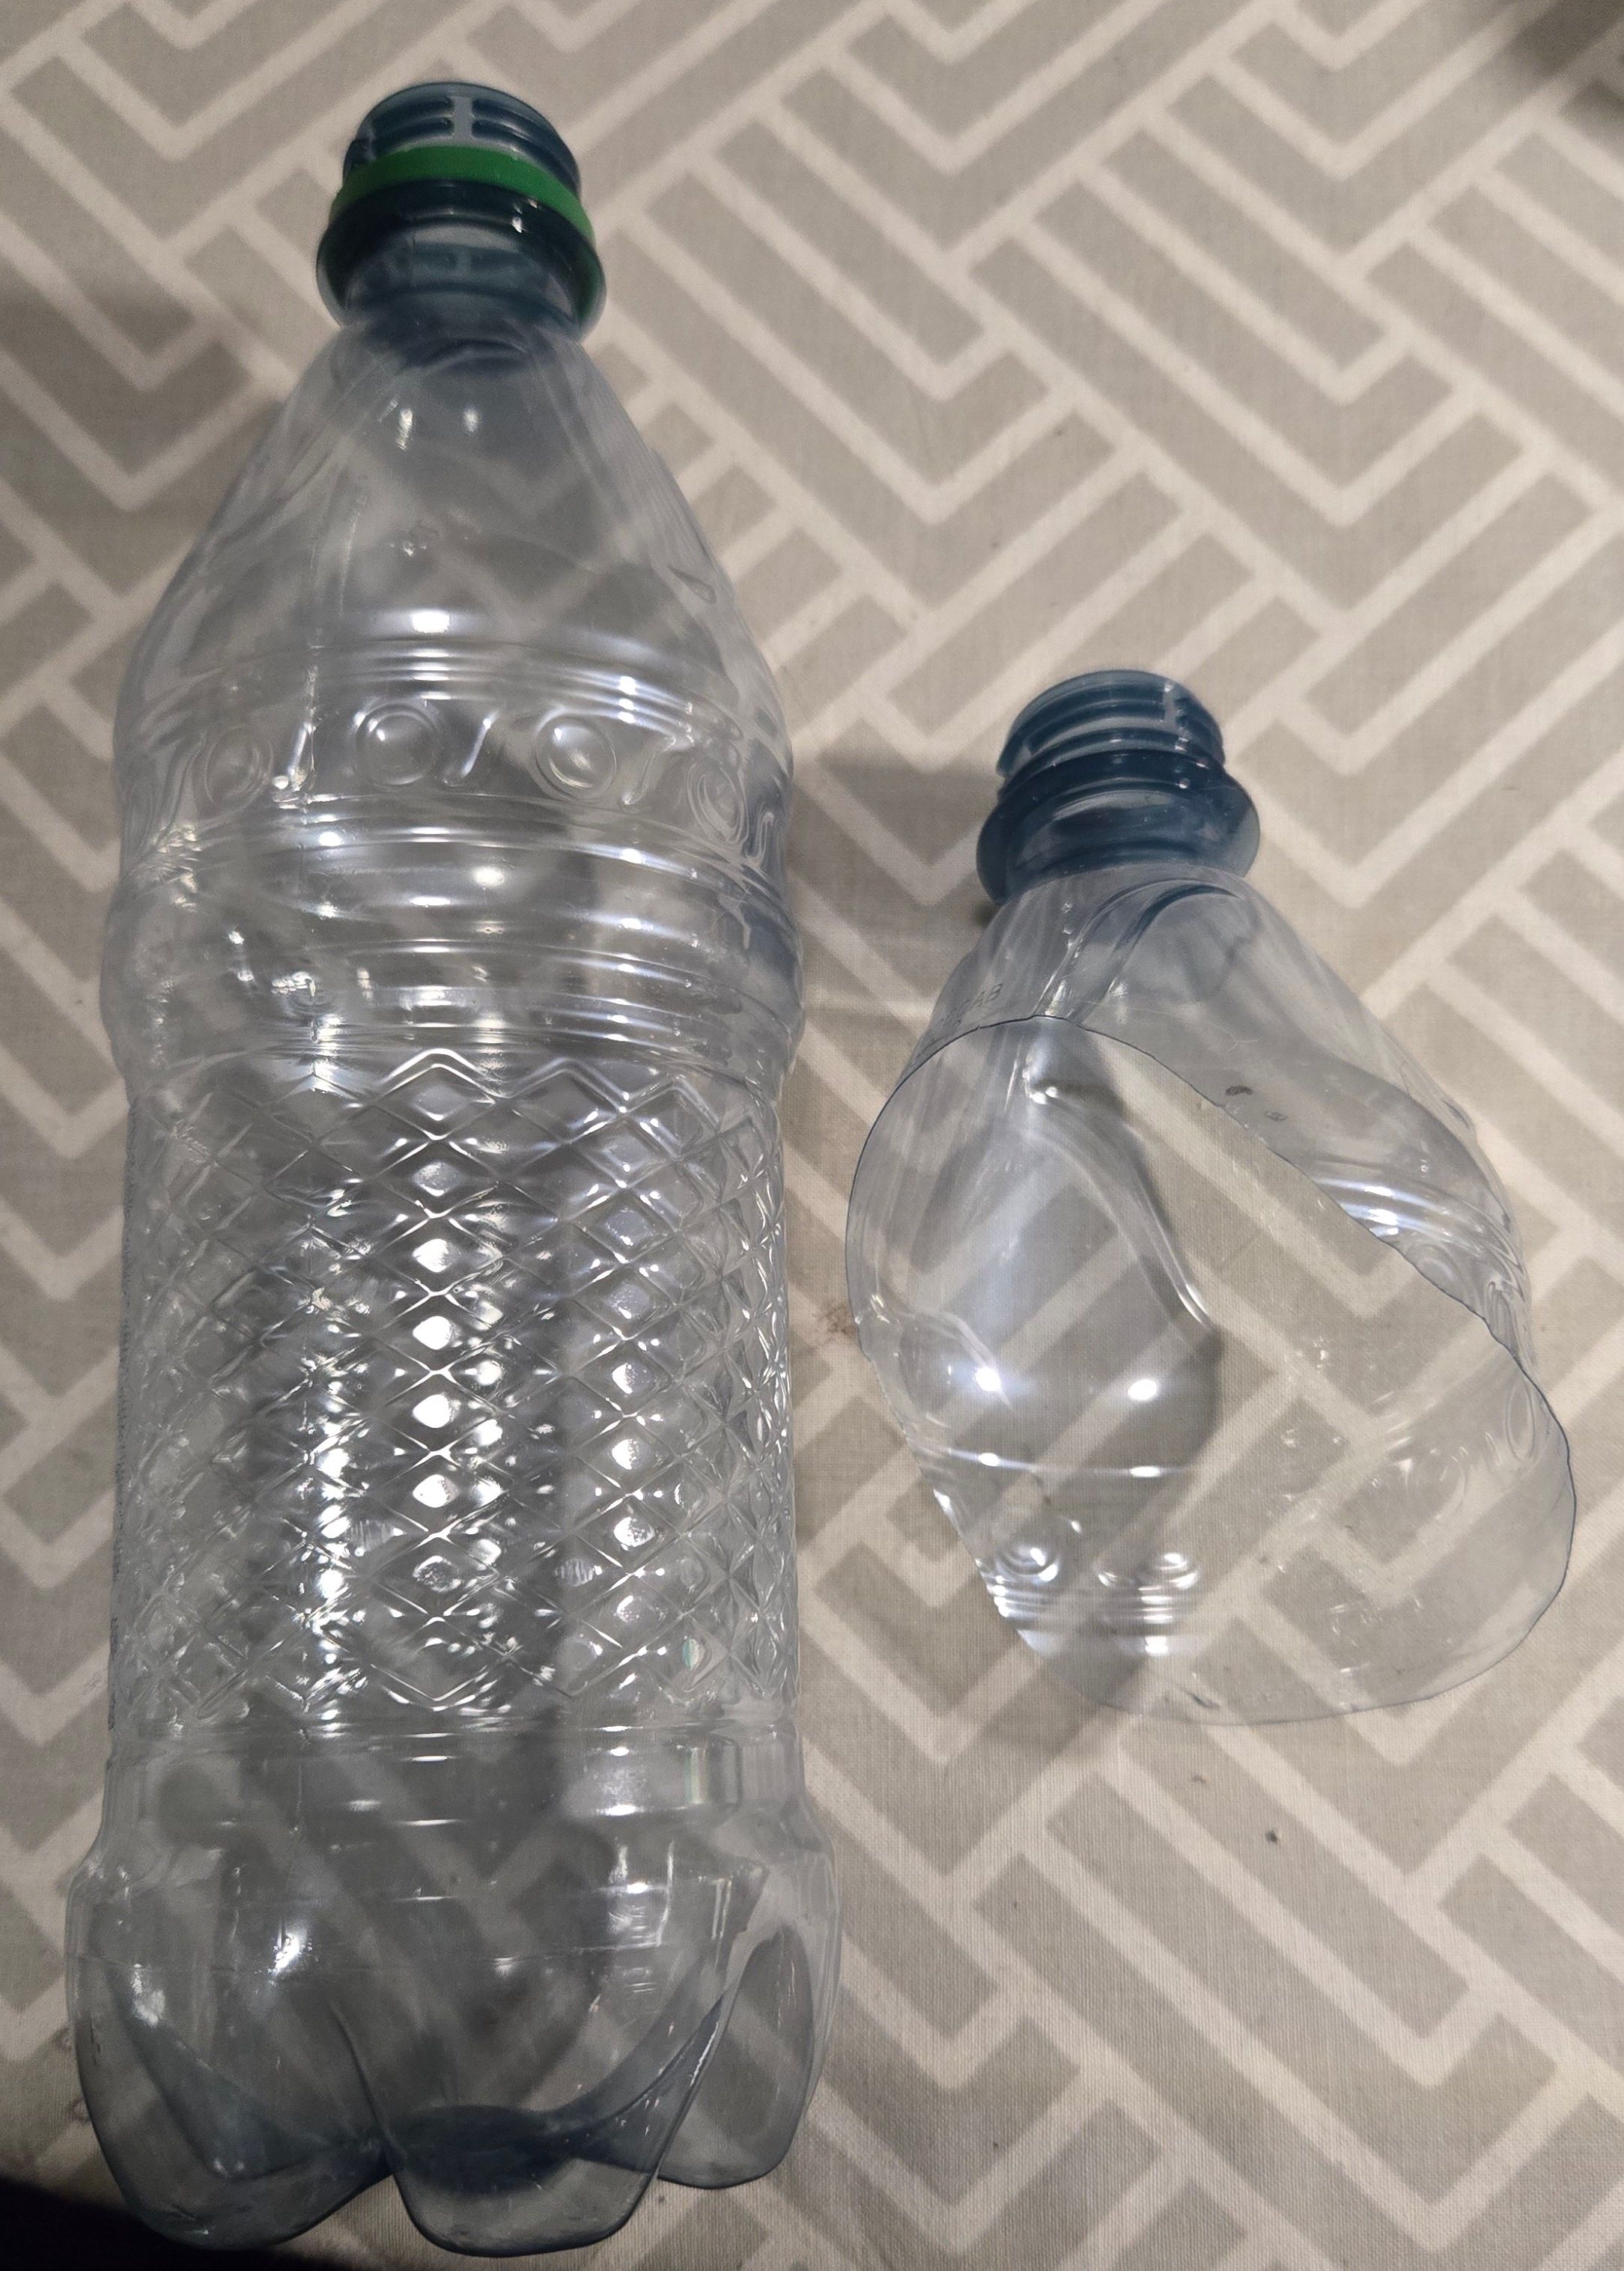
An appropriate shape was drawn on the bottle first, using a Sharpie pen. Only scissors were needed to cut out the form.
Sadly, draping a necklace on the new form resulted in it sliding down and off. So the accessorist added some fibrefill padding to create 'shoulders' and glued them in place with some quick drying super glue. A bit of the padding was wrapped around the 'neck' to smooth it out.
It was then time to fight with felt and cover the padded stand. This was fraught with many difficulties; the first being how to drape the felt over the stand and glue it in place without making a mess. The accessorist had a long sit down and a good think about this. She then made an guide listing more construction steps before proceeding.
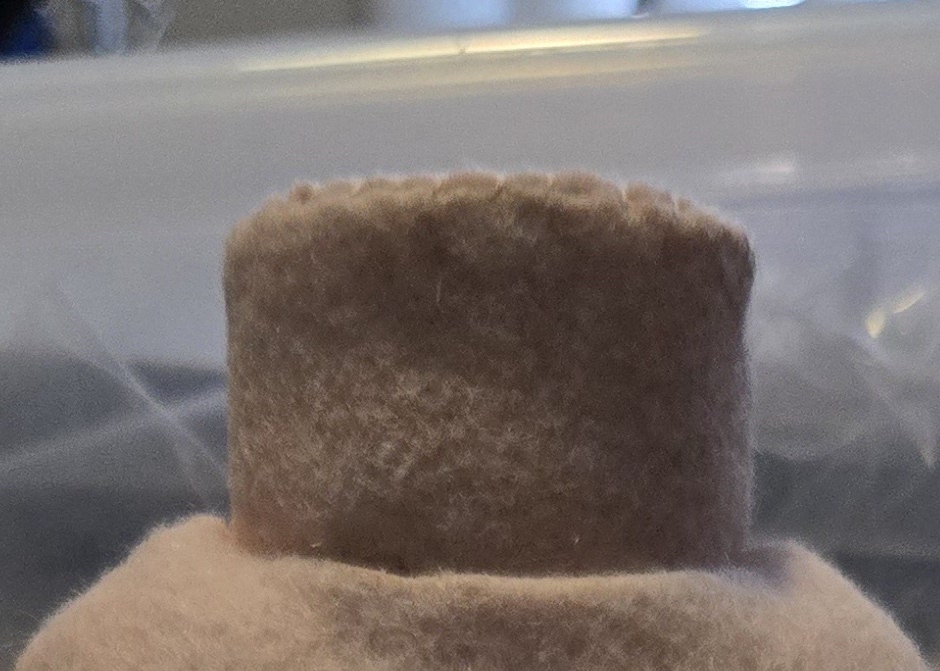
1. A strip of felt was wrapped around the 'neck' first and glued in place with a few dots of super glue. The seam at the back was a simple overlap.
The top neck edge of the felt was folded into the bottle and glued in place.
2. The felt was draped over the front, and then the back, and cut to shape with 3/8 inch seam allowance. The necklines of both pieces were snipped, turned under, and glued in place to keep their shape.
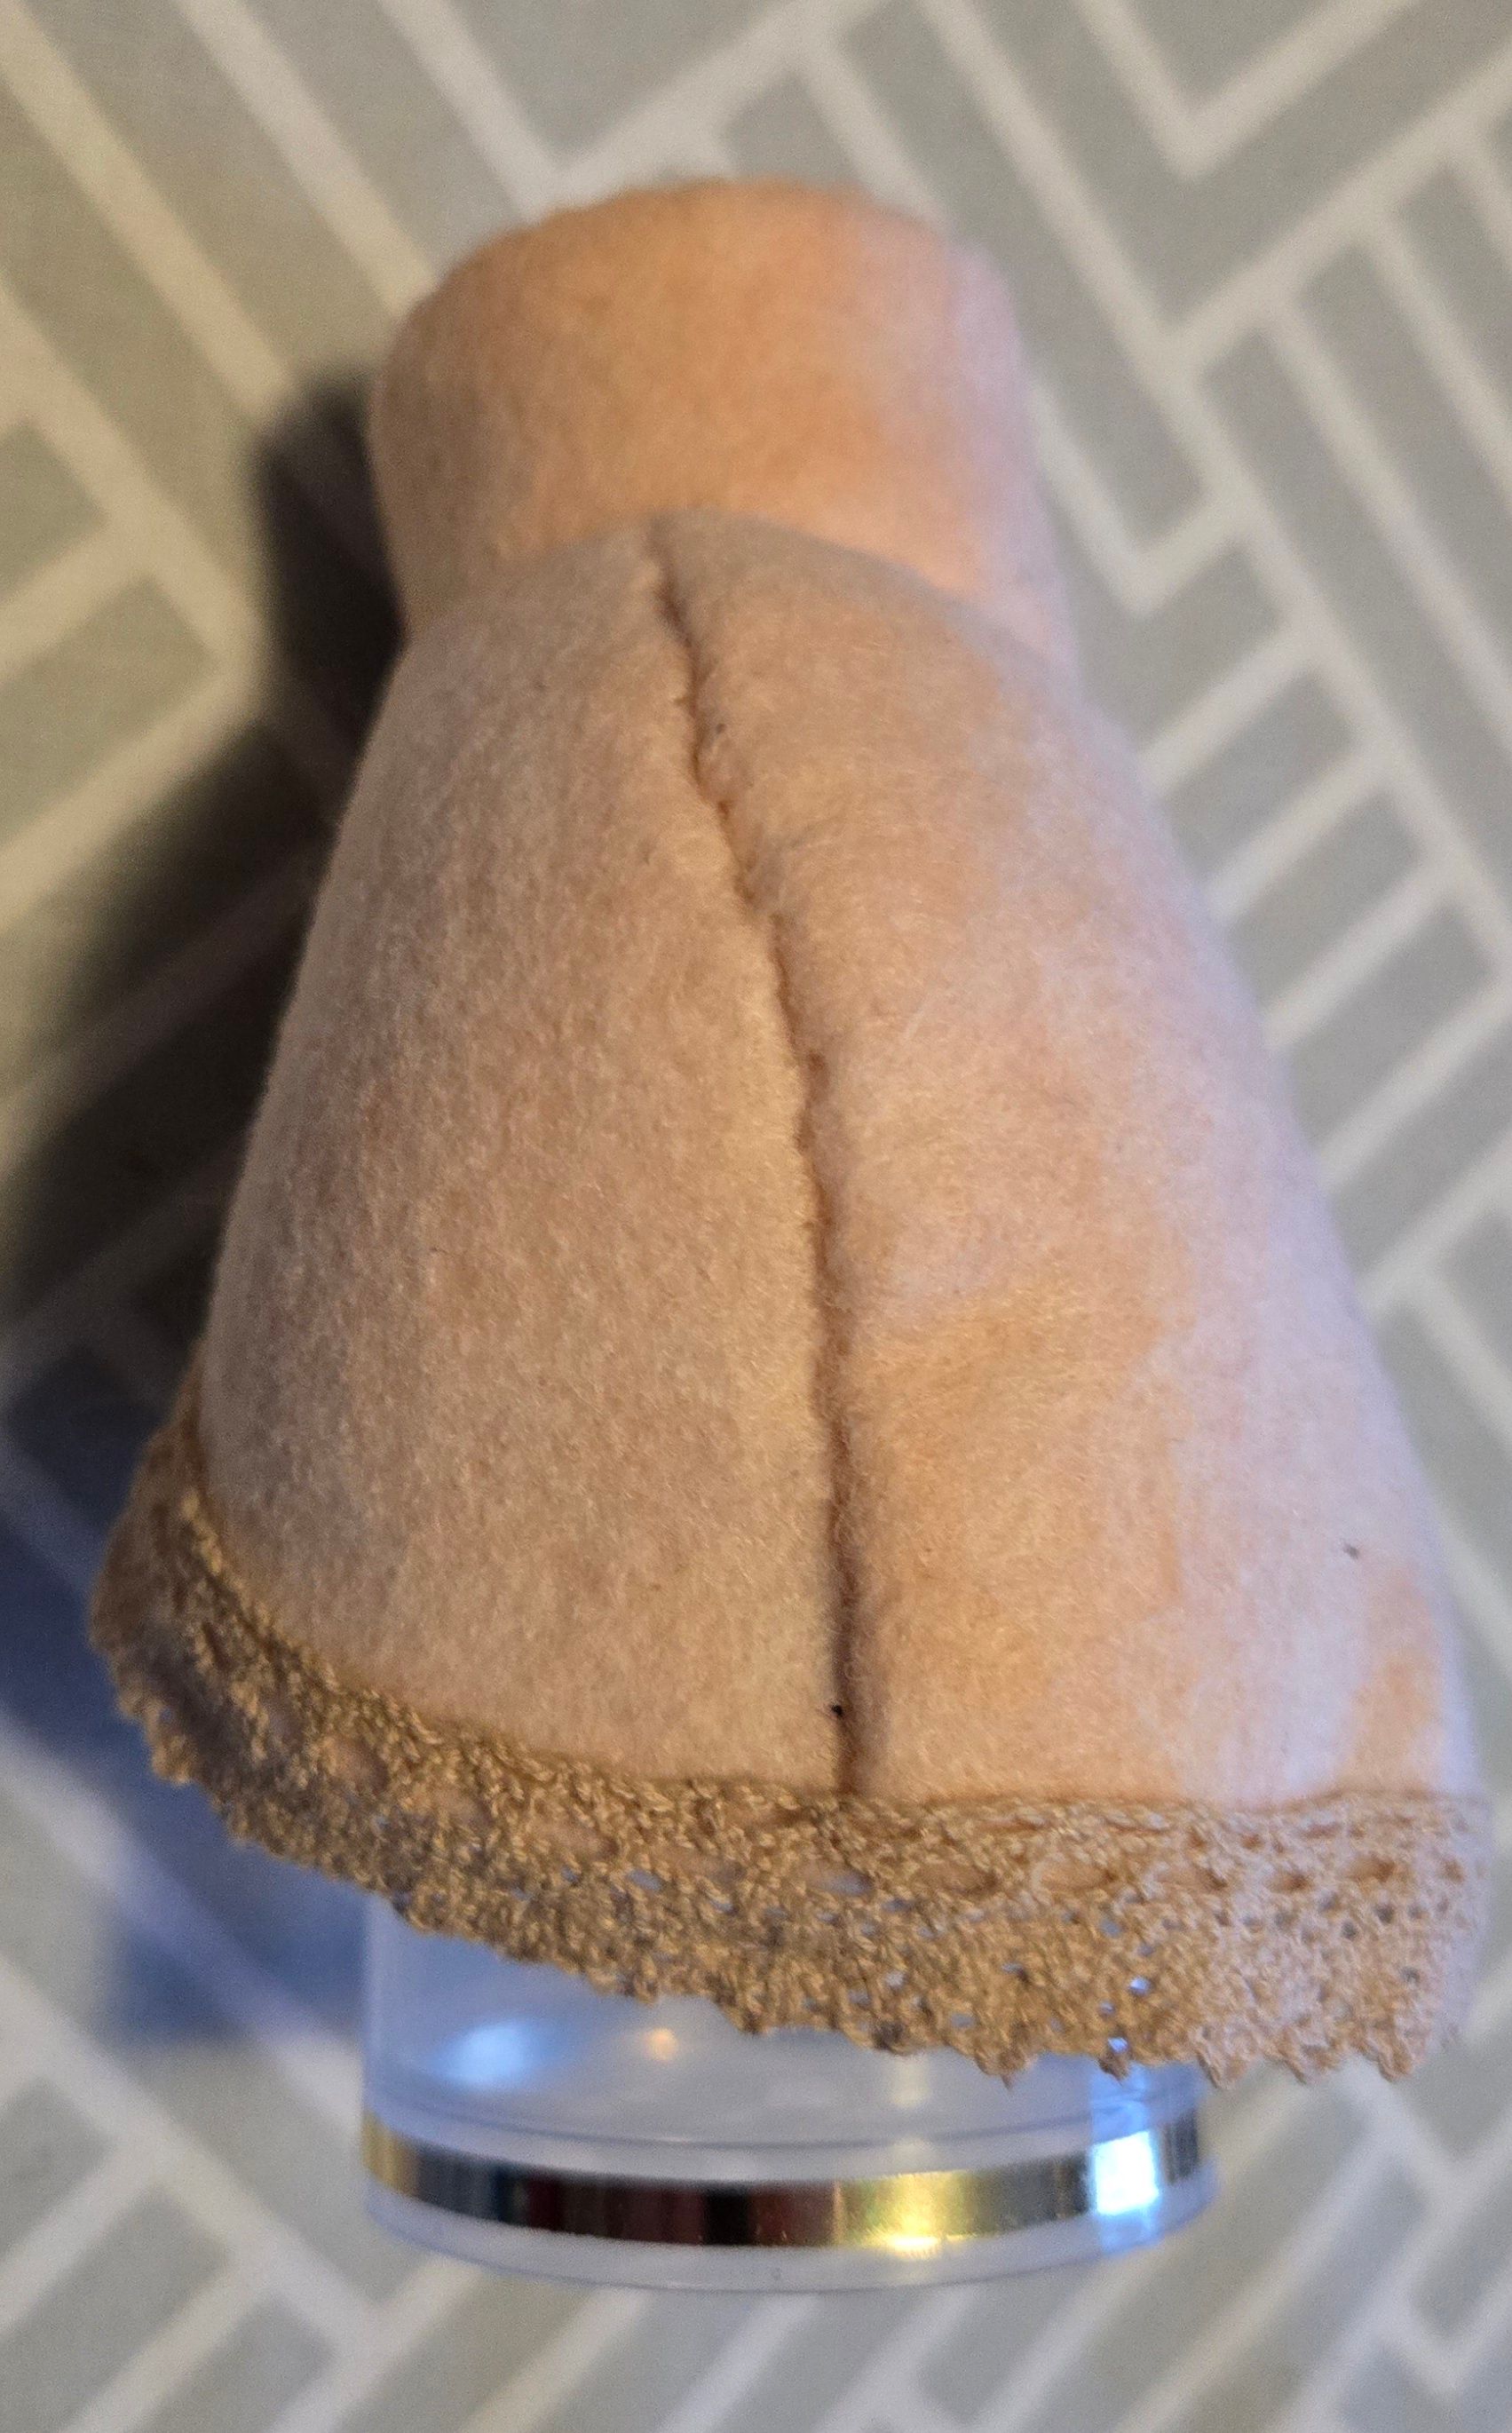
3. Everyone agreed that it was tidier to stitch the seam over the shoulders and along the sides rather than try to glue it down. Dots of glue were place at Centre front and Centre back on the bottle and the felts set in place accordingly. Then the seam allowance of the front was folded under, pinned in place over the back, and neatly stitched. The bottom edge was left as is, with the seam allowance hanging down past the bottle edge to hide it.
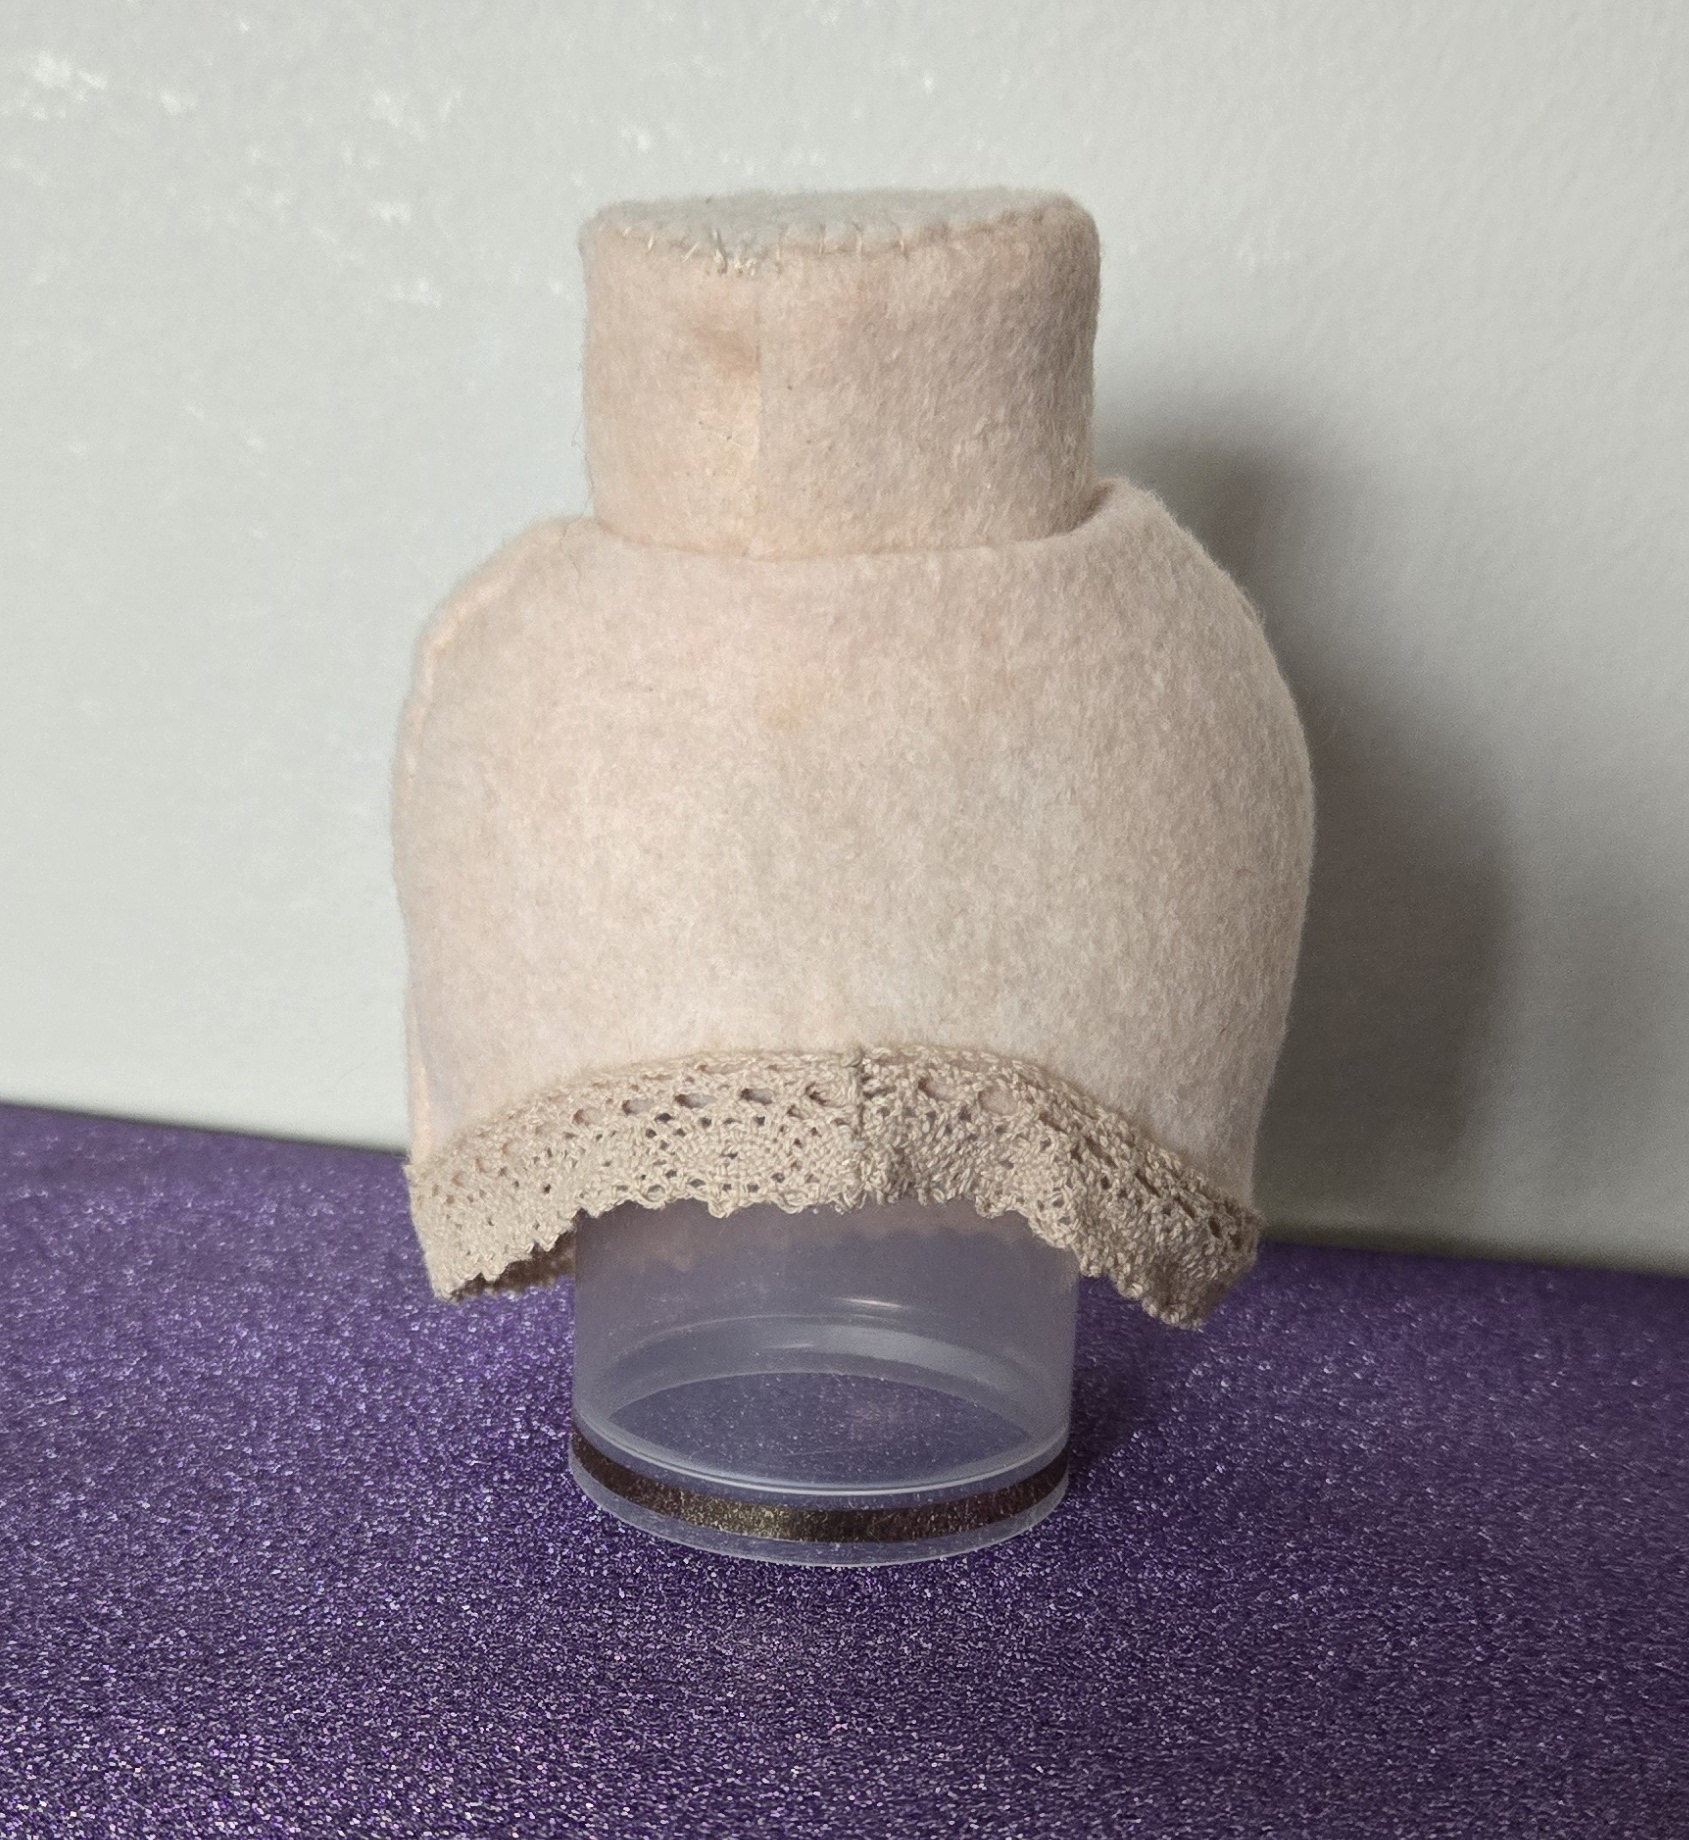
The Boss was not happy with the look of the bottom edge and asked the Designer to choose some lace for camouflage. This was stitched in place and helped to cover up the hem and add more length to the display.
4. A few dots of glue were were tucked in the folded neckline at the throat to keep the seam allowance from popping out.
5. Much debate followed about how to deal with the open top at the neck. Using a metallic button with the shank sitting at the top was suggested, but no such buttons were to be found. After some digging, the Designer finally produced a flat button which fit exactly into the space. It was glued in place and covered with a hand stitched circle of felt.

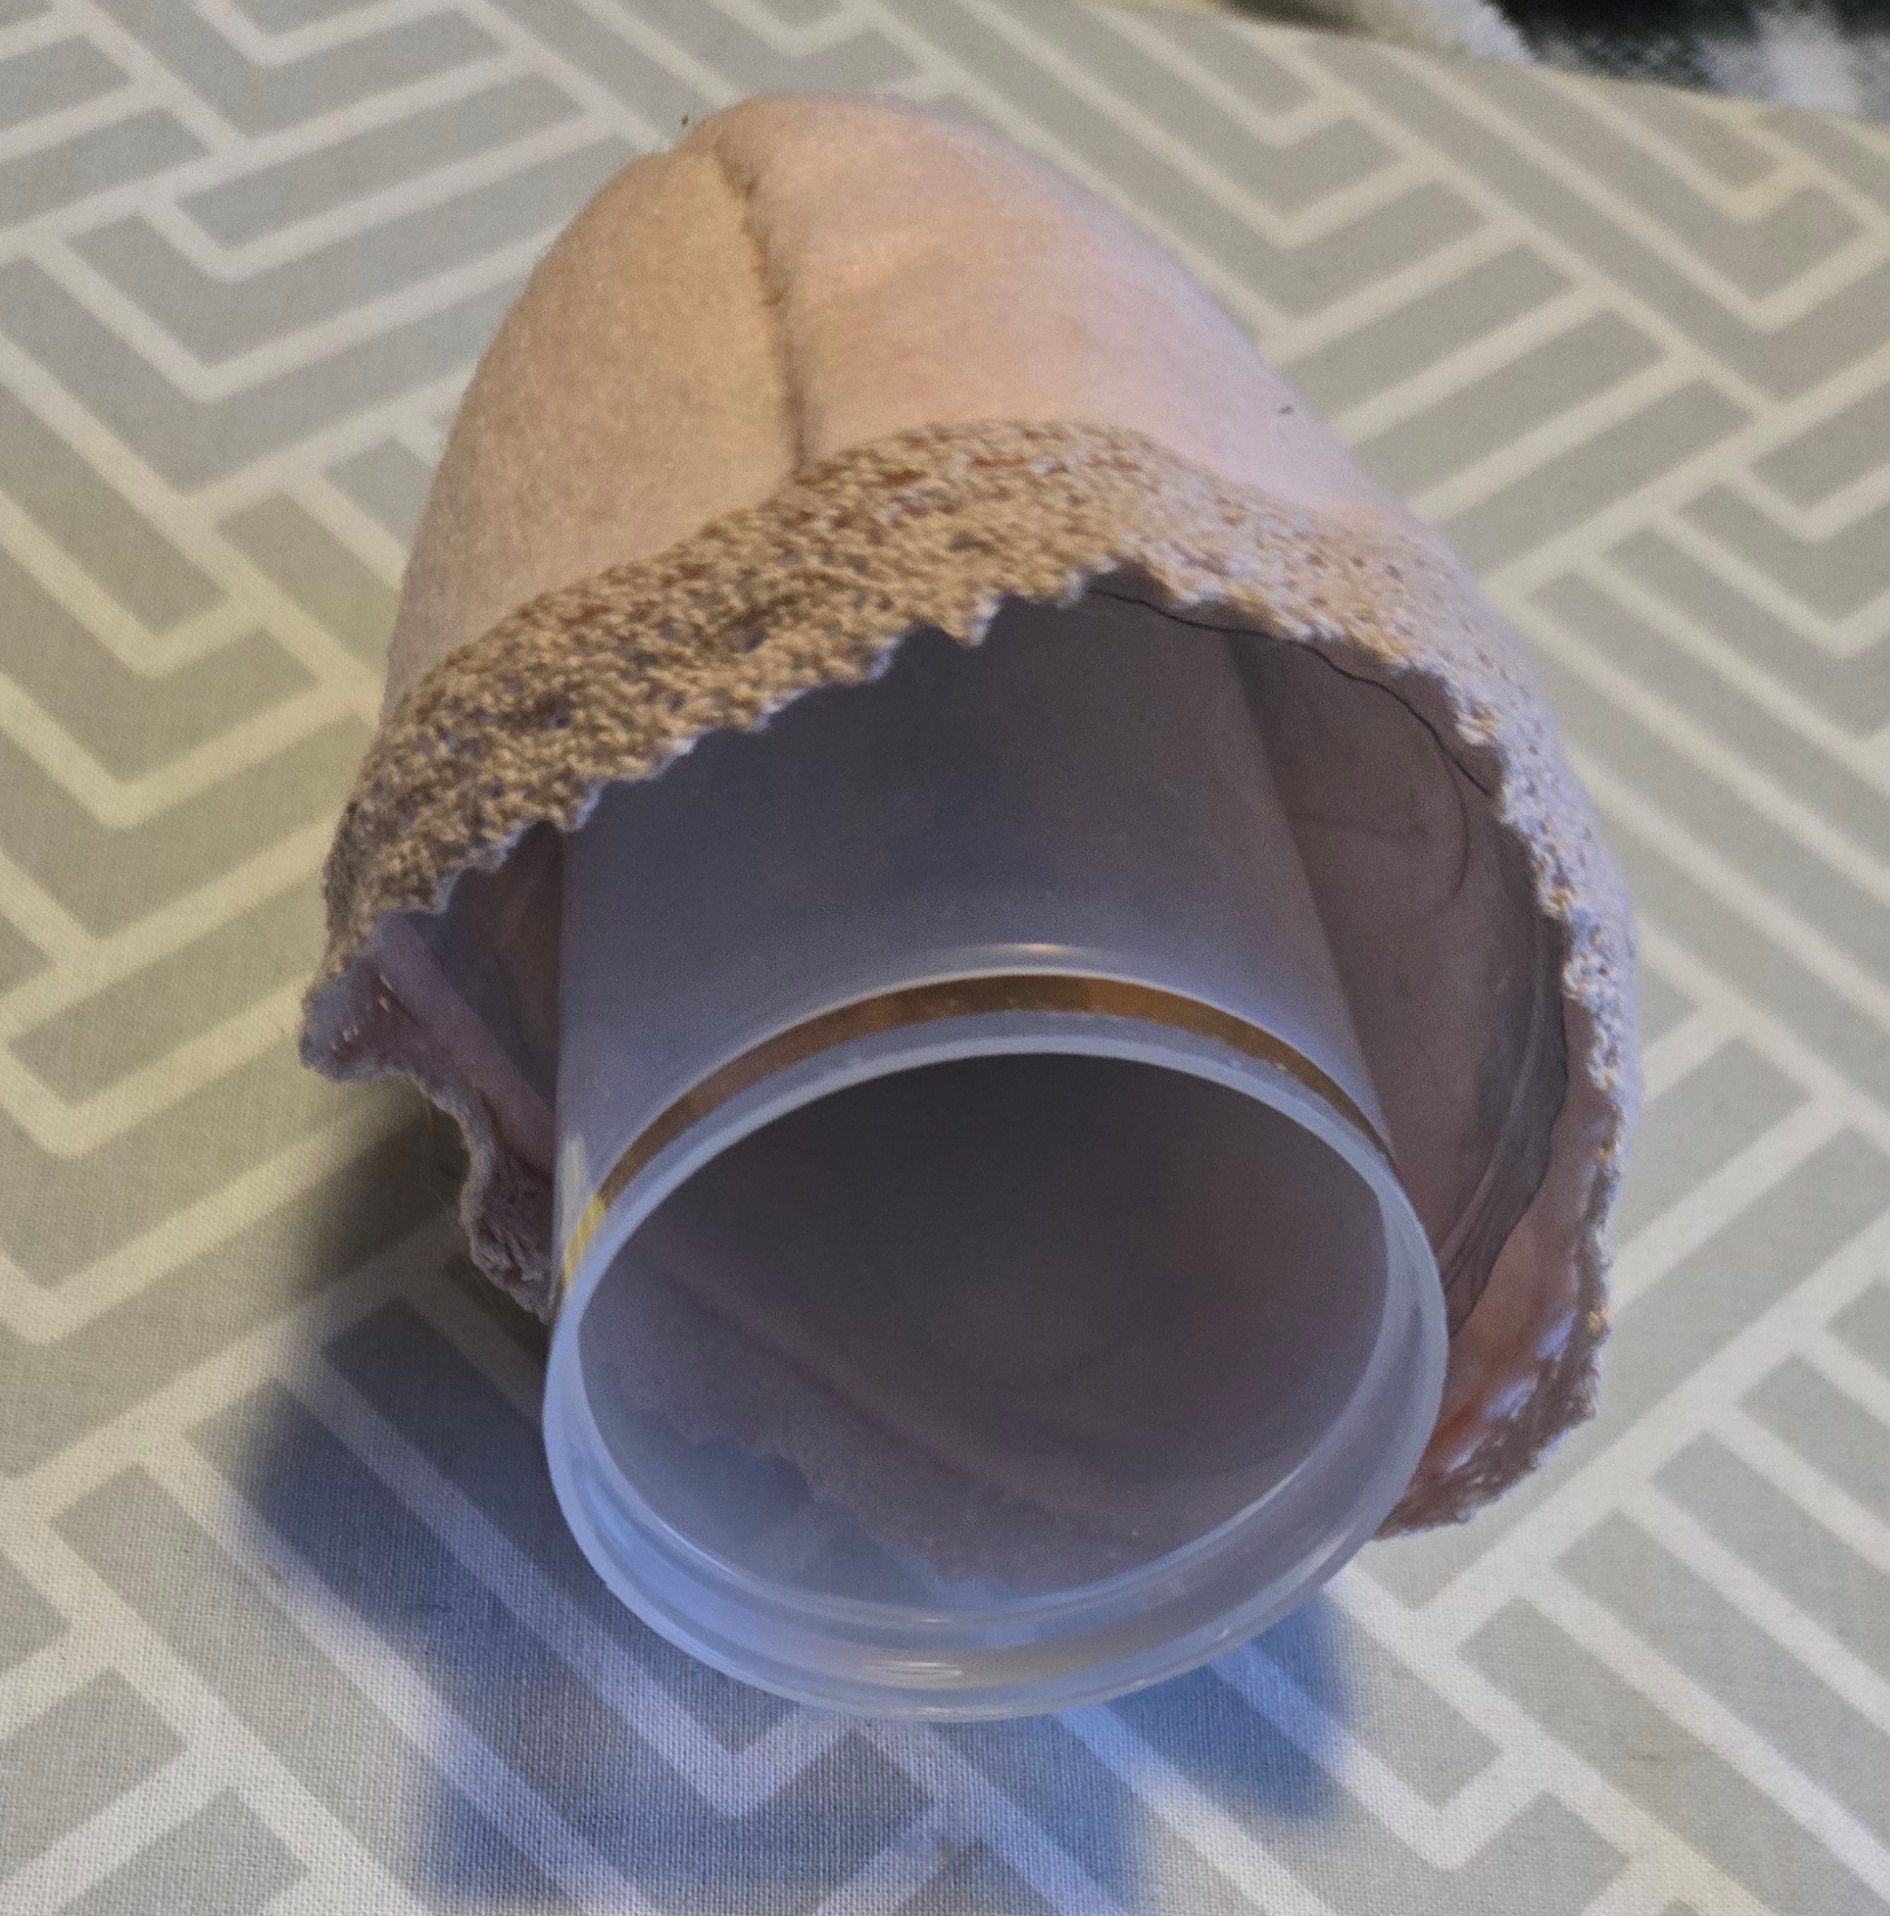
6. Now, how to keep the stand upright? Experiments were conducted using different sized dowels and quickly dismissed as too wobbly. Cardboard tubes? Nope. Finally someone produced the lid of a hairspray can which was decorative and serviceable enough to do the job. It was glued into place with much fanfare.
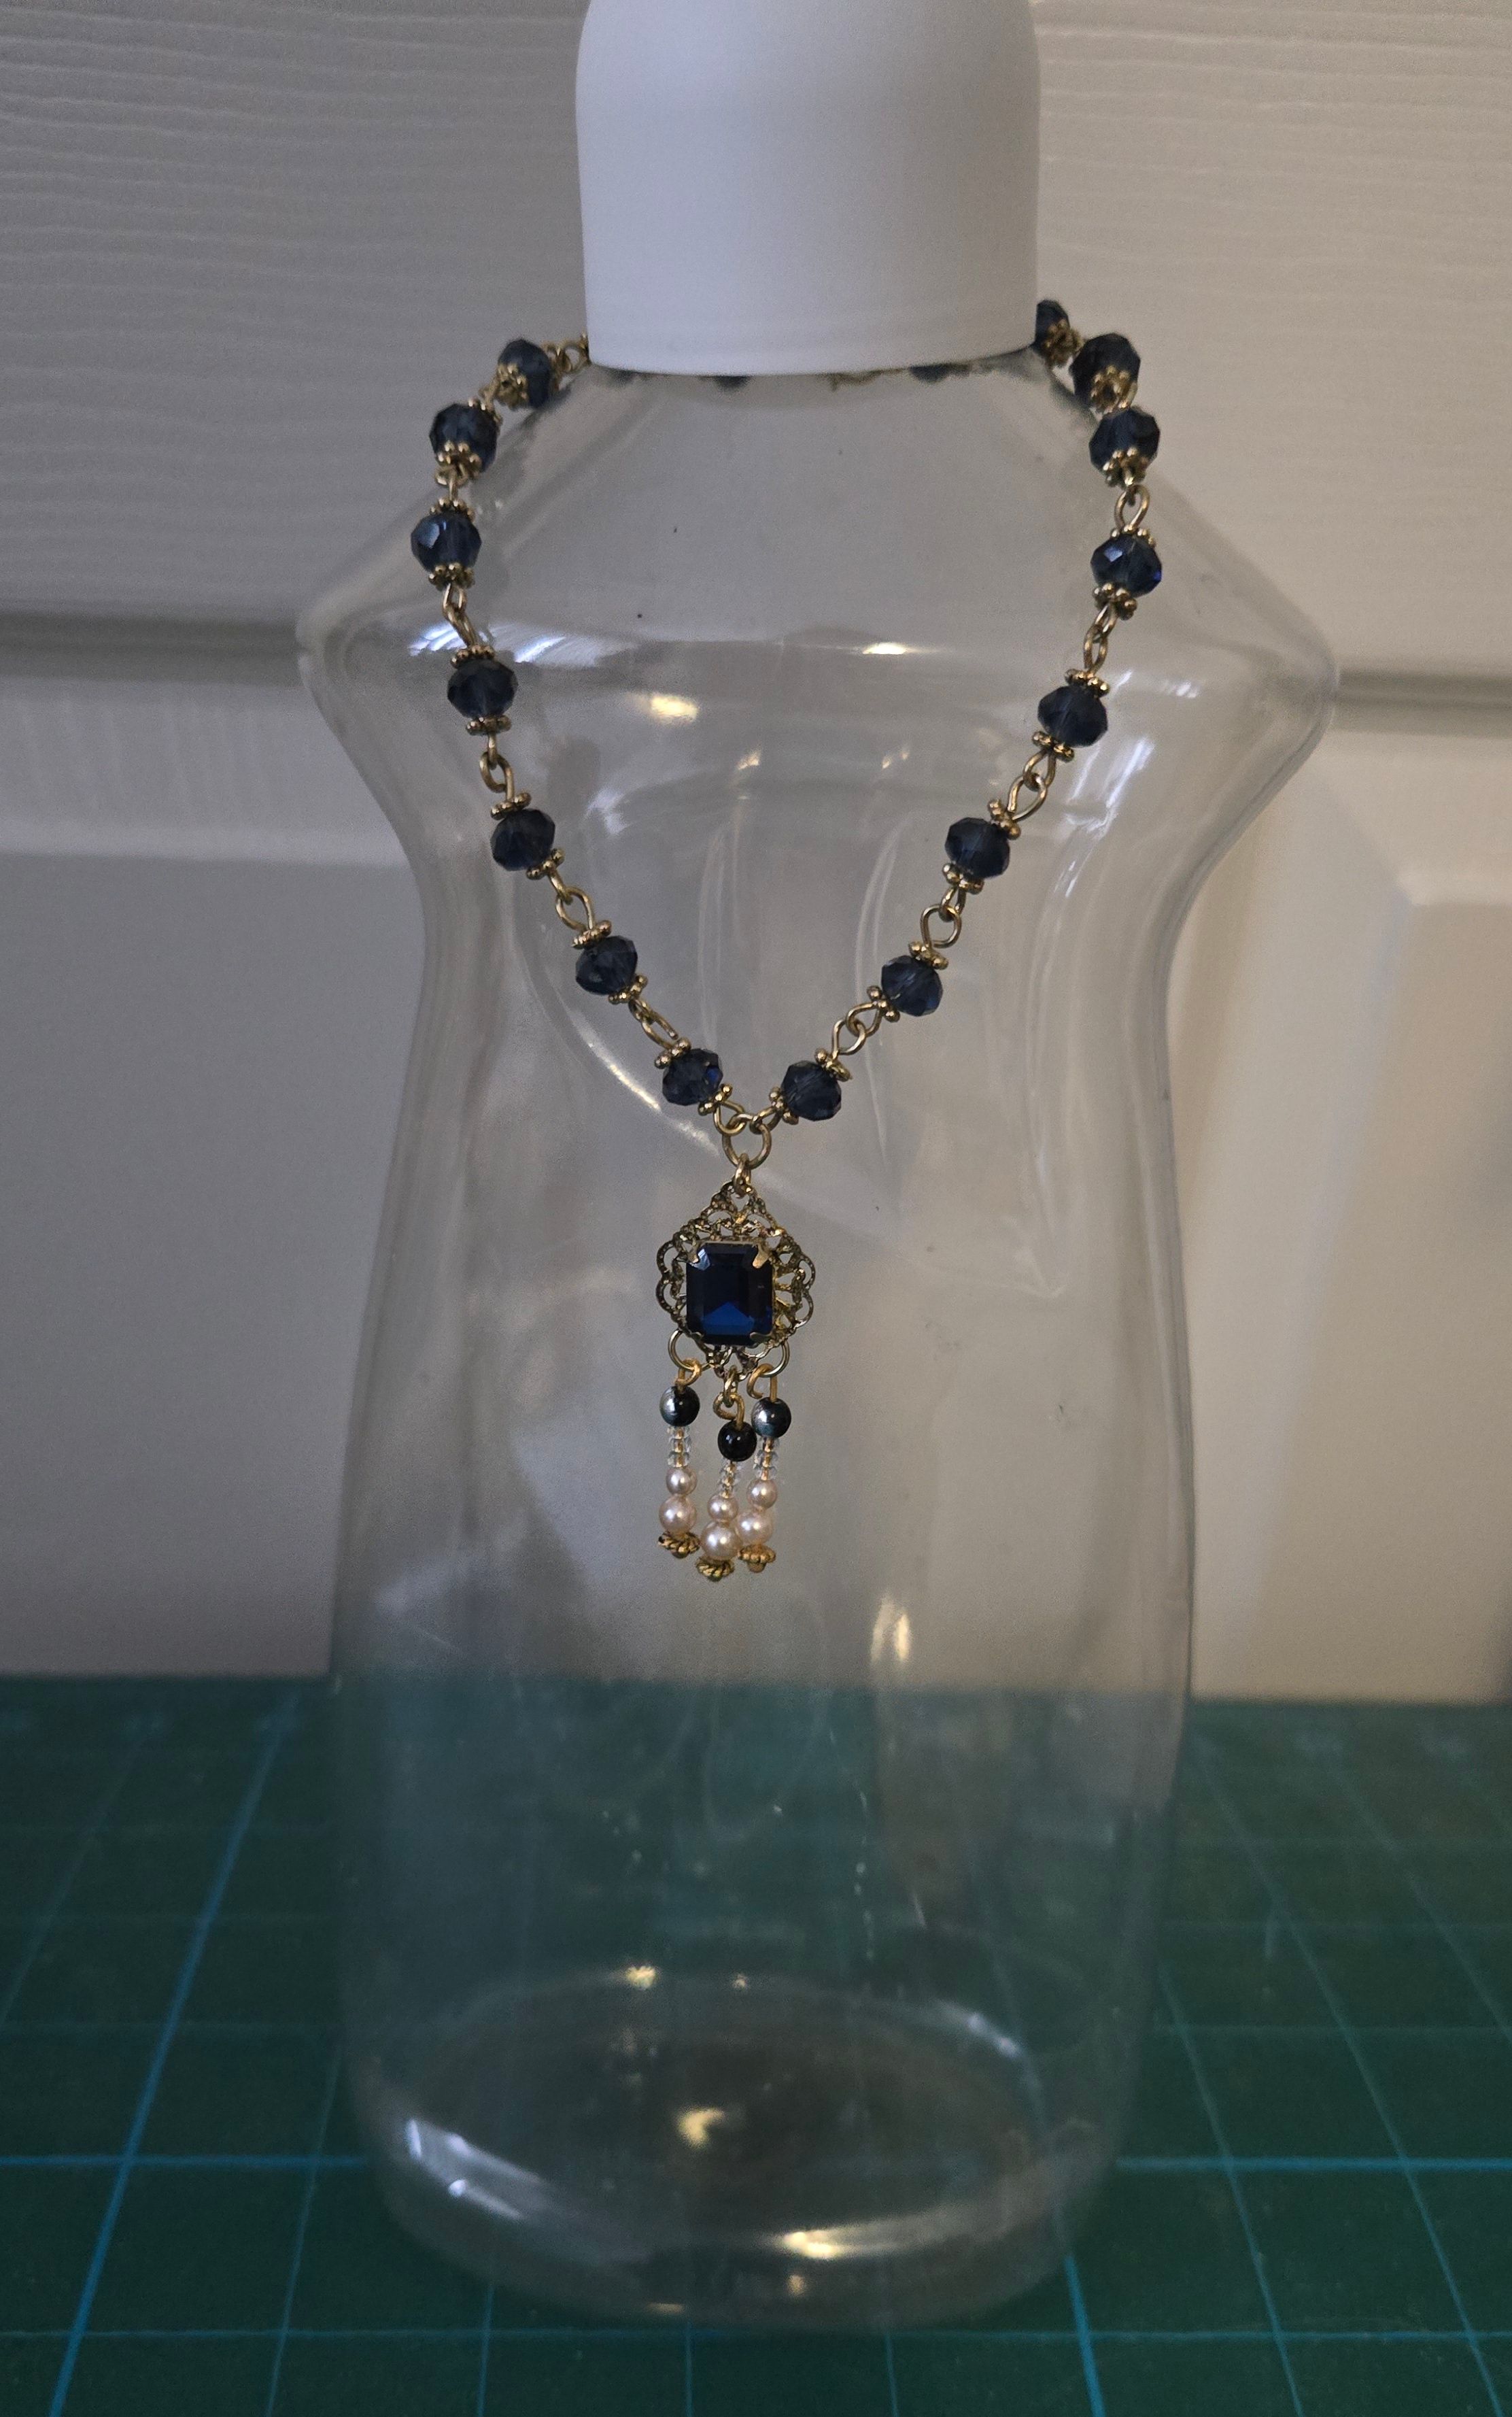
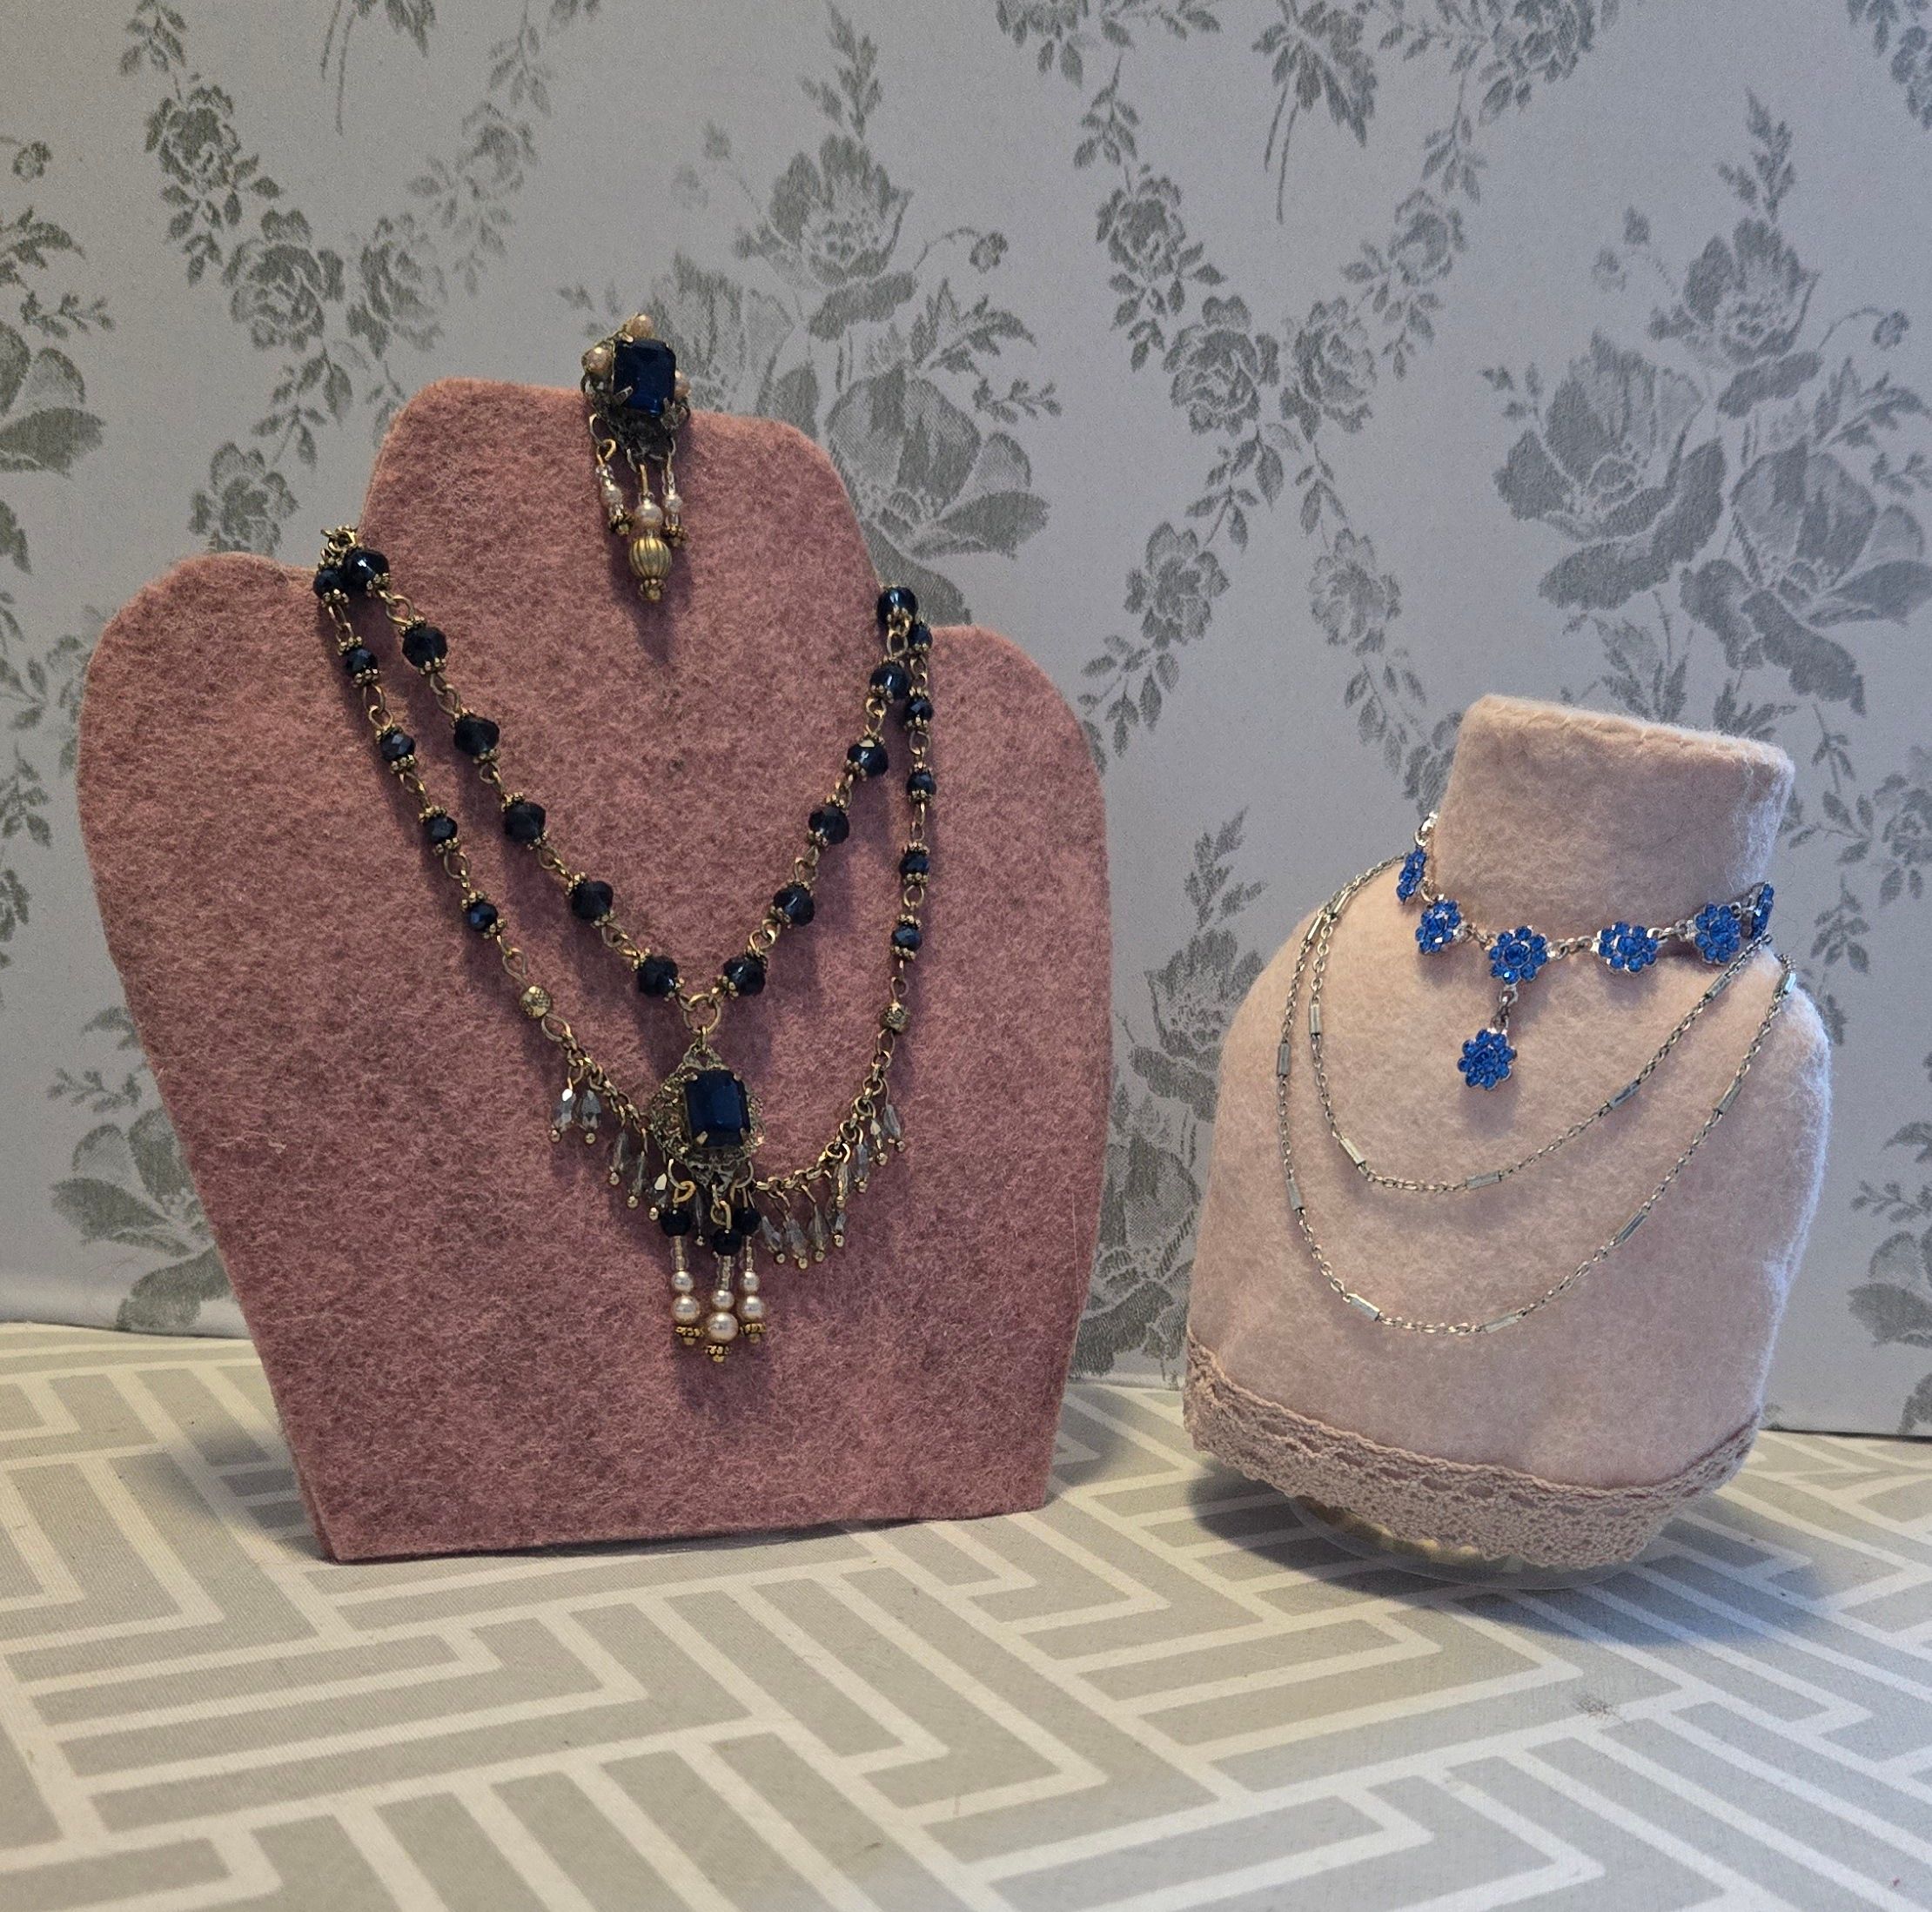
Tah dah! A display stand for the smaller ladies.
The felted torso had taken far more work than anticipated. Tea breaks were needed all 'round. After more than a few biscuits, the shop then turned its attention to a less complicated display stand.

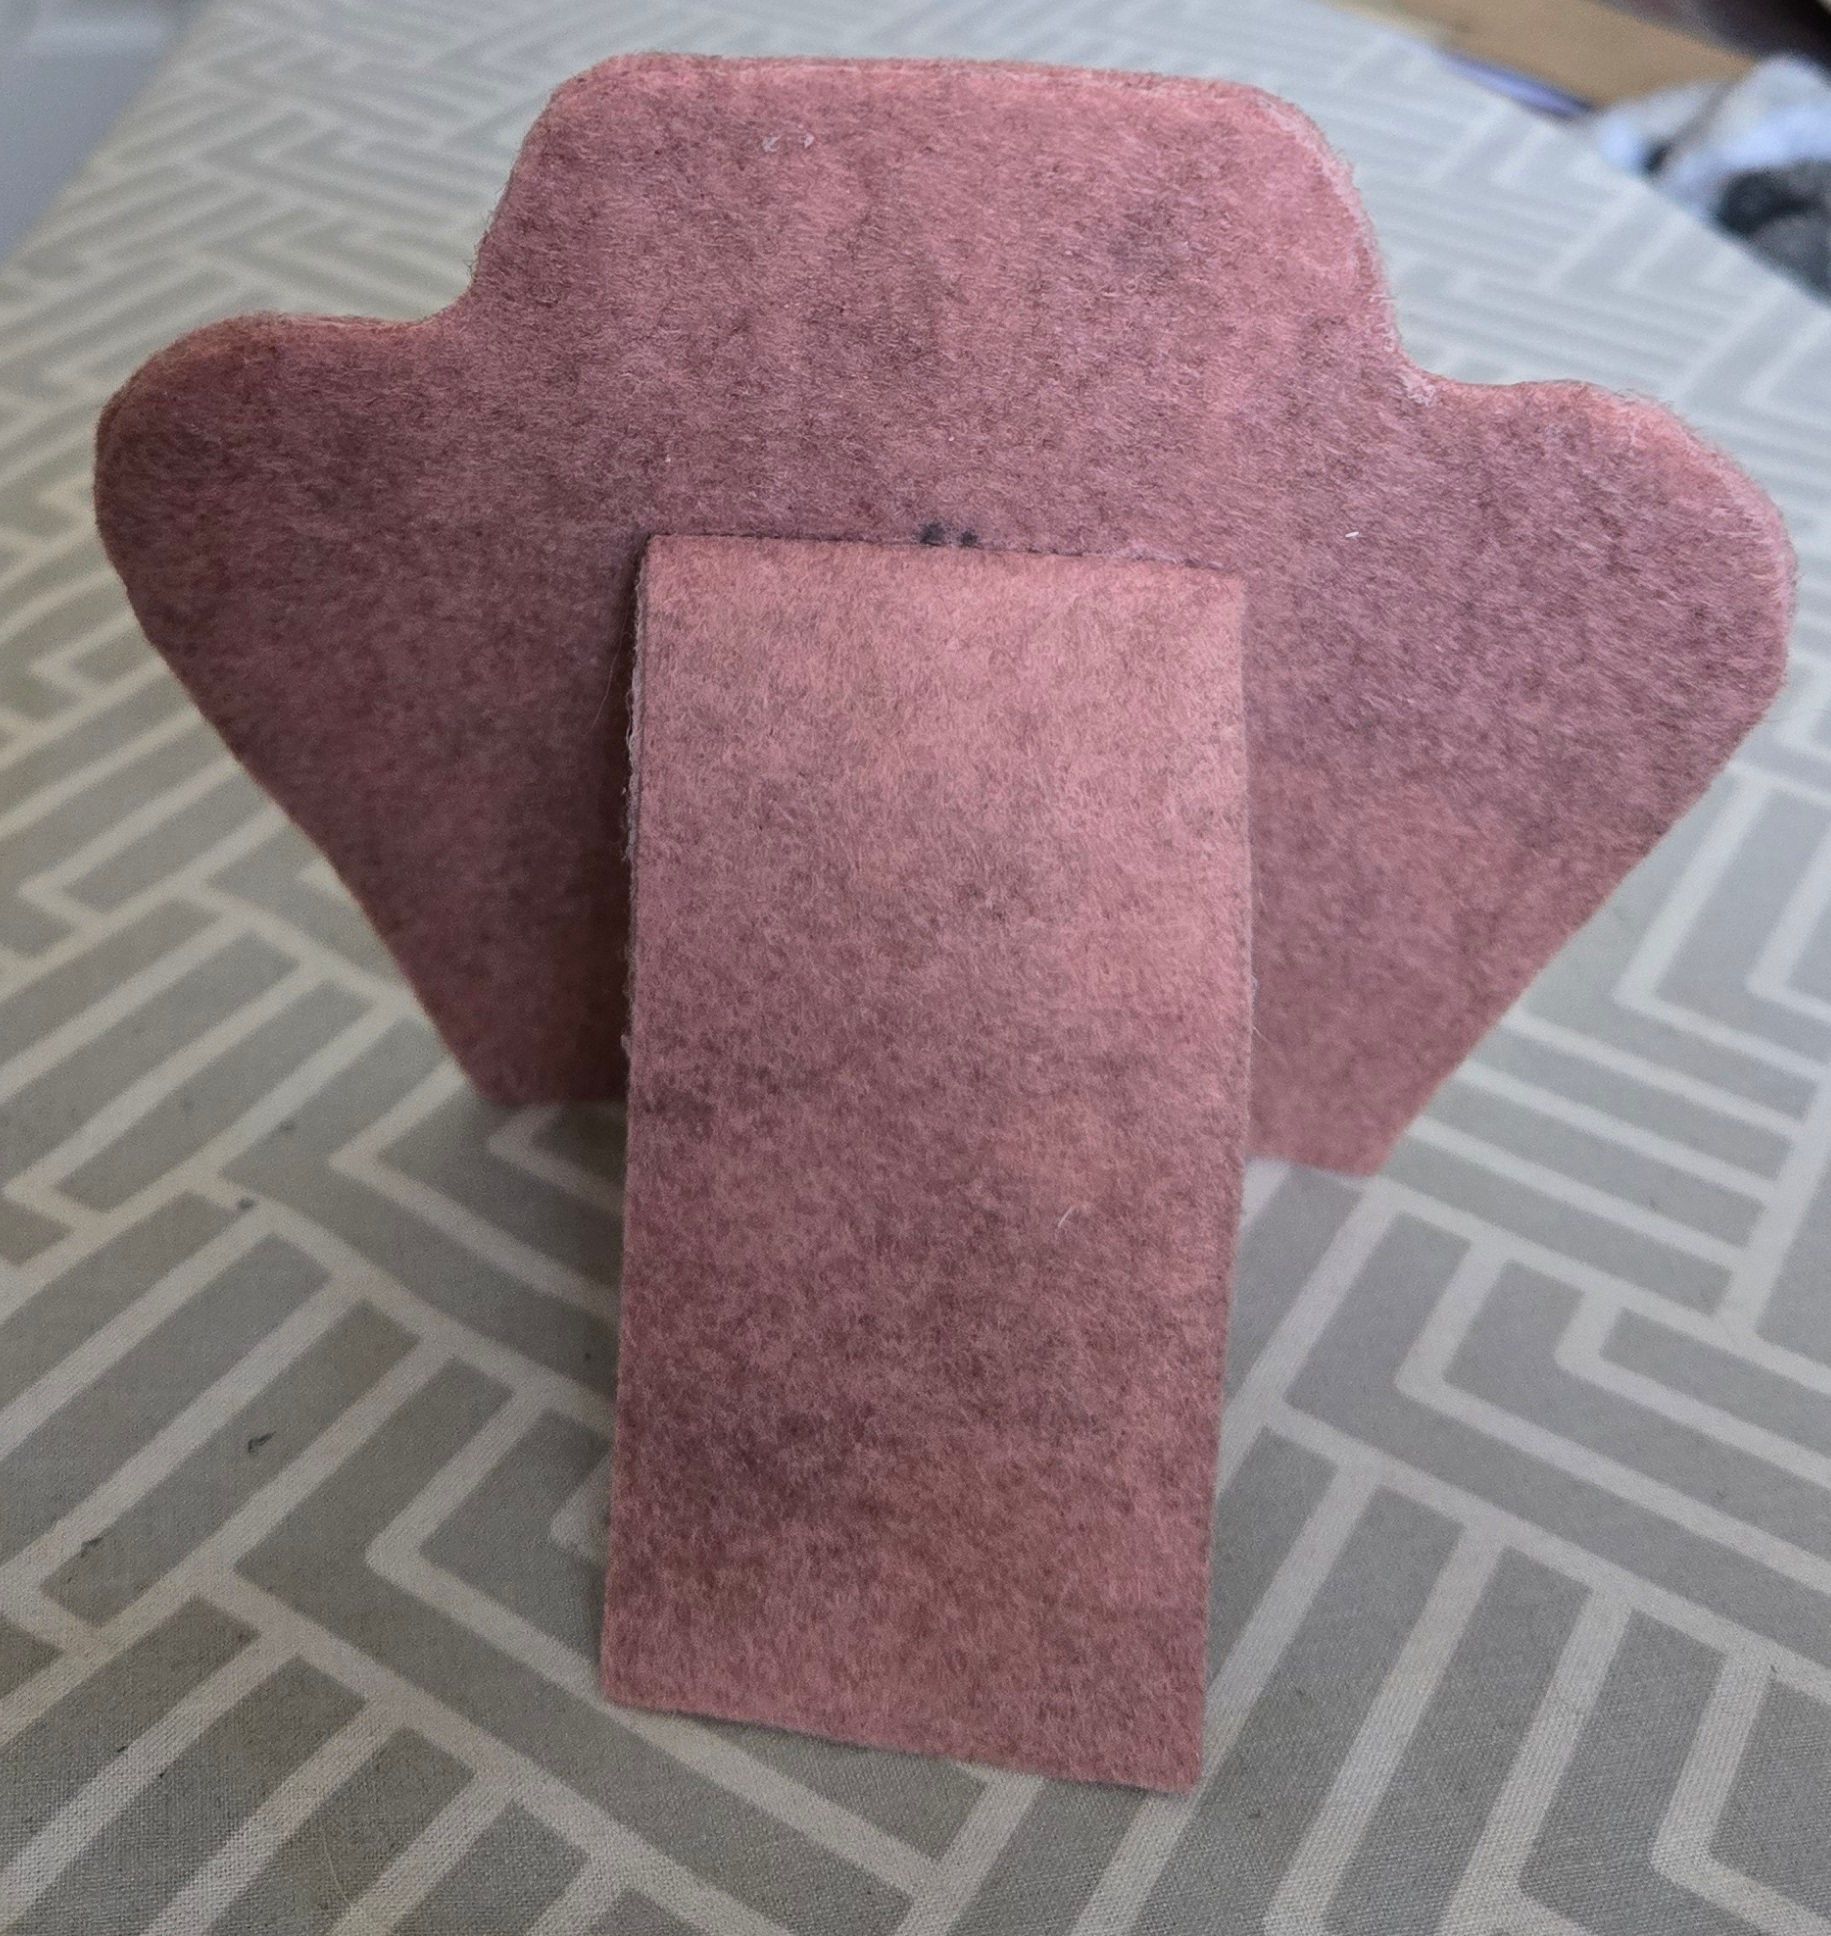
A pattern was produced first, to ensure the correct size and consider construction techniques. It was drafted for Adelaide's jewelry collection, which is large and varied.
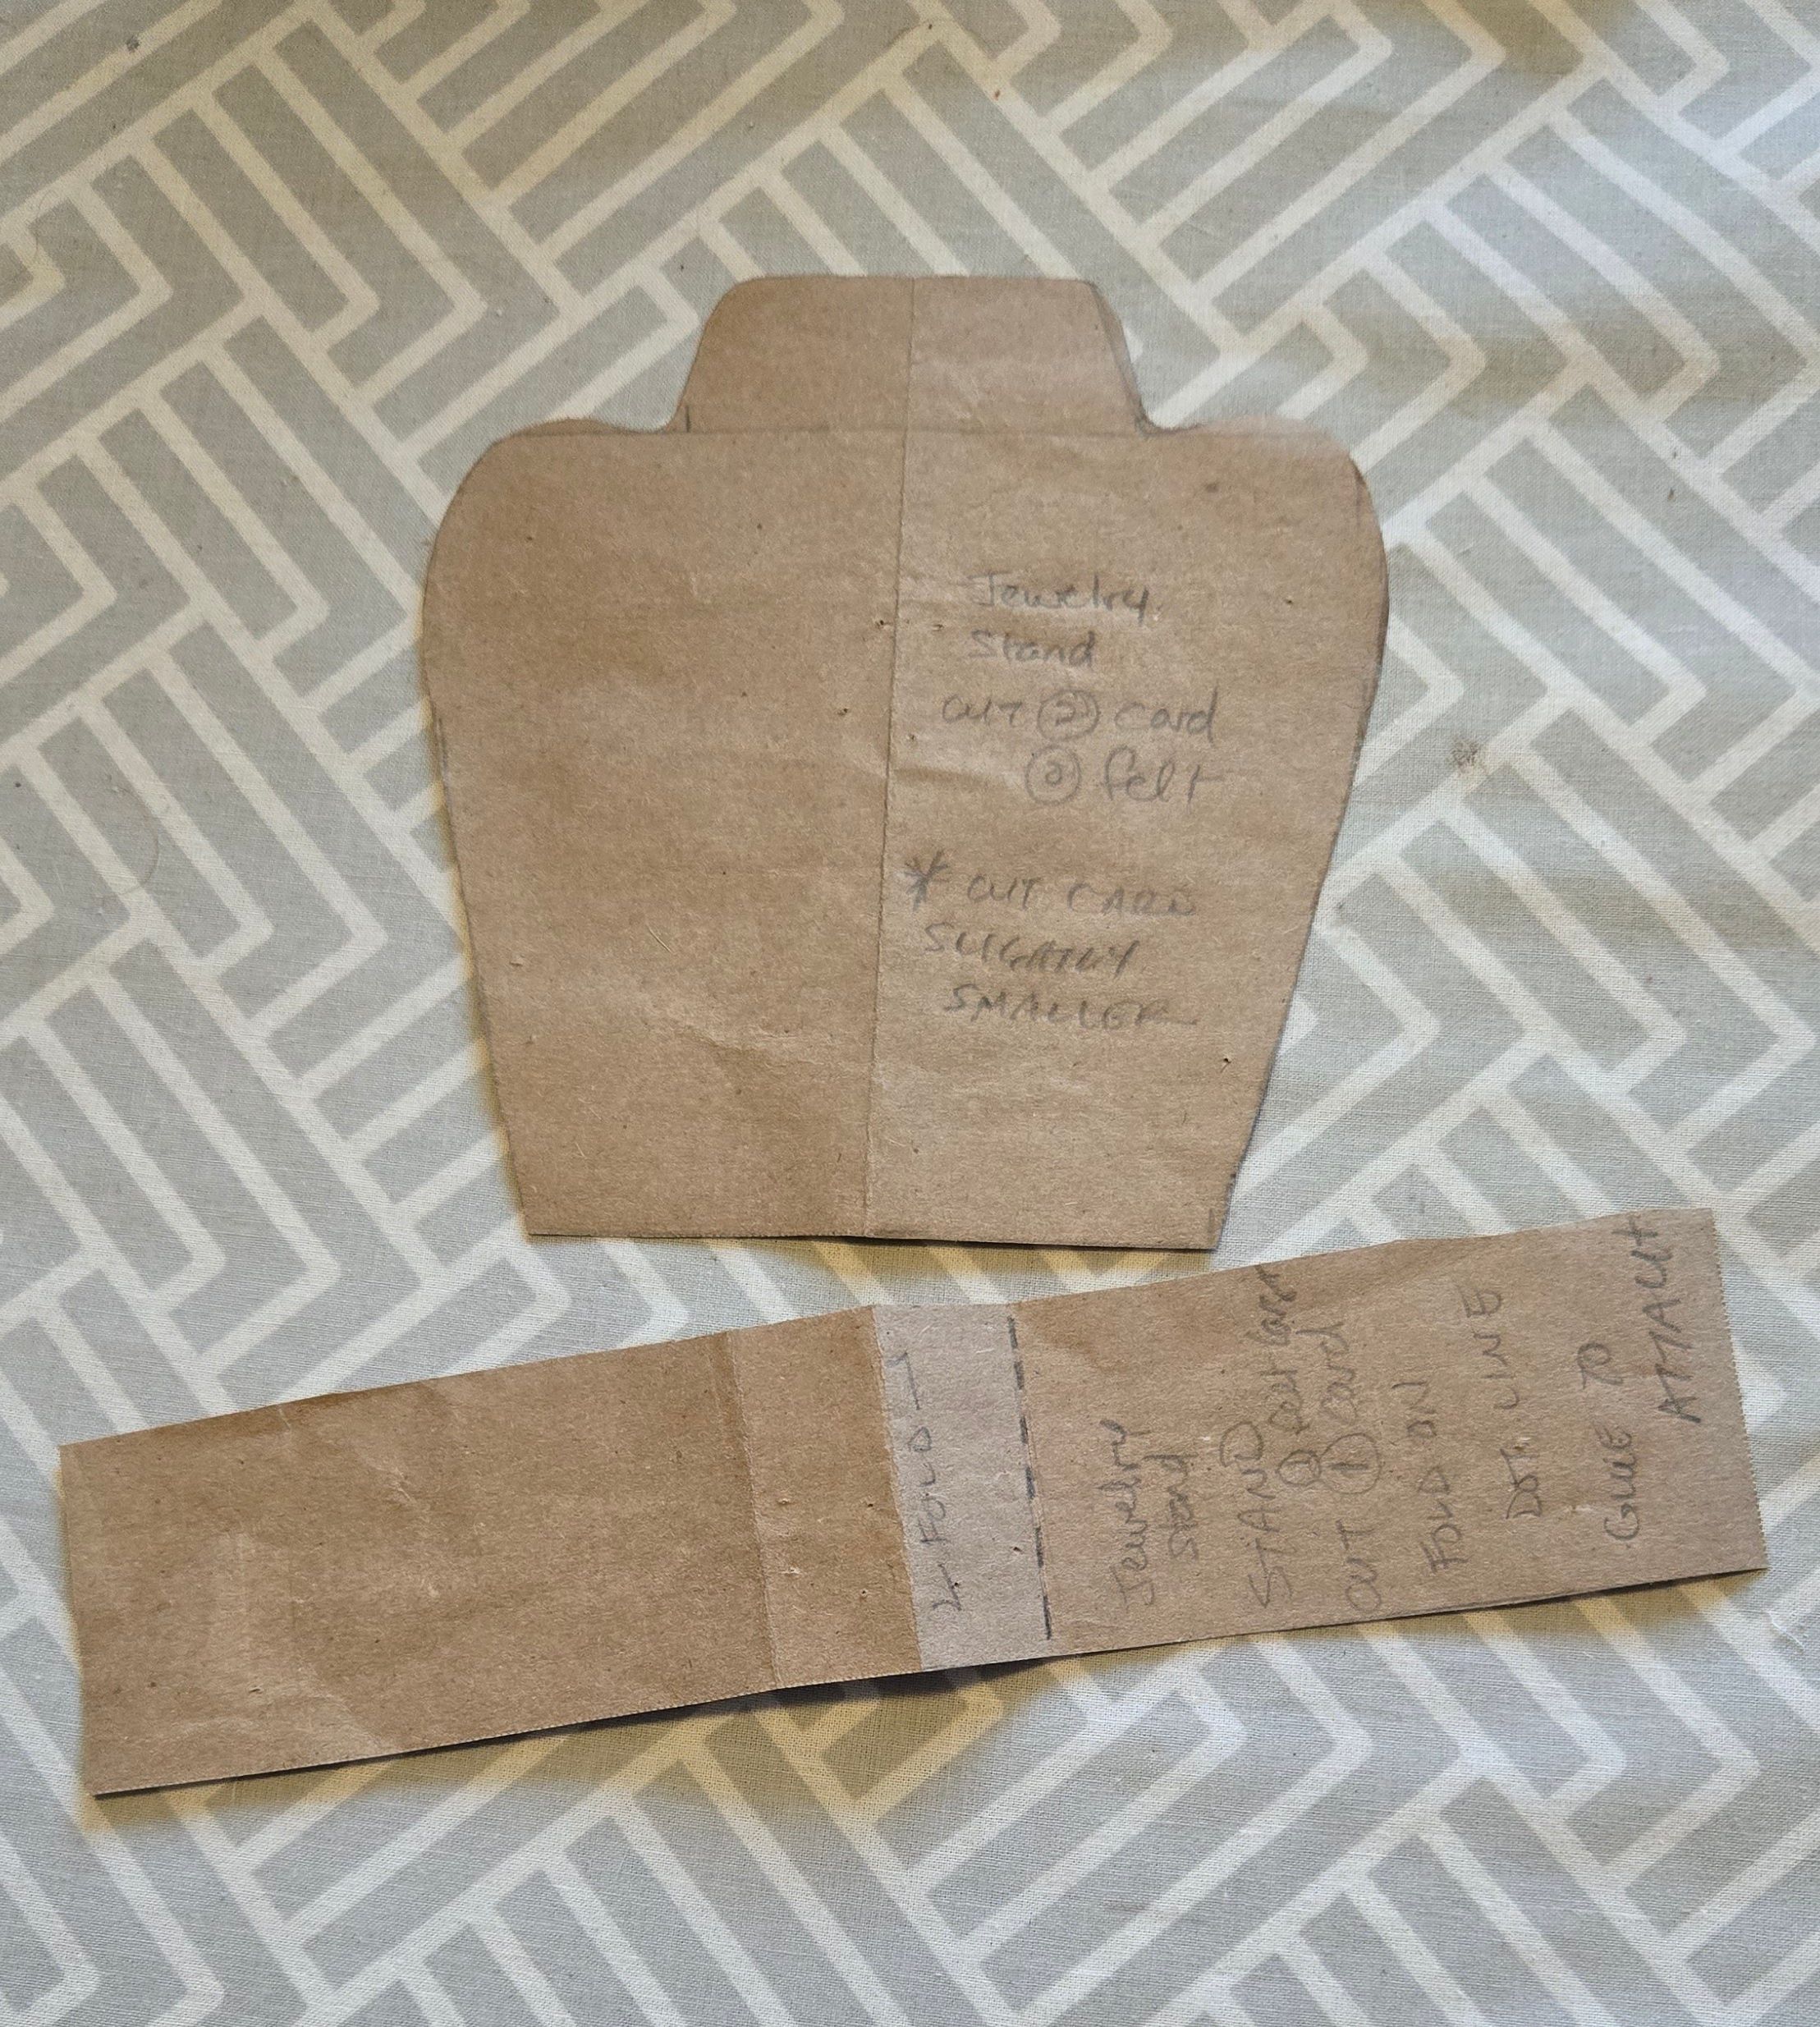
The stand measures 6 inches top to bottom. The widest point of the shoulders measures 5 3/2 ins. The bottom edge is 4 ins. To hold the stand upright, the pattern maker cut a stabilizer strip 9 1/2 inches by 2 inches. The stabilizer strip is folded to give the stand strength and then folded 3/4 inches at that edge so it can be glued to the stand.
After a test to ensure a necklace would stay in place, the stand was cut out.
-Two layers of poster board for the body of the stand. Heavy card stock might work too.
- One layer of poster board for the strip. Remember, it gets folded for strength. It is also wide to give the body stability.
- Two layers of felt ***cut at least 1/8 of an inch bigger than the poster board.*** This hides the poster board and allows the felt edges to be glued together securely.
To build:
1. Ordinary white glue was used to fix the body poster board layers and the folded strip of board together. Use a thin layer of glue so it does not warp the pieces and let it dry.
2. Then do the same with the felt layers, making sure they meet at the edges, cover the poster board, and are securely closed. The edges can be finessed if needed with careful trimming.
3. The accessorist recommends sitting a heavy book on top of the layers to keep them flat, with some plastic over the pieces. (No glue allowed on the books!)
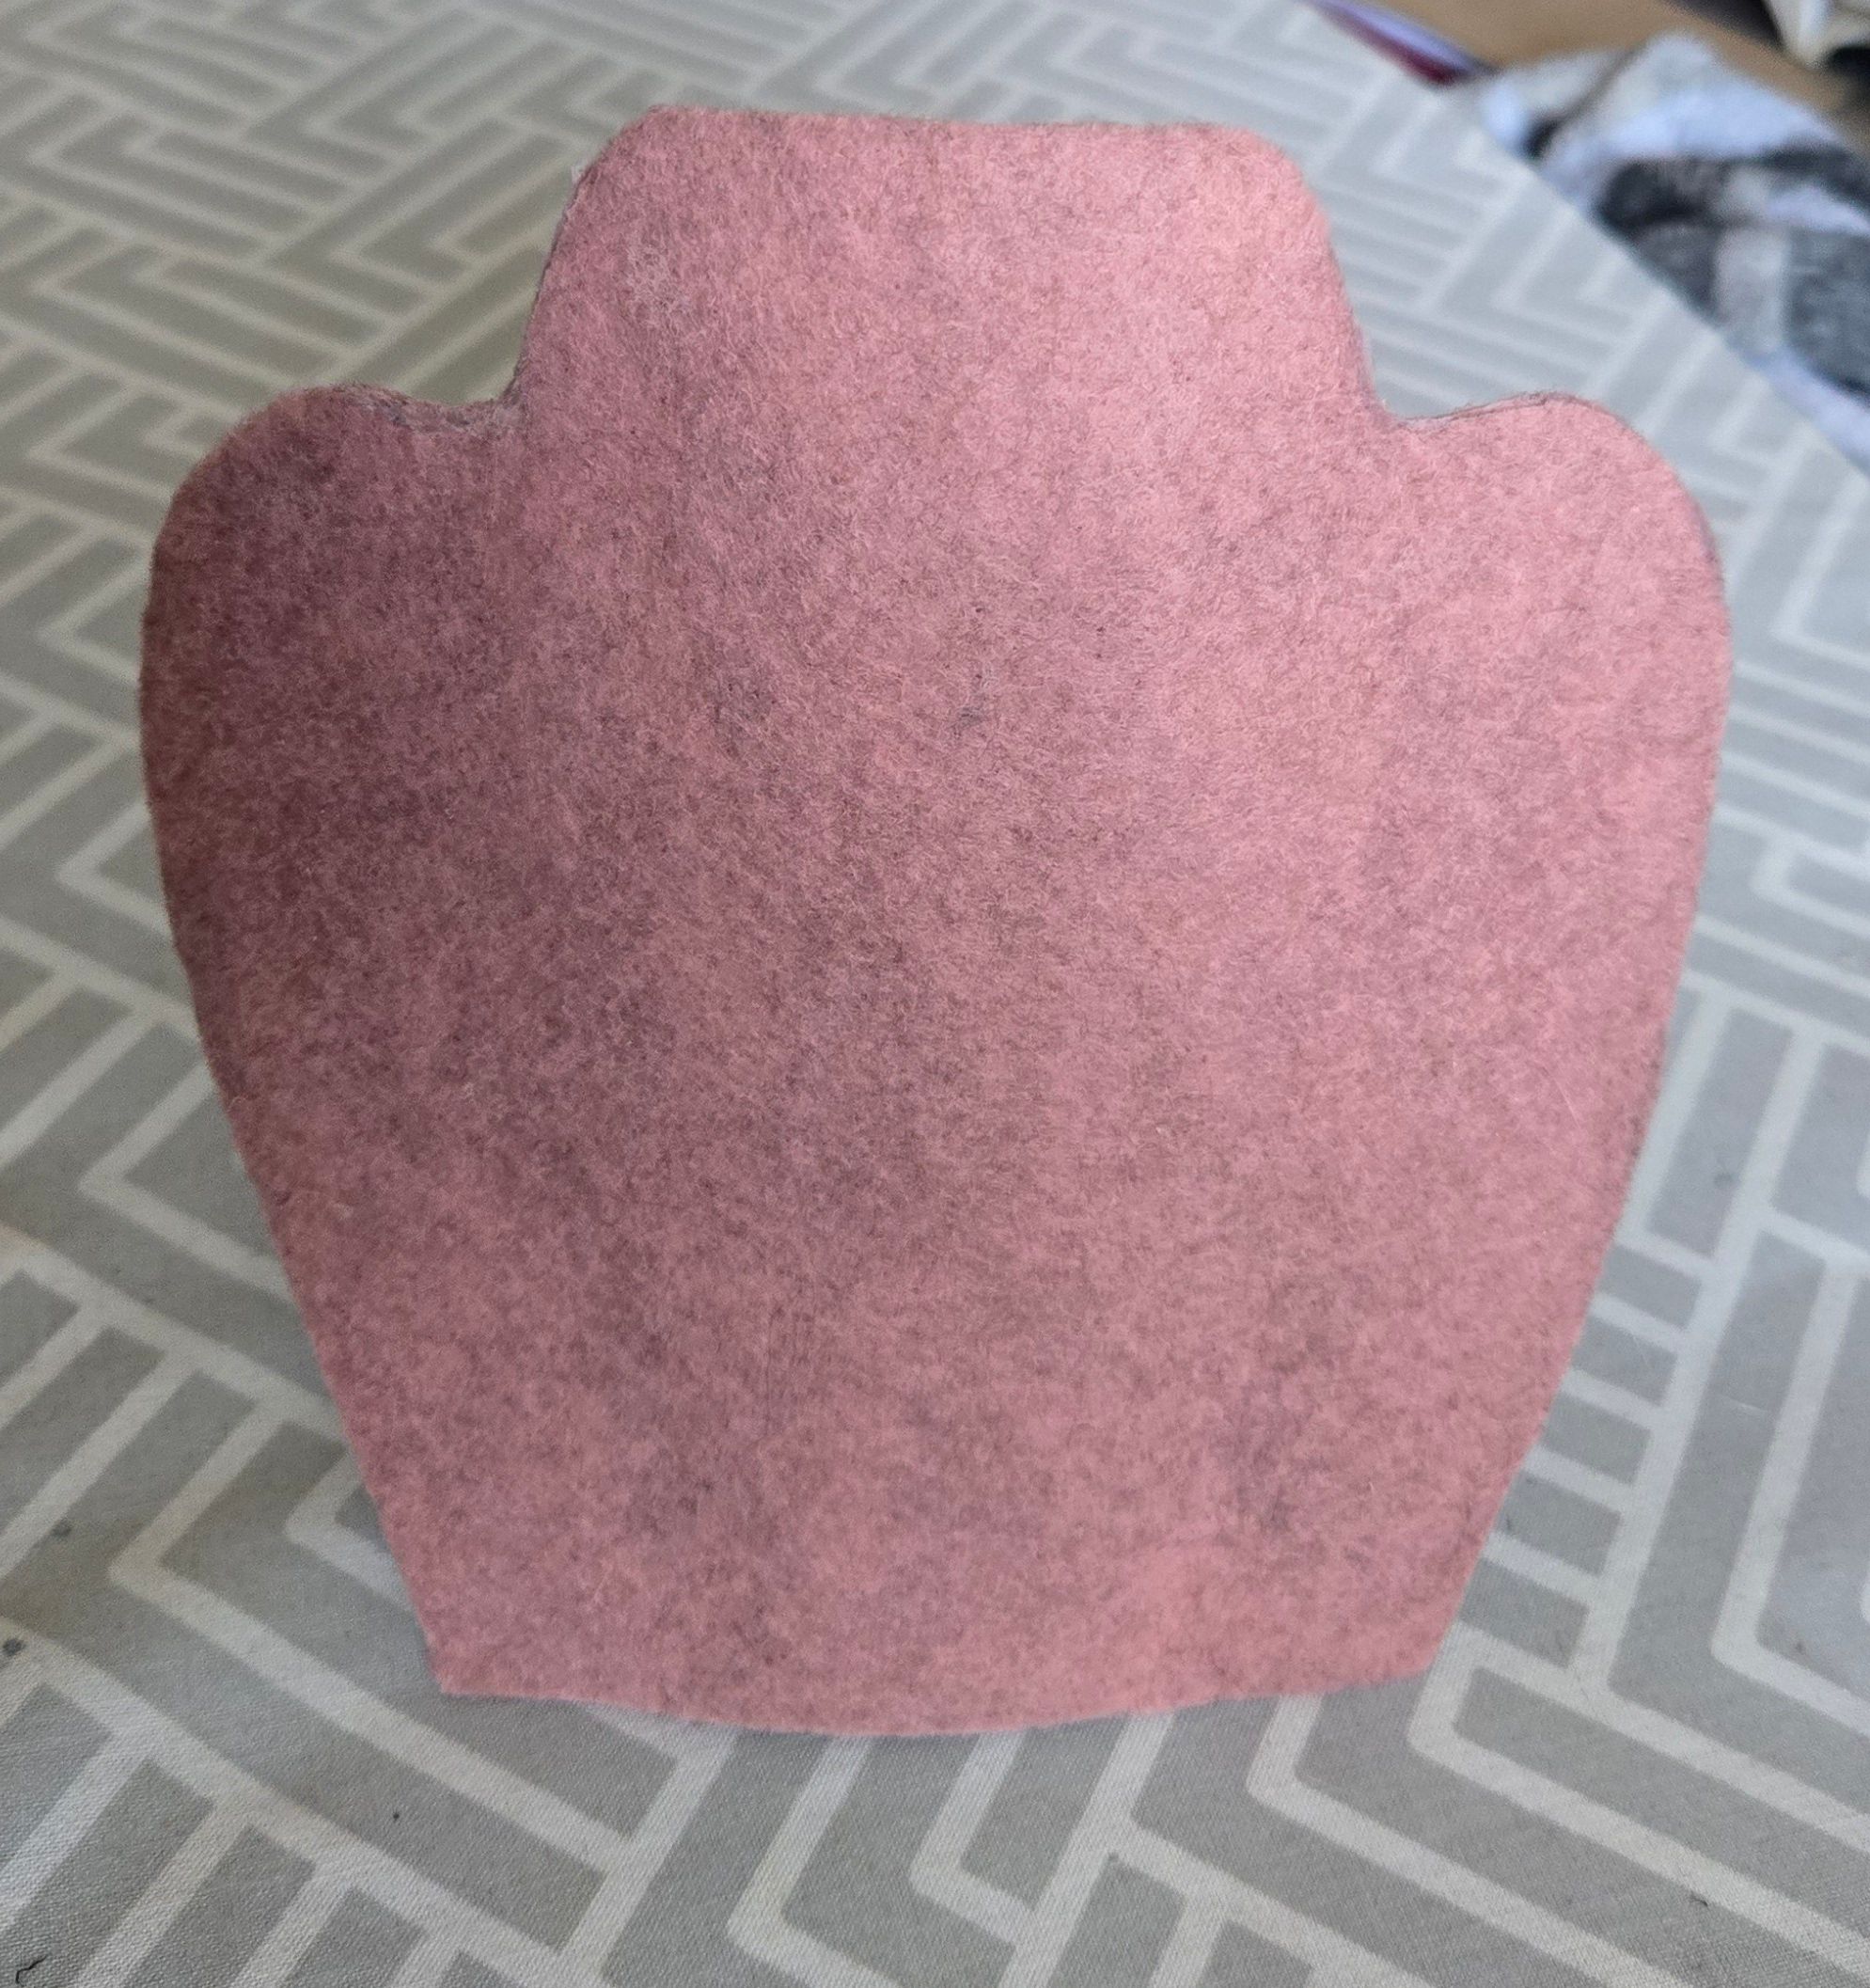
The body of the stand can be shaped with a bit of a curve if desired. Gently create that curve with your fingers, after the piece is dried. The Designer just might ask for two punch holes in the top of the neck for earrings to be displayed too.
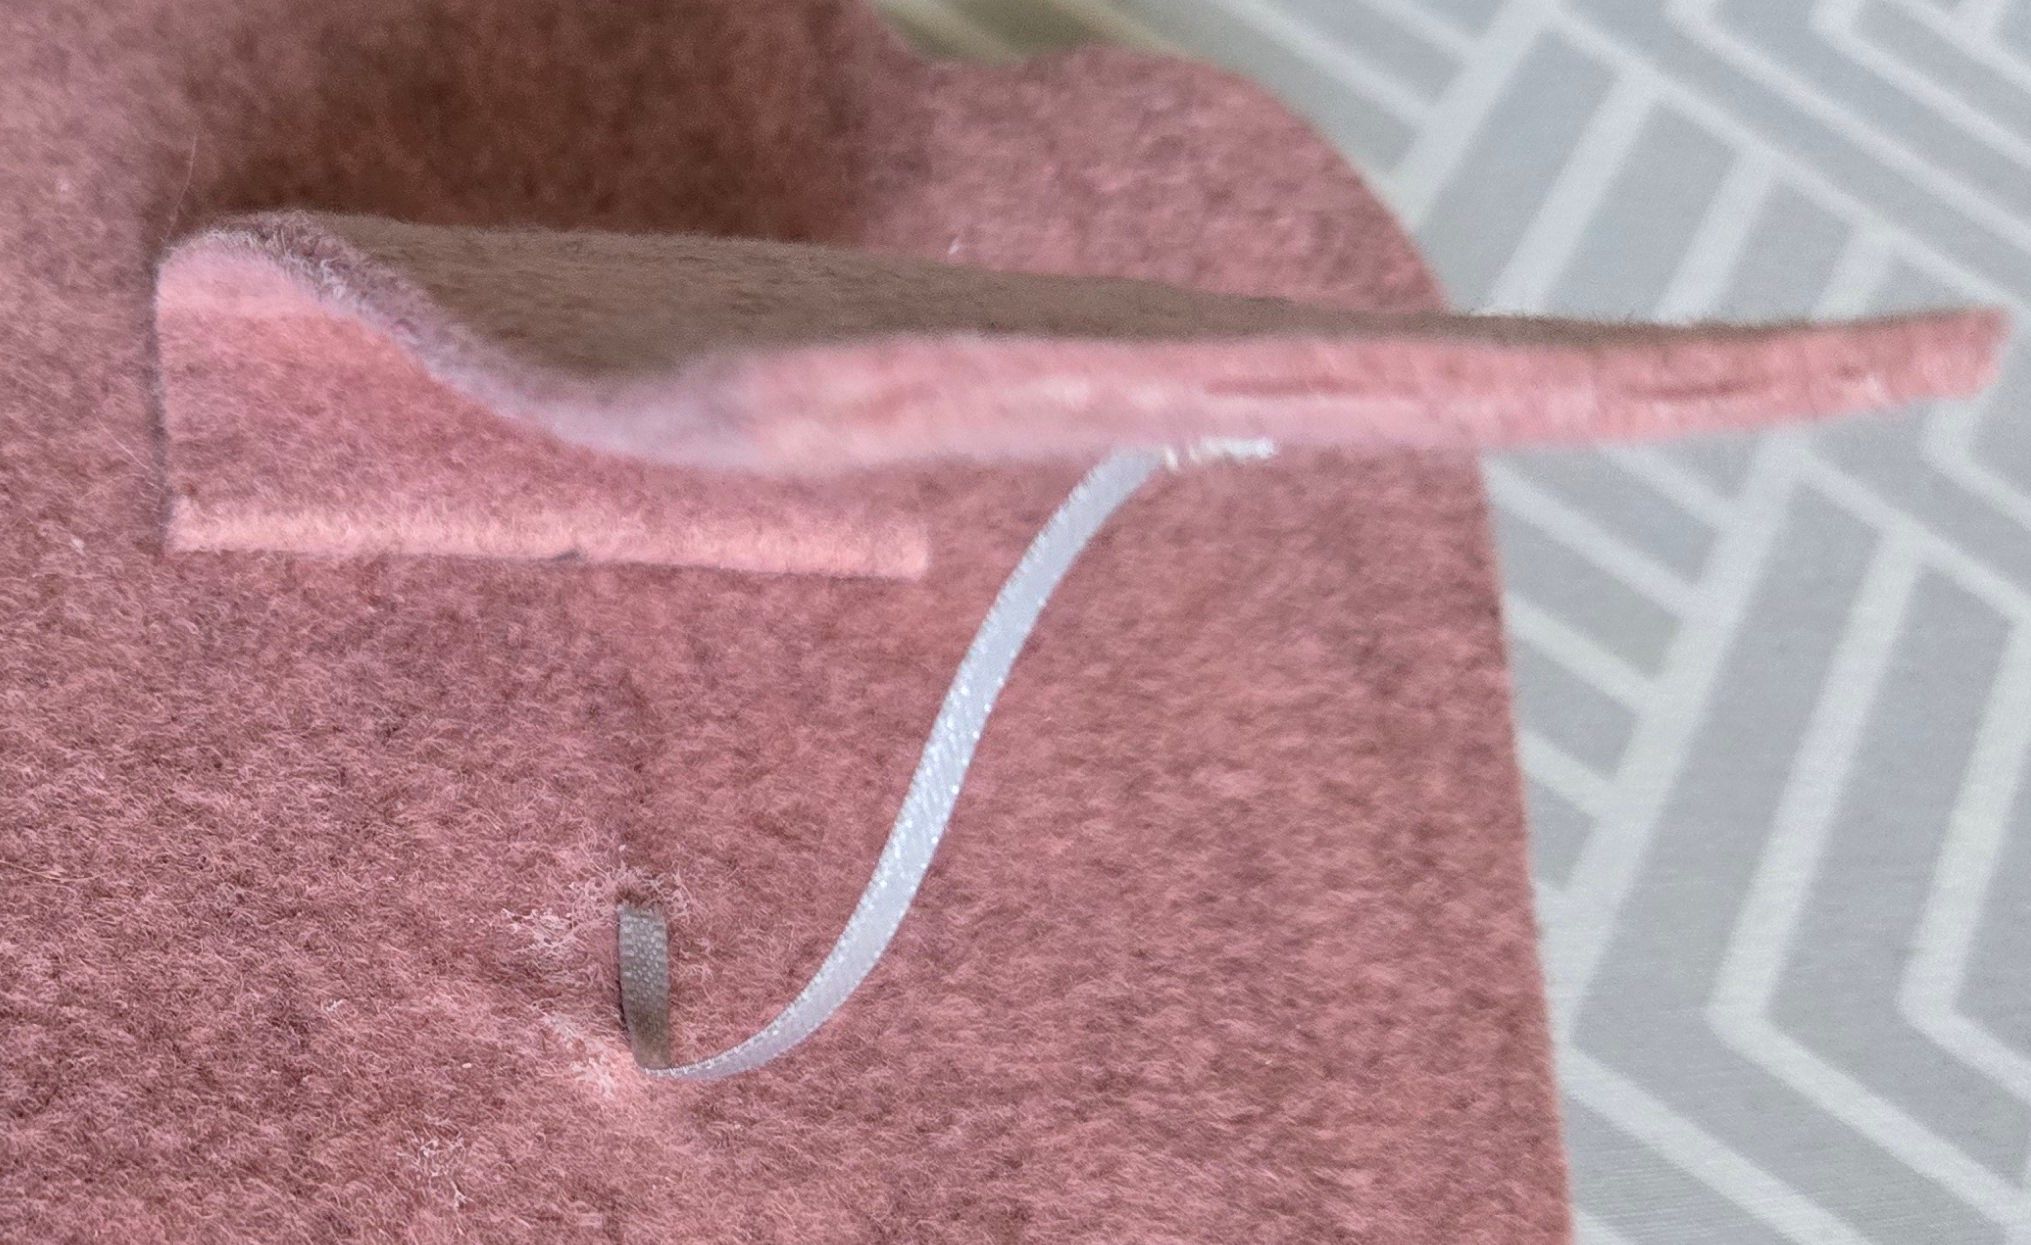
4. Glue the folded end of the stabilizer to the body at 2 inches below the top 'neck'. Ensure it is square to the bottom edge of the body.
5. To keep the stabilizer from sliding away, a narrow piece of ribbon was stitched in to hold it in place. The display can then be folded flat for storage. HINT: Stitch the ribbon to the body first and then the stabilizer. It was not easy to get fingers and needle in between. The prototype ribbon had to be glued. Sigh.
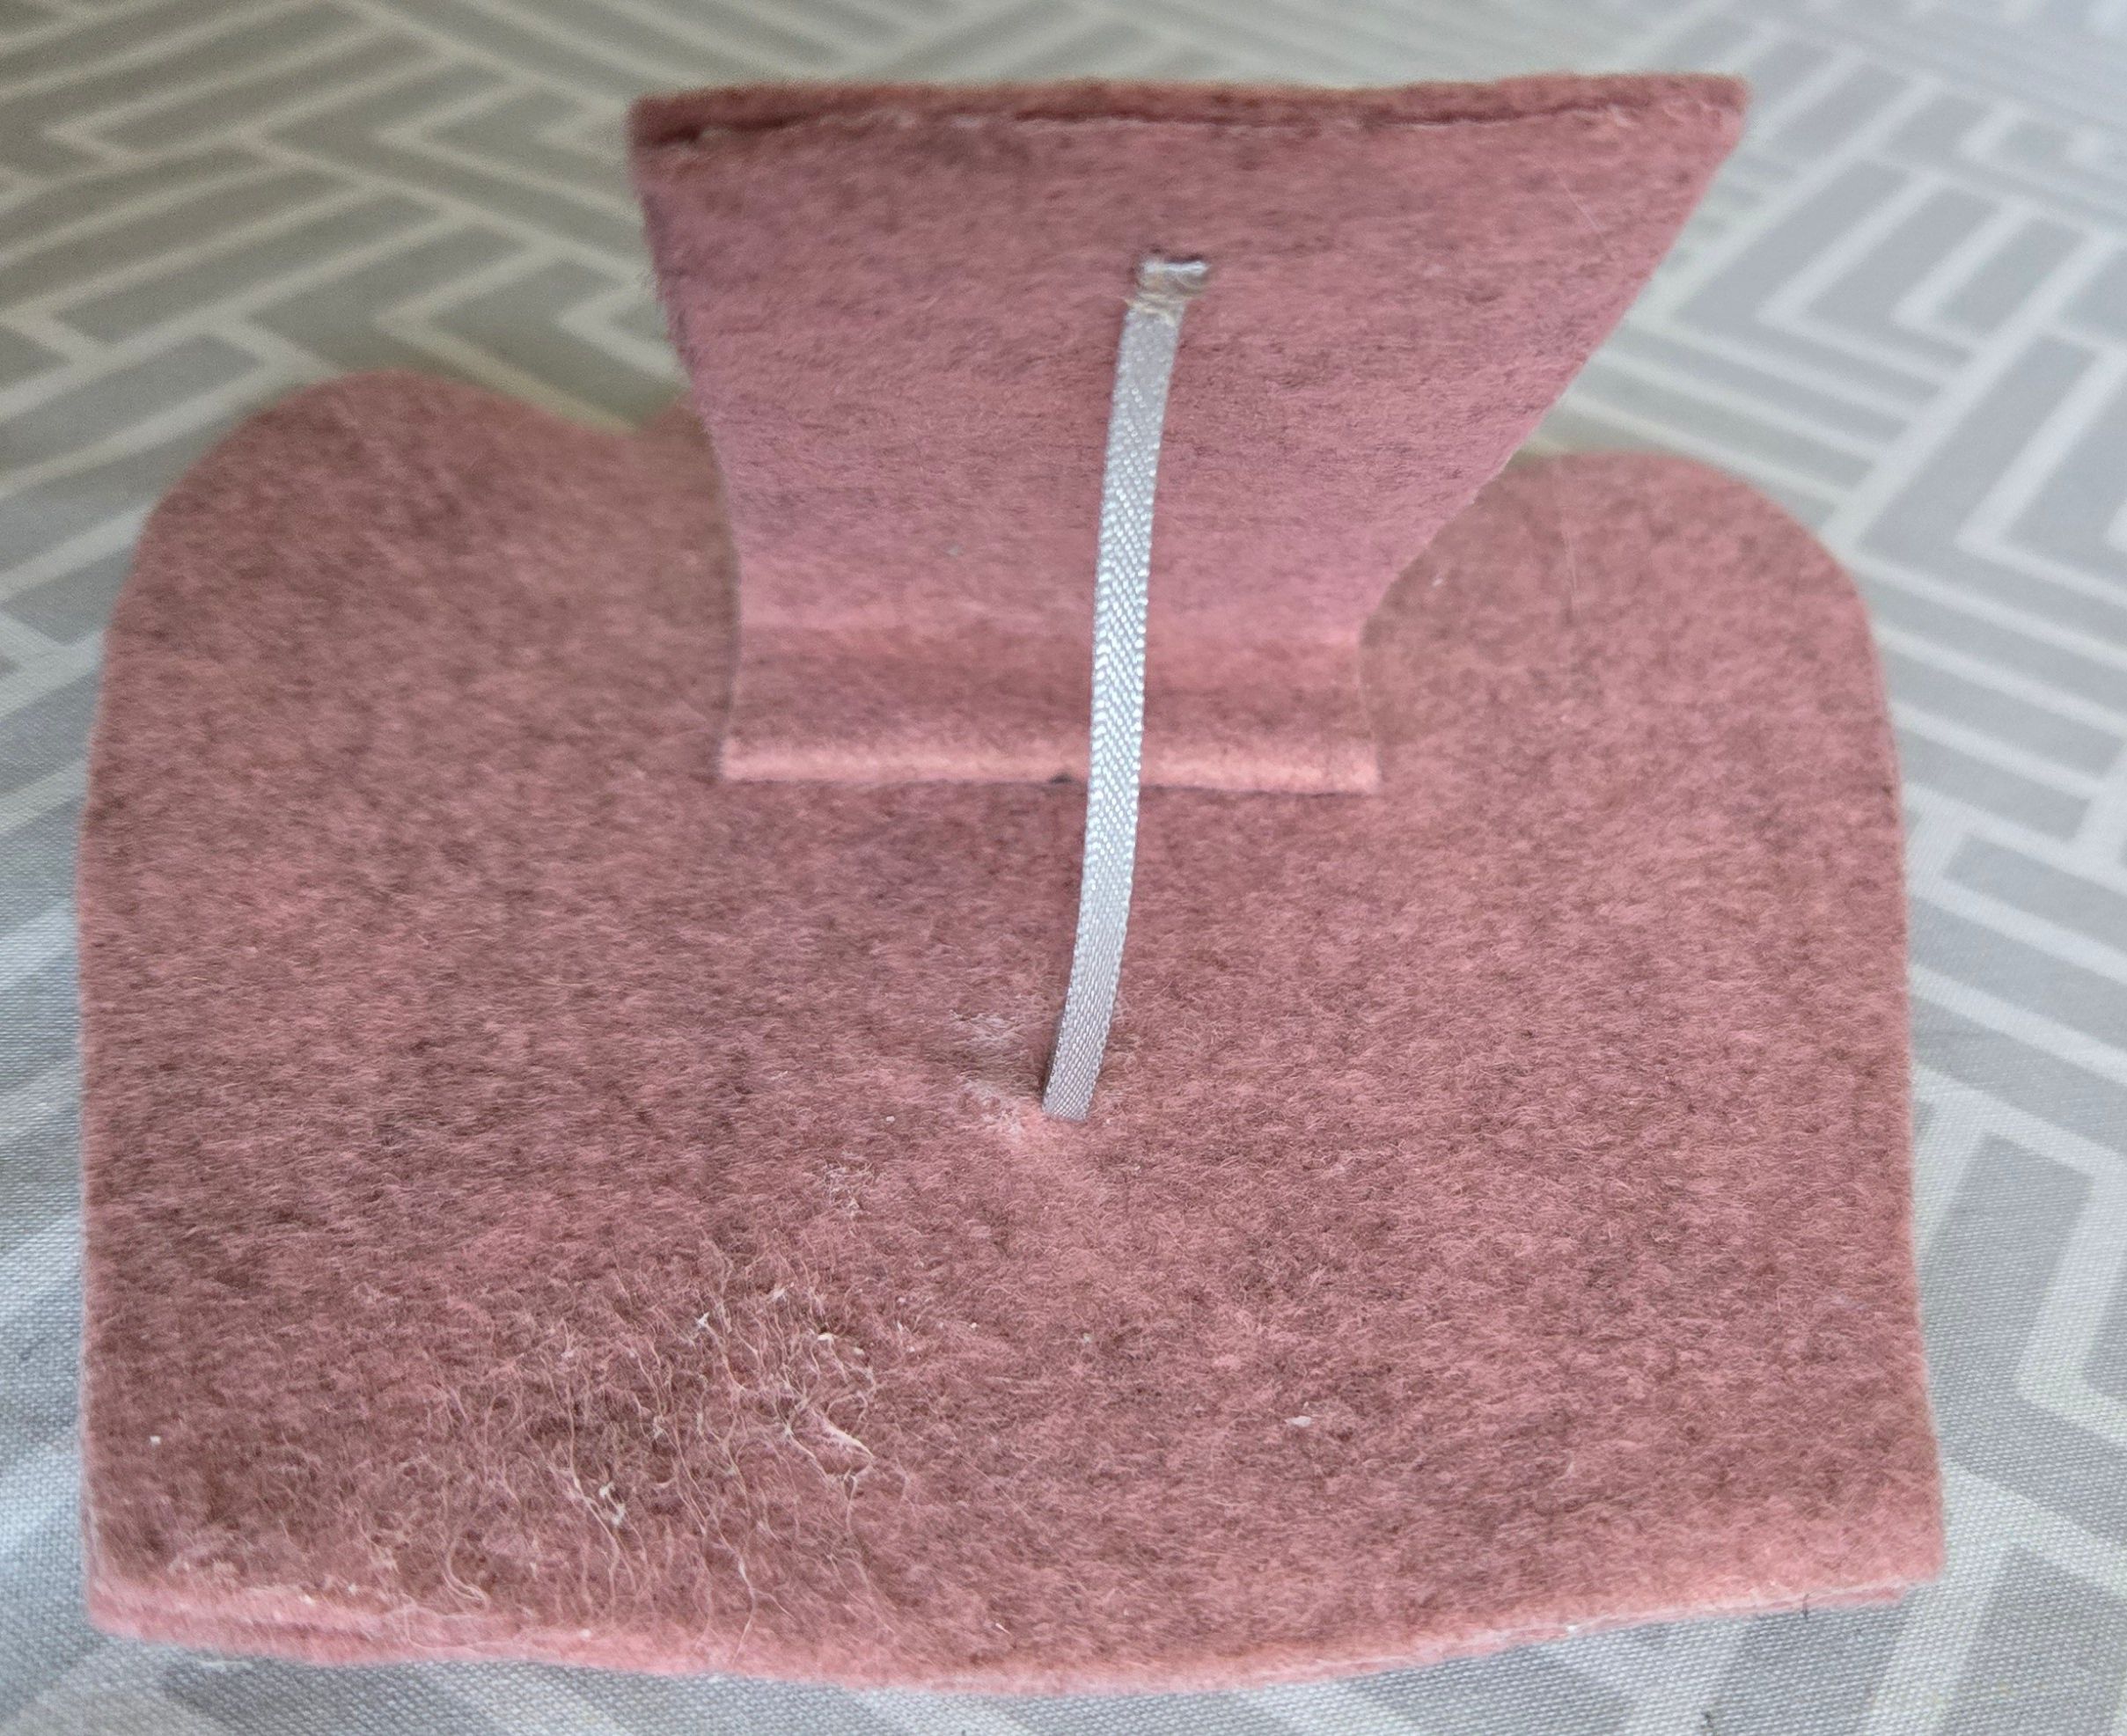
The completed stands work well. They do not tip over and can cope with the weight of jewelry. Lessons were learned and will surely be applied again. The shop is happy to show off their finished projects.
But, just when they thought the job was done for now, the Housemaid showed up with an empty dish washing liquid bottle. It has possibilities, but no one can come up with a decorative way to disguise the bottle. The deodorant lid does work as the 'neck'. Colourful aquarium gravel was proposed for filler. The buyer remains sceptical about both ideas and promises something creative from her next thrift trip.
Let's see what she comes up with. Suggestions are always welcome. Bonne Chance.