Miniature Madness
Last post the shop had created chatelaines for the ladies. Luckily the shop bins contained lots of jewelry findings, beads, ribbons and the like. All that was needed was ingenuity and a willingness to experiment. This post will cover some of the more successful experiments.
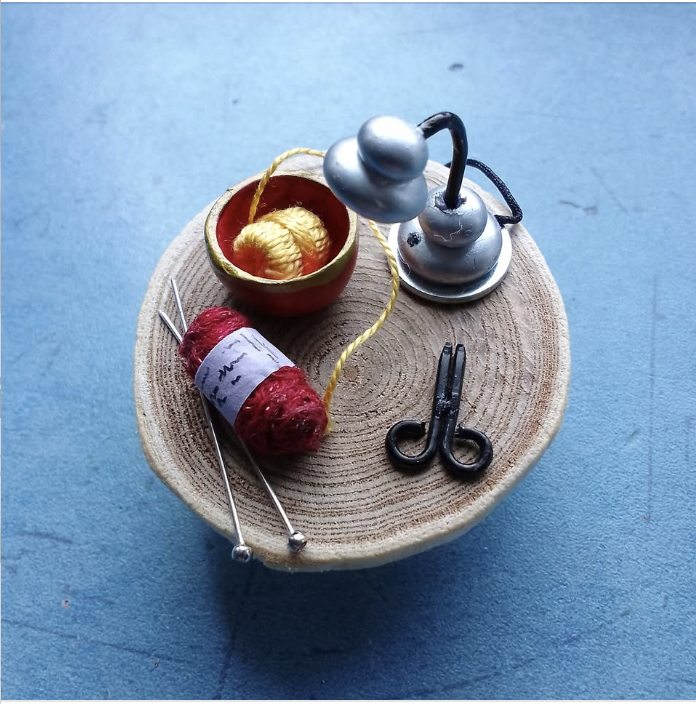
Pin ball or pin cushion:
A fine tutorial on how to make a full sized pin cushion was available on https://www.instructables.com/18th-Century-Pin-Ball/ It is highly recommended and we hope you will visit for their splendid instructions. We started with Charlotte's, since she is a bit larger, and the work is fiddly. There are pics of her in the Gallery holding this useful sewing tool. Here is the sample we followed for our miniature version.
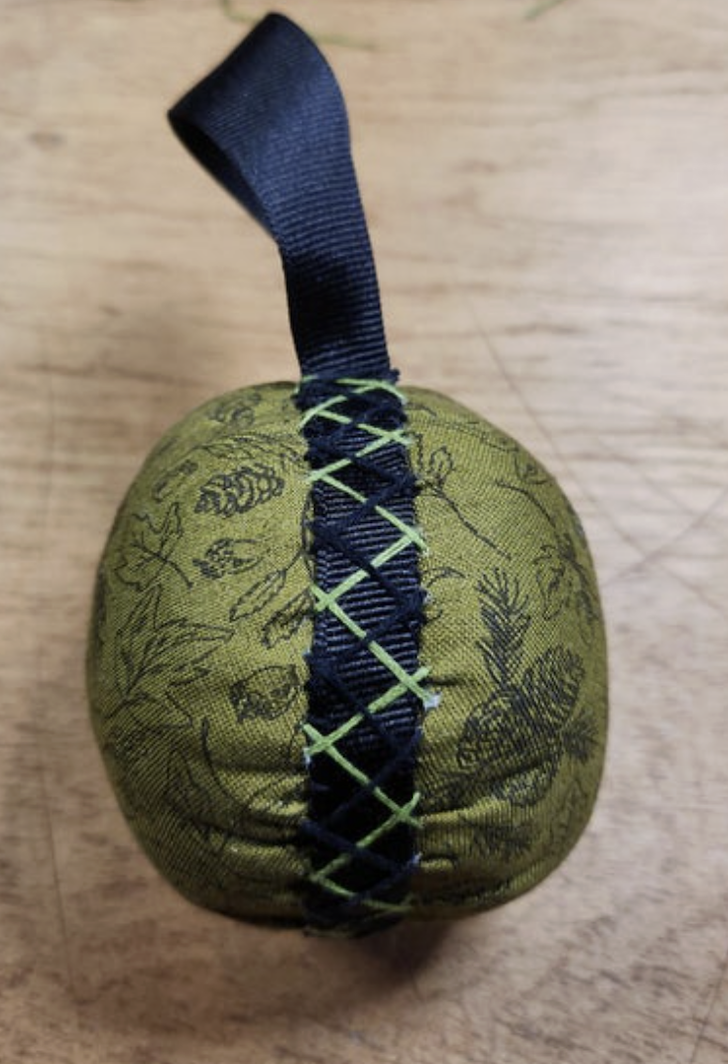
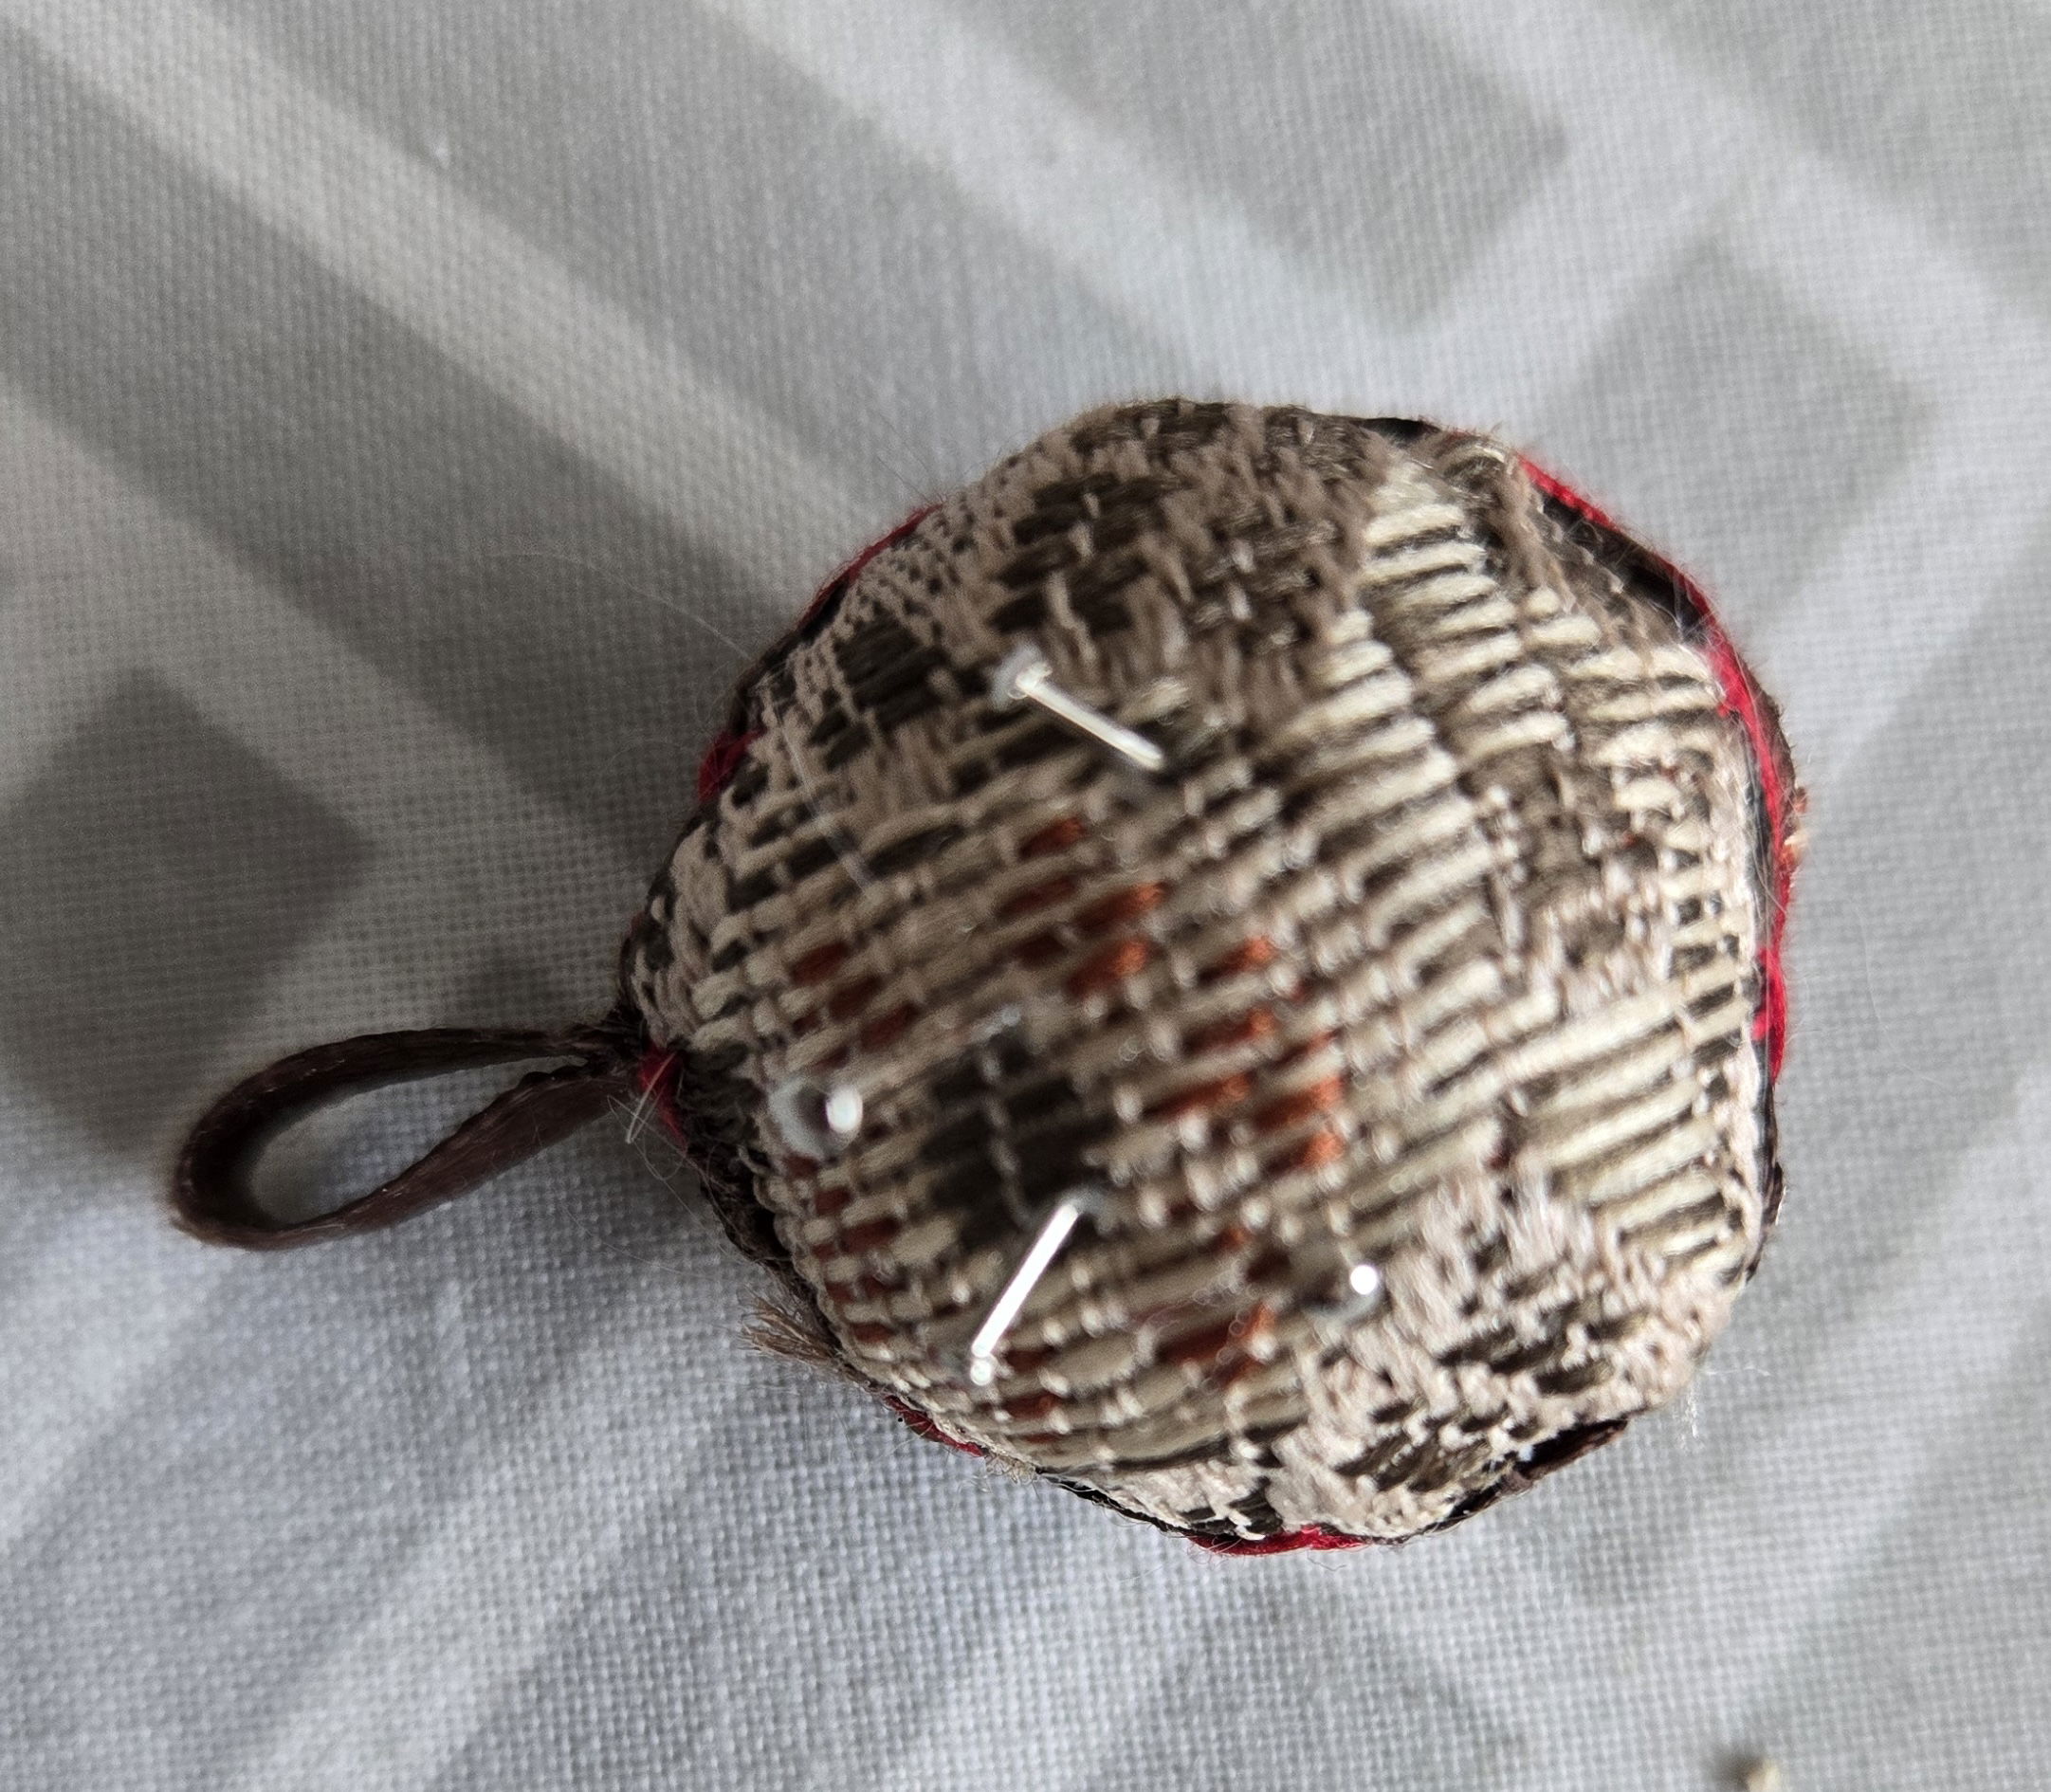
And here is the final project. We used some bits from a tapestry runner and thrifted ribbon. It was fun stitching the herring bone decoration. Not sure though, that we want to try making even smaller pin cushions.
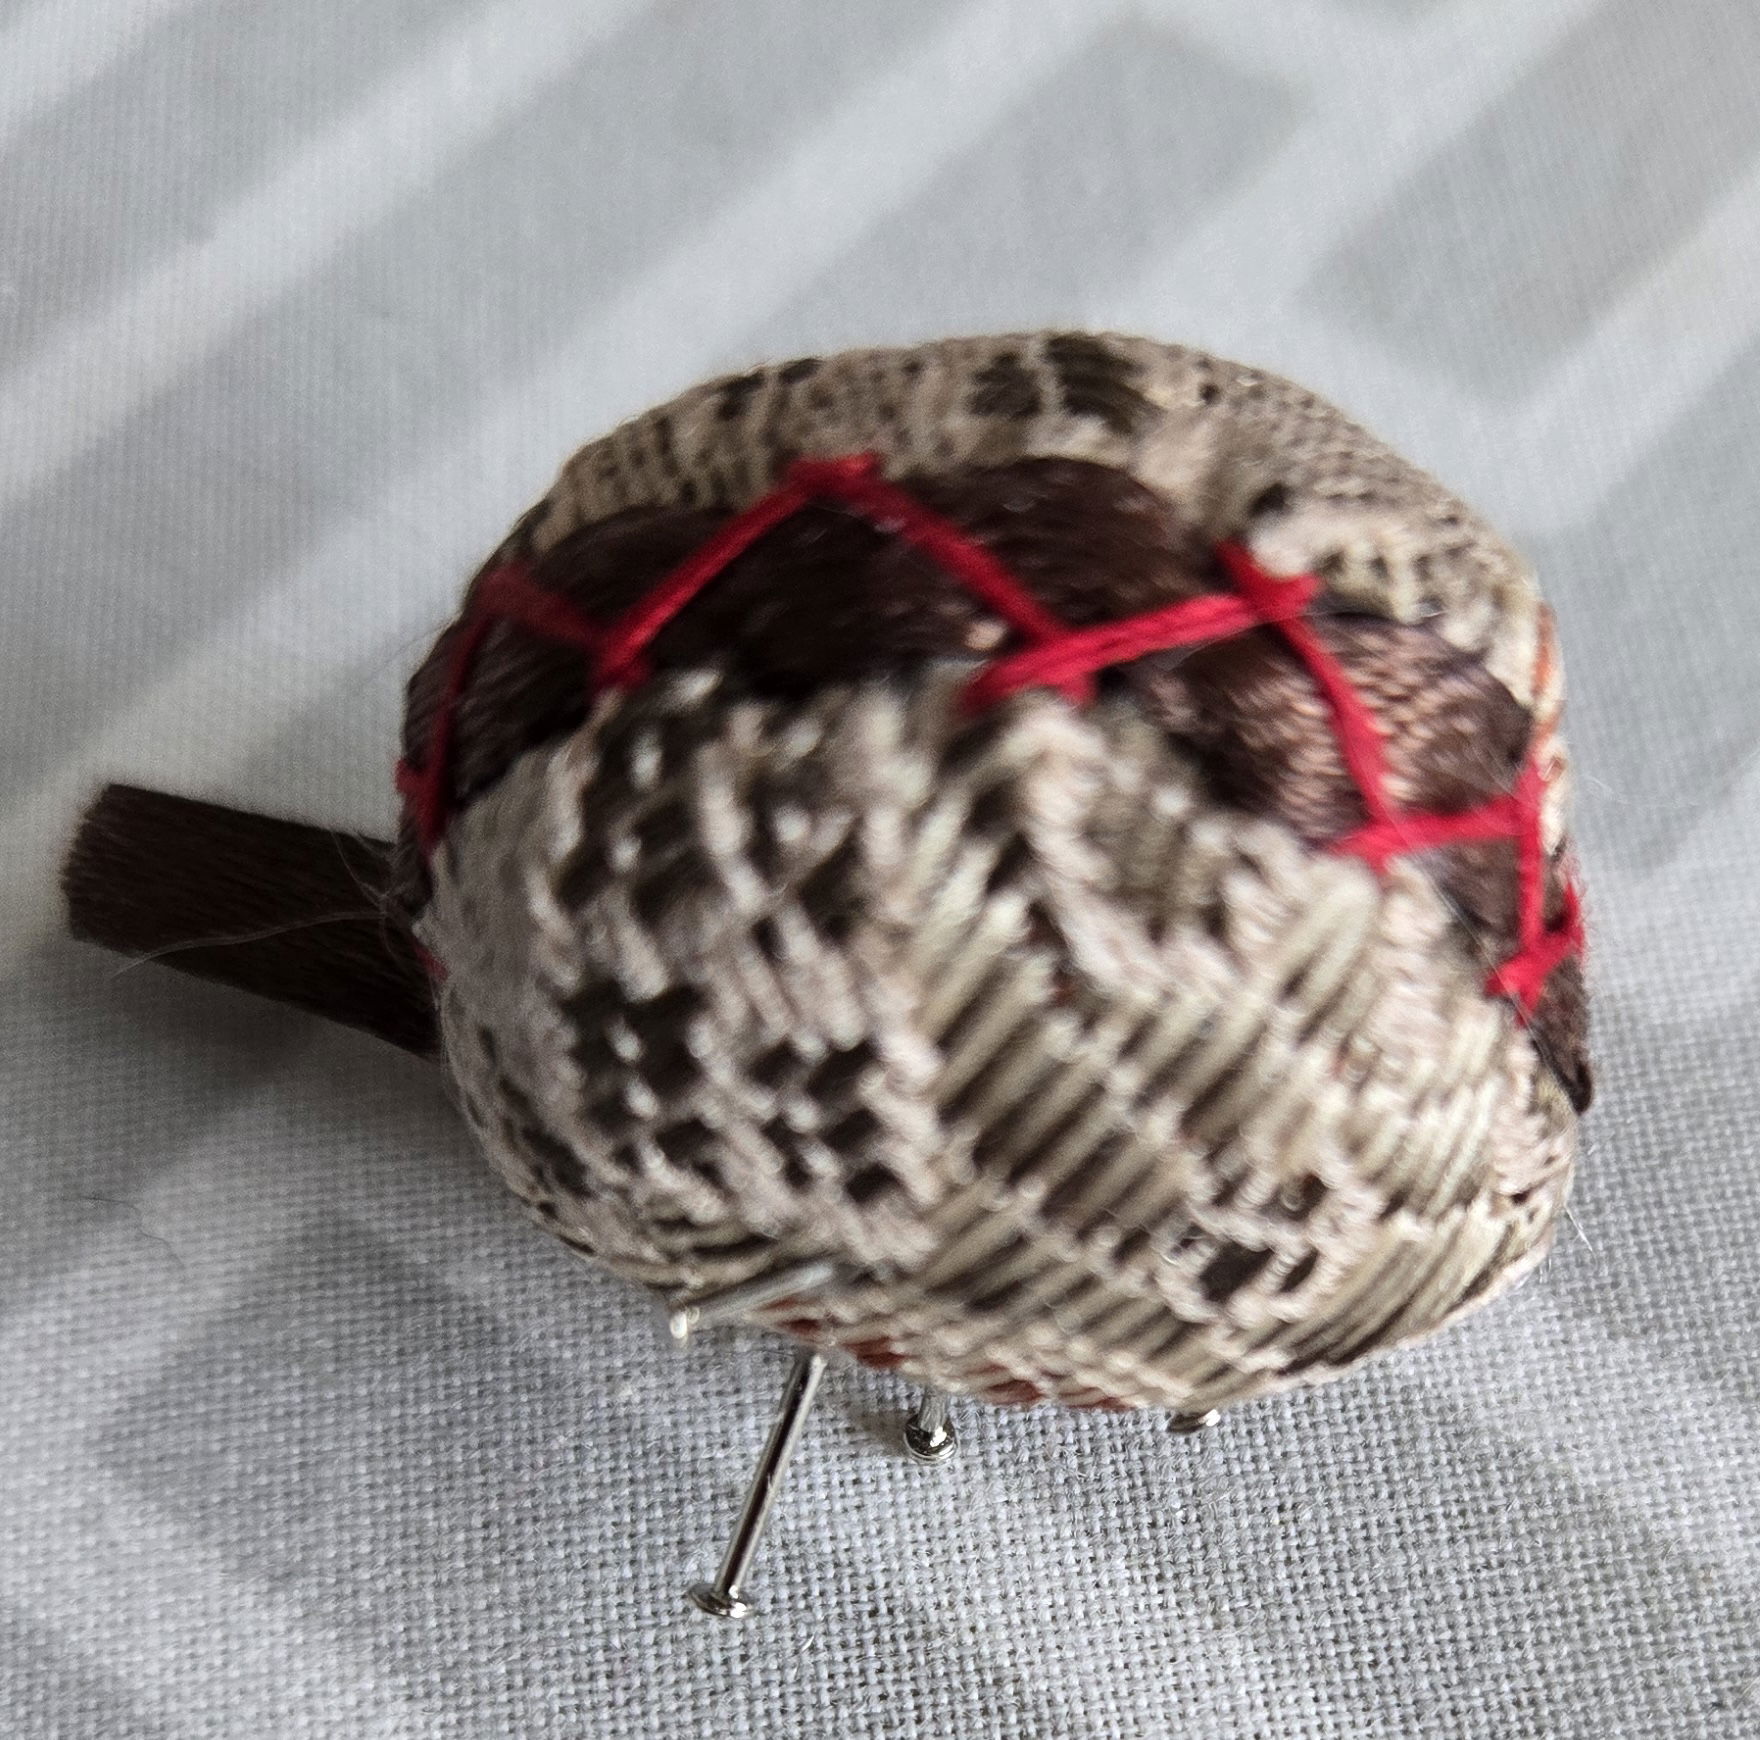
Sequin pins were used for authenticity and held in place with a spot of glue.
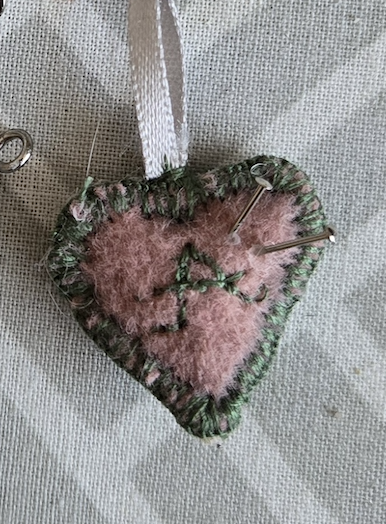
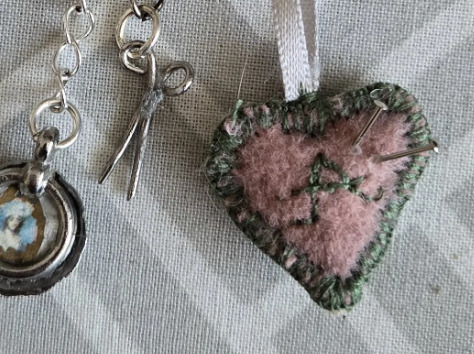
Arabella received her own pin ball. The intial 'A' is embroidered on one side of the heart, just in case it gets lost. It is made from felt, pink on one side and green on the other, with a bit of stuffing between. The edges are held together by a continuous buttonhole stitch. A ribbon loop was stitched at the top so it can be attached to the chatelaine. It could be enclosed if the stitcher plans ahead!
No other pin balls are on the agenda at the moment. But the Designer is researching 'housewifes' or needle books.
Scissors:
Many chatelaines store a pair of scissors. And if you have a pin ball, they were certainly on hand too. The attempt to scale and print scissors on cardstock did not fully satisfy the Designer, even if coloured with metallic Sharpie.
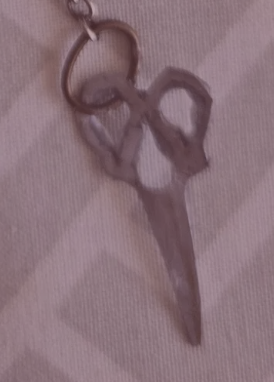
Internet sources feature a number of ways to make mini scissors. We settled on using sewing hooks we had available.
Check out this Facebook post for instructions: https://www.facebook.com/groups/1675907215955924/posts/3952640488282574/
Here is our version of the scissors. They are very small and fiddly to work on. The glue posed the usual difficulties. They belong to Arabella now. We will be trying other methods soon.
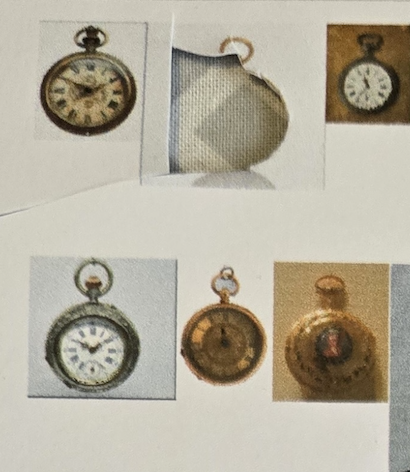
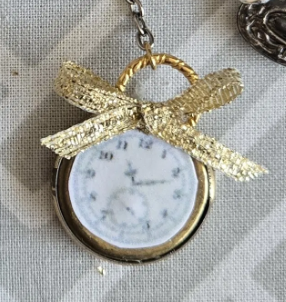
Pocket watches:
Using scaled watch faces printed on cardstock was a very successful technique. Like all the other miniatures it required patience, careful cutting out, tweezers, and as little fast drying glue as possible.
Some lovely decorative buttons were chosen for the watch casings along with matching jump rings. We worked on the wrong side of the button, which necessitated the removal of the button shank.
It takes some real muscle to snip off a metal shank. Plastic is certainly easier, but could also break the button. Both need to have the nubs remaining filed flat.
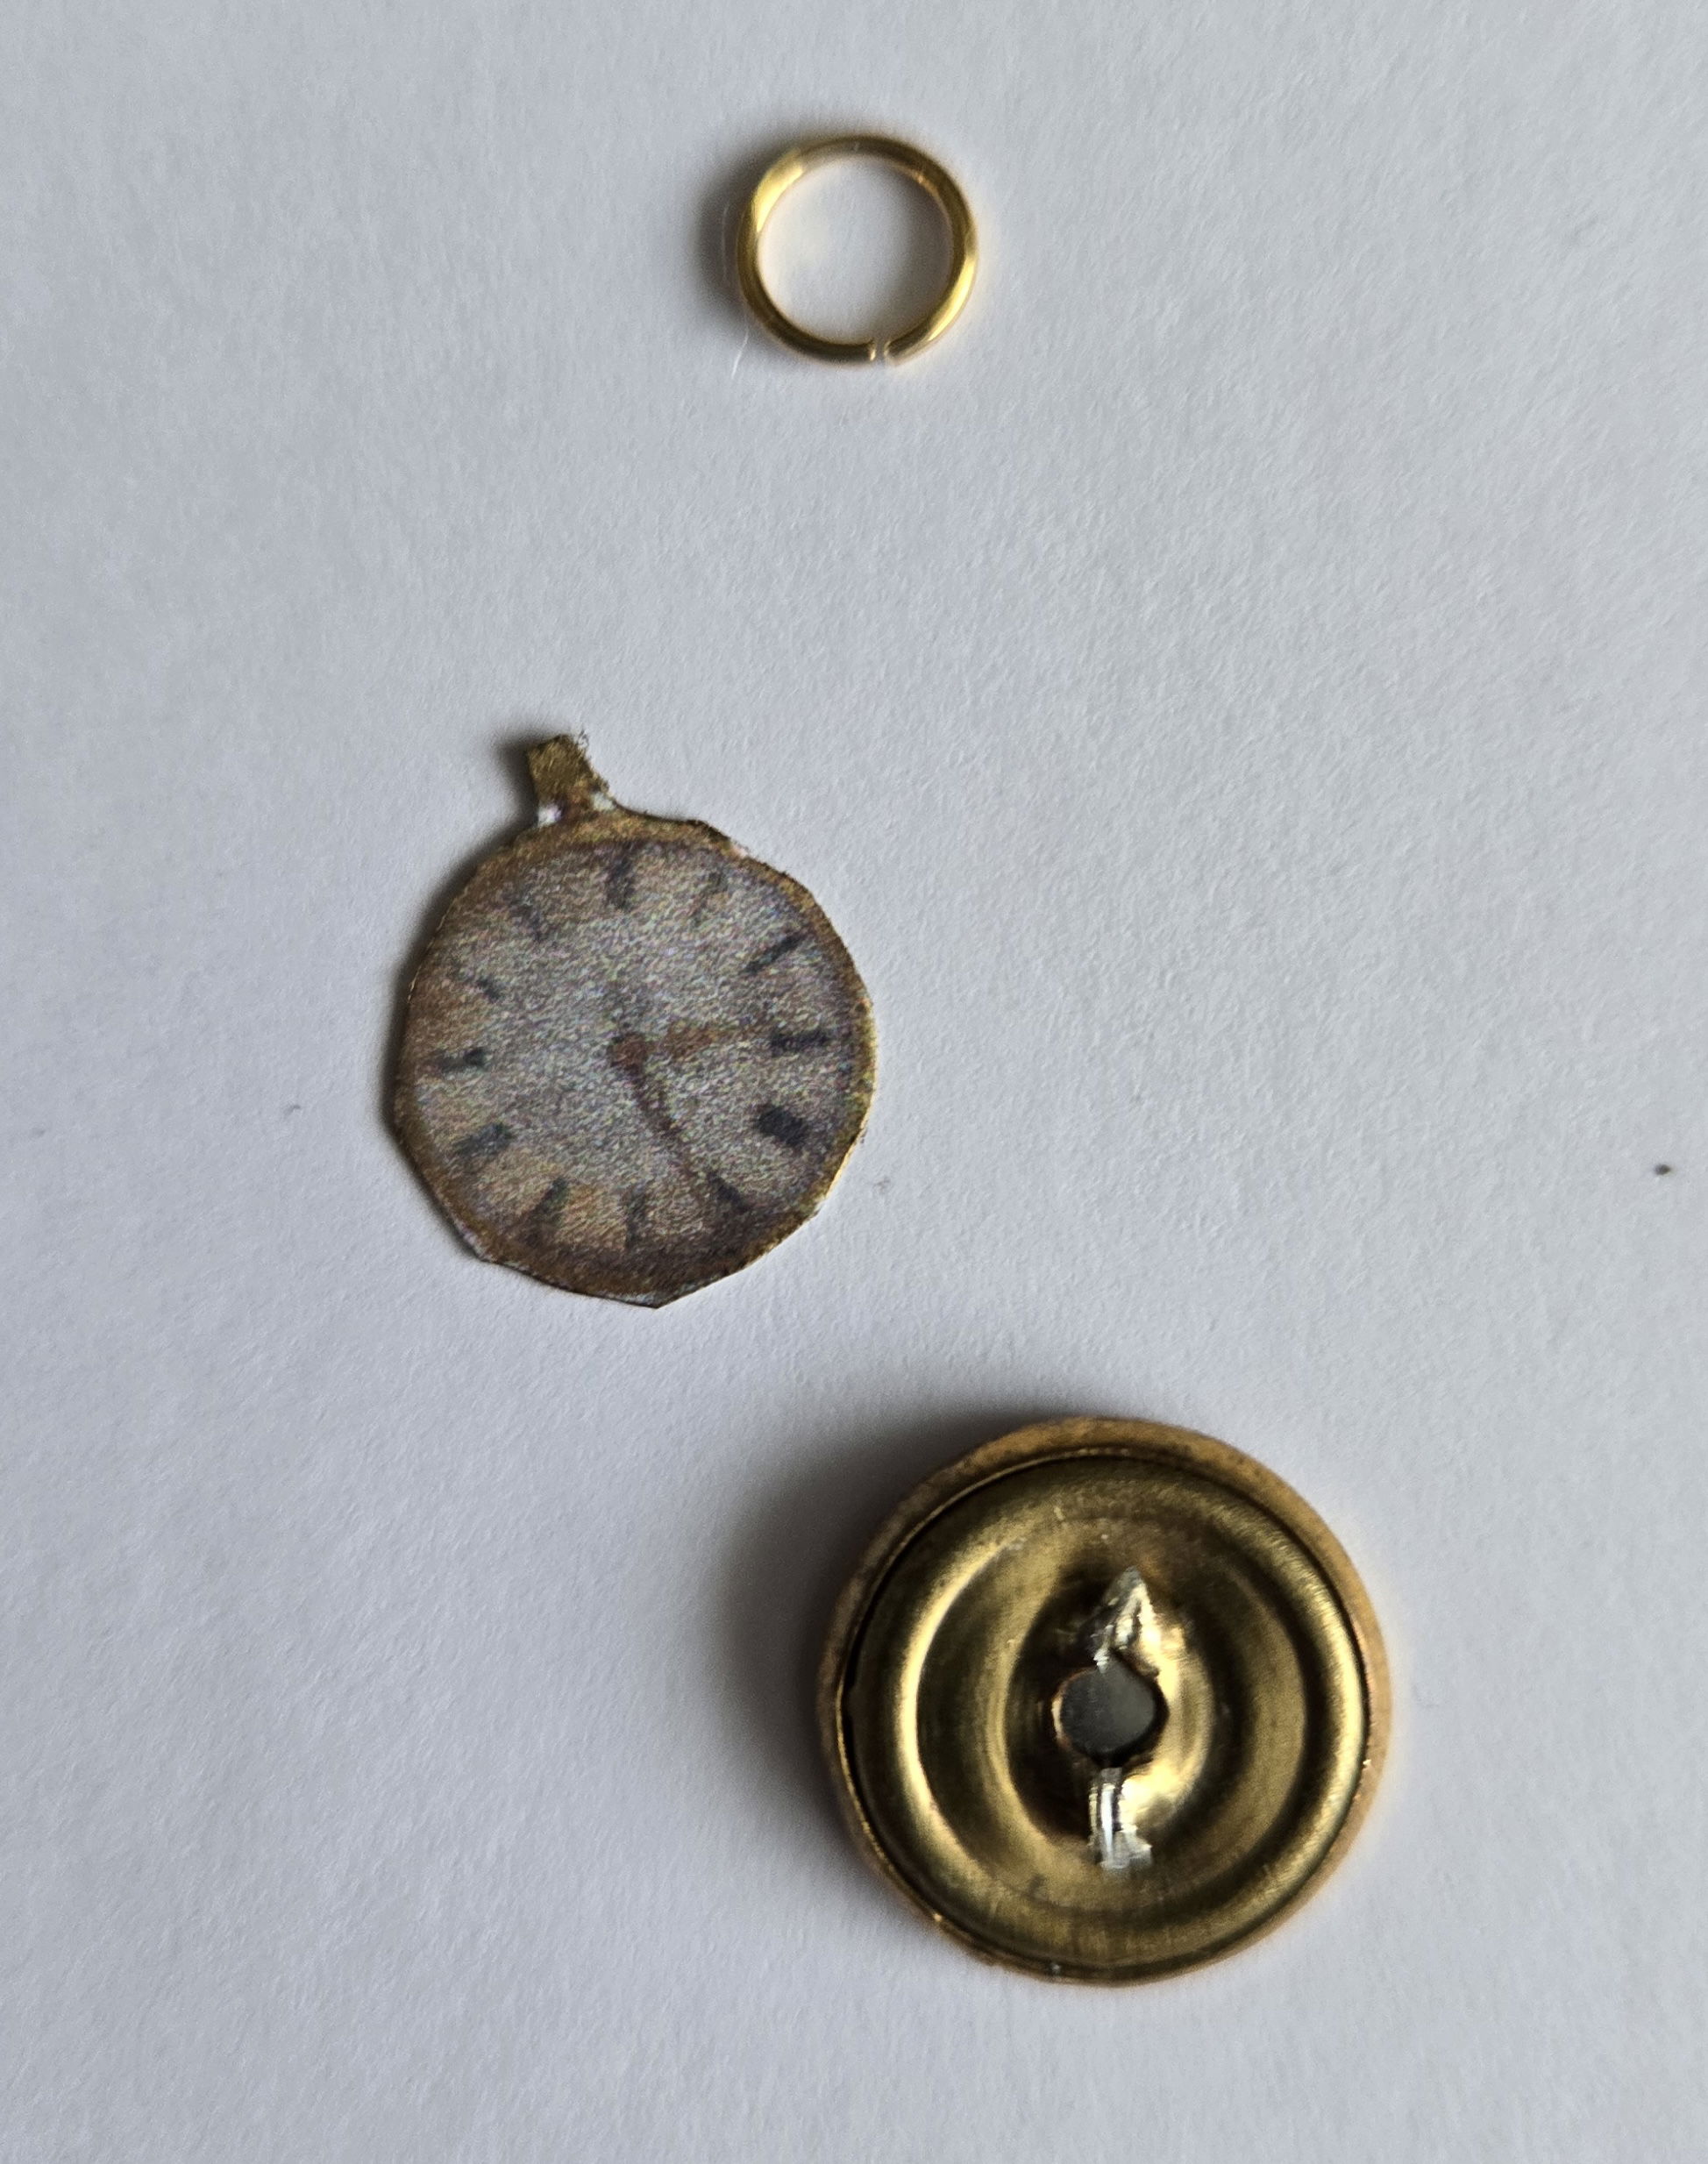
Ensure that your watch face covers the button in a pleasing way before proceeding. Check if there is a definite up or down on the decorative side.
First the jump ring needs to be glued to the button back, above the filed shank nubs, or according to the decoration on the 'casing'. Another button was used to keep the ring in place while drying. Make sure the jump ring opening is big enough to allow attachment to a fob or chain.
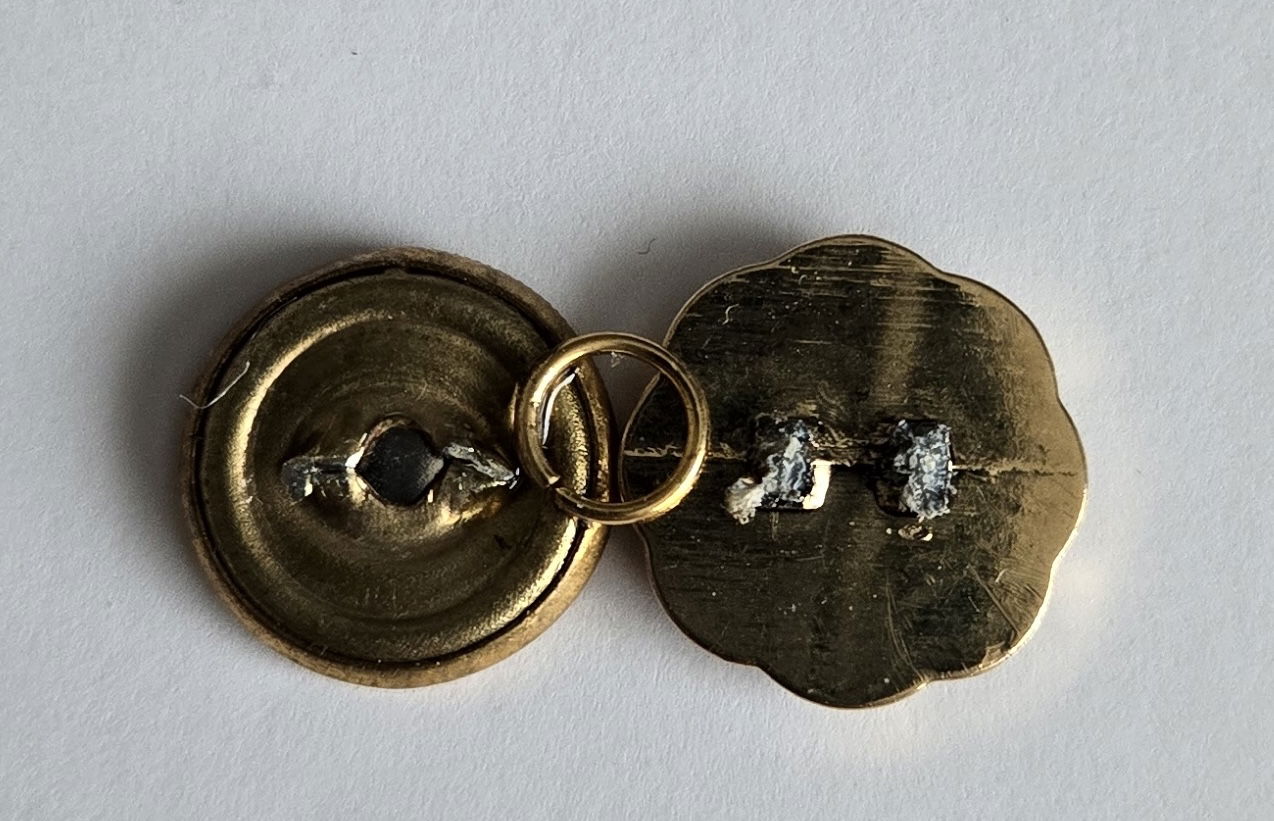
Once that is dried for good, the watch face is glued over the missing shank and the bottom of the loop. Tweezers help with moving the face into place. The winder is visible inside the loop and a touch up with metallic marker should be used on the reverse side. The decorative side of the button now looks like the watch case.
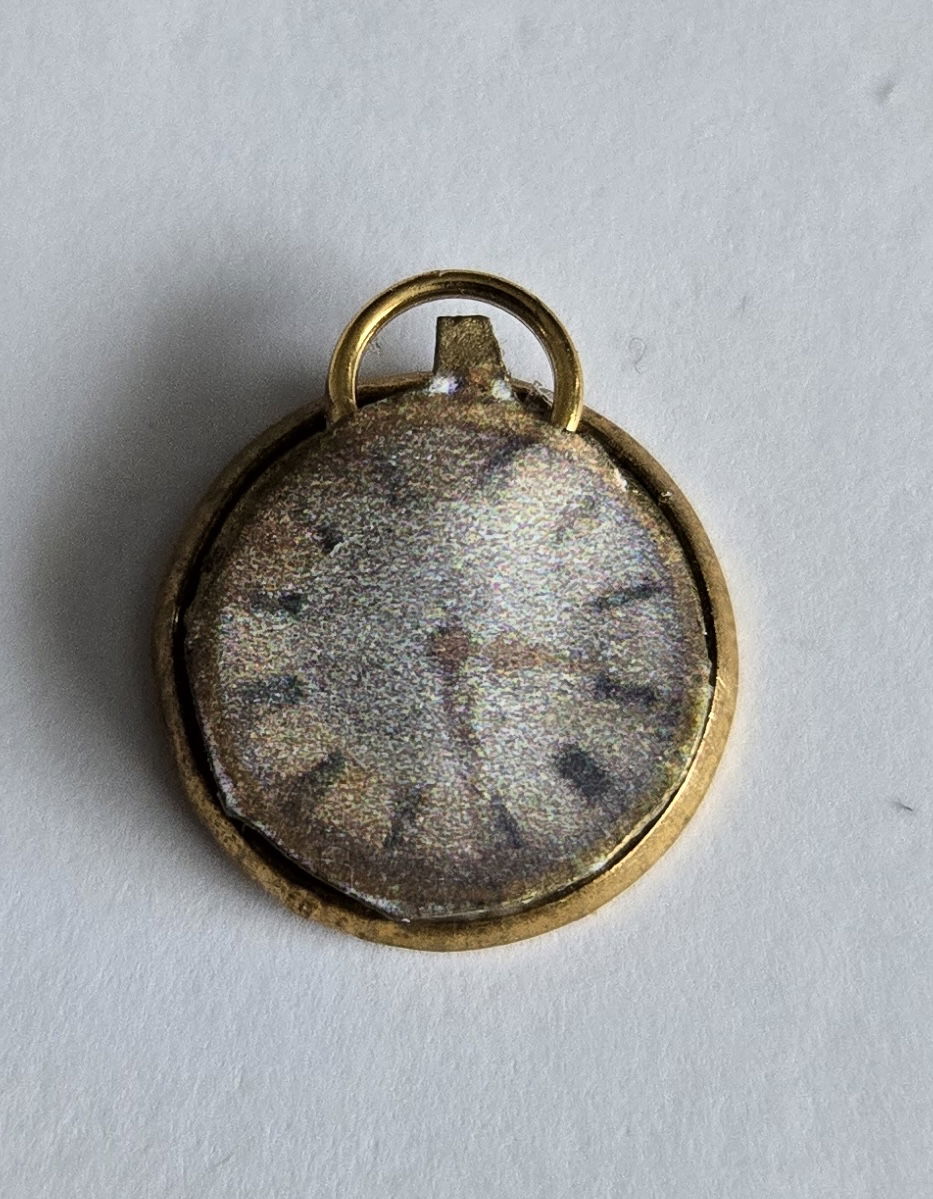
A tap or two of metallic Sharpie can touch up the circumference of the face too.
The final step is to 'varnish' the face using clear nail polish. The shops polish was a bit on the yellow side, but after three coats, it did the job.
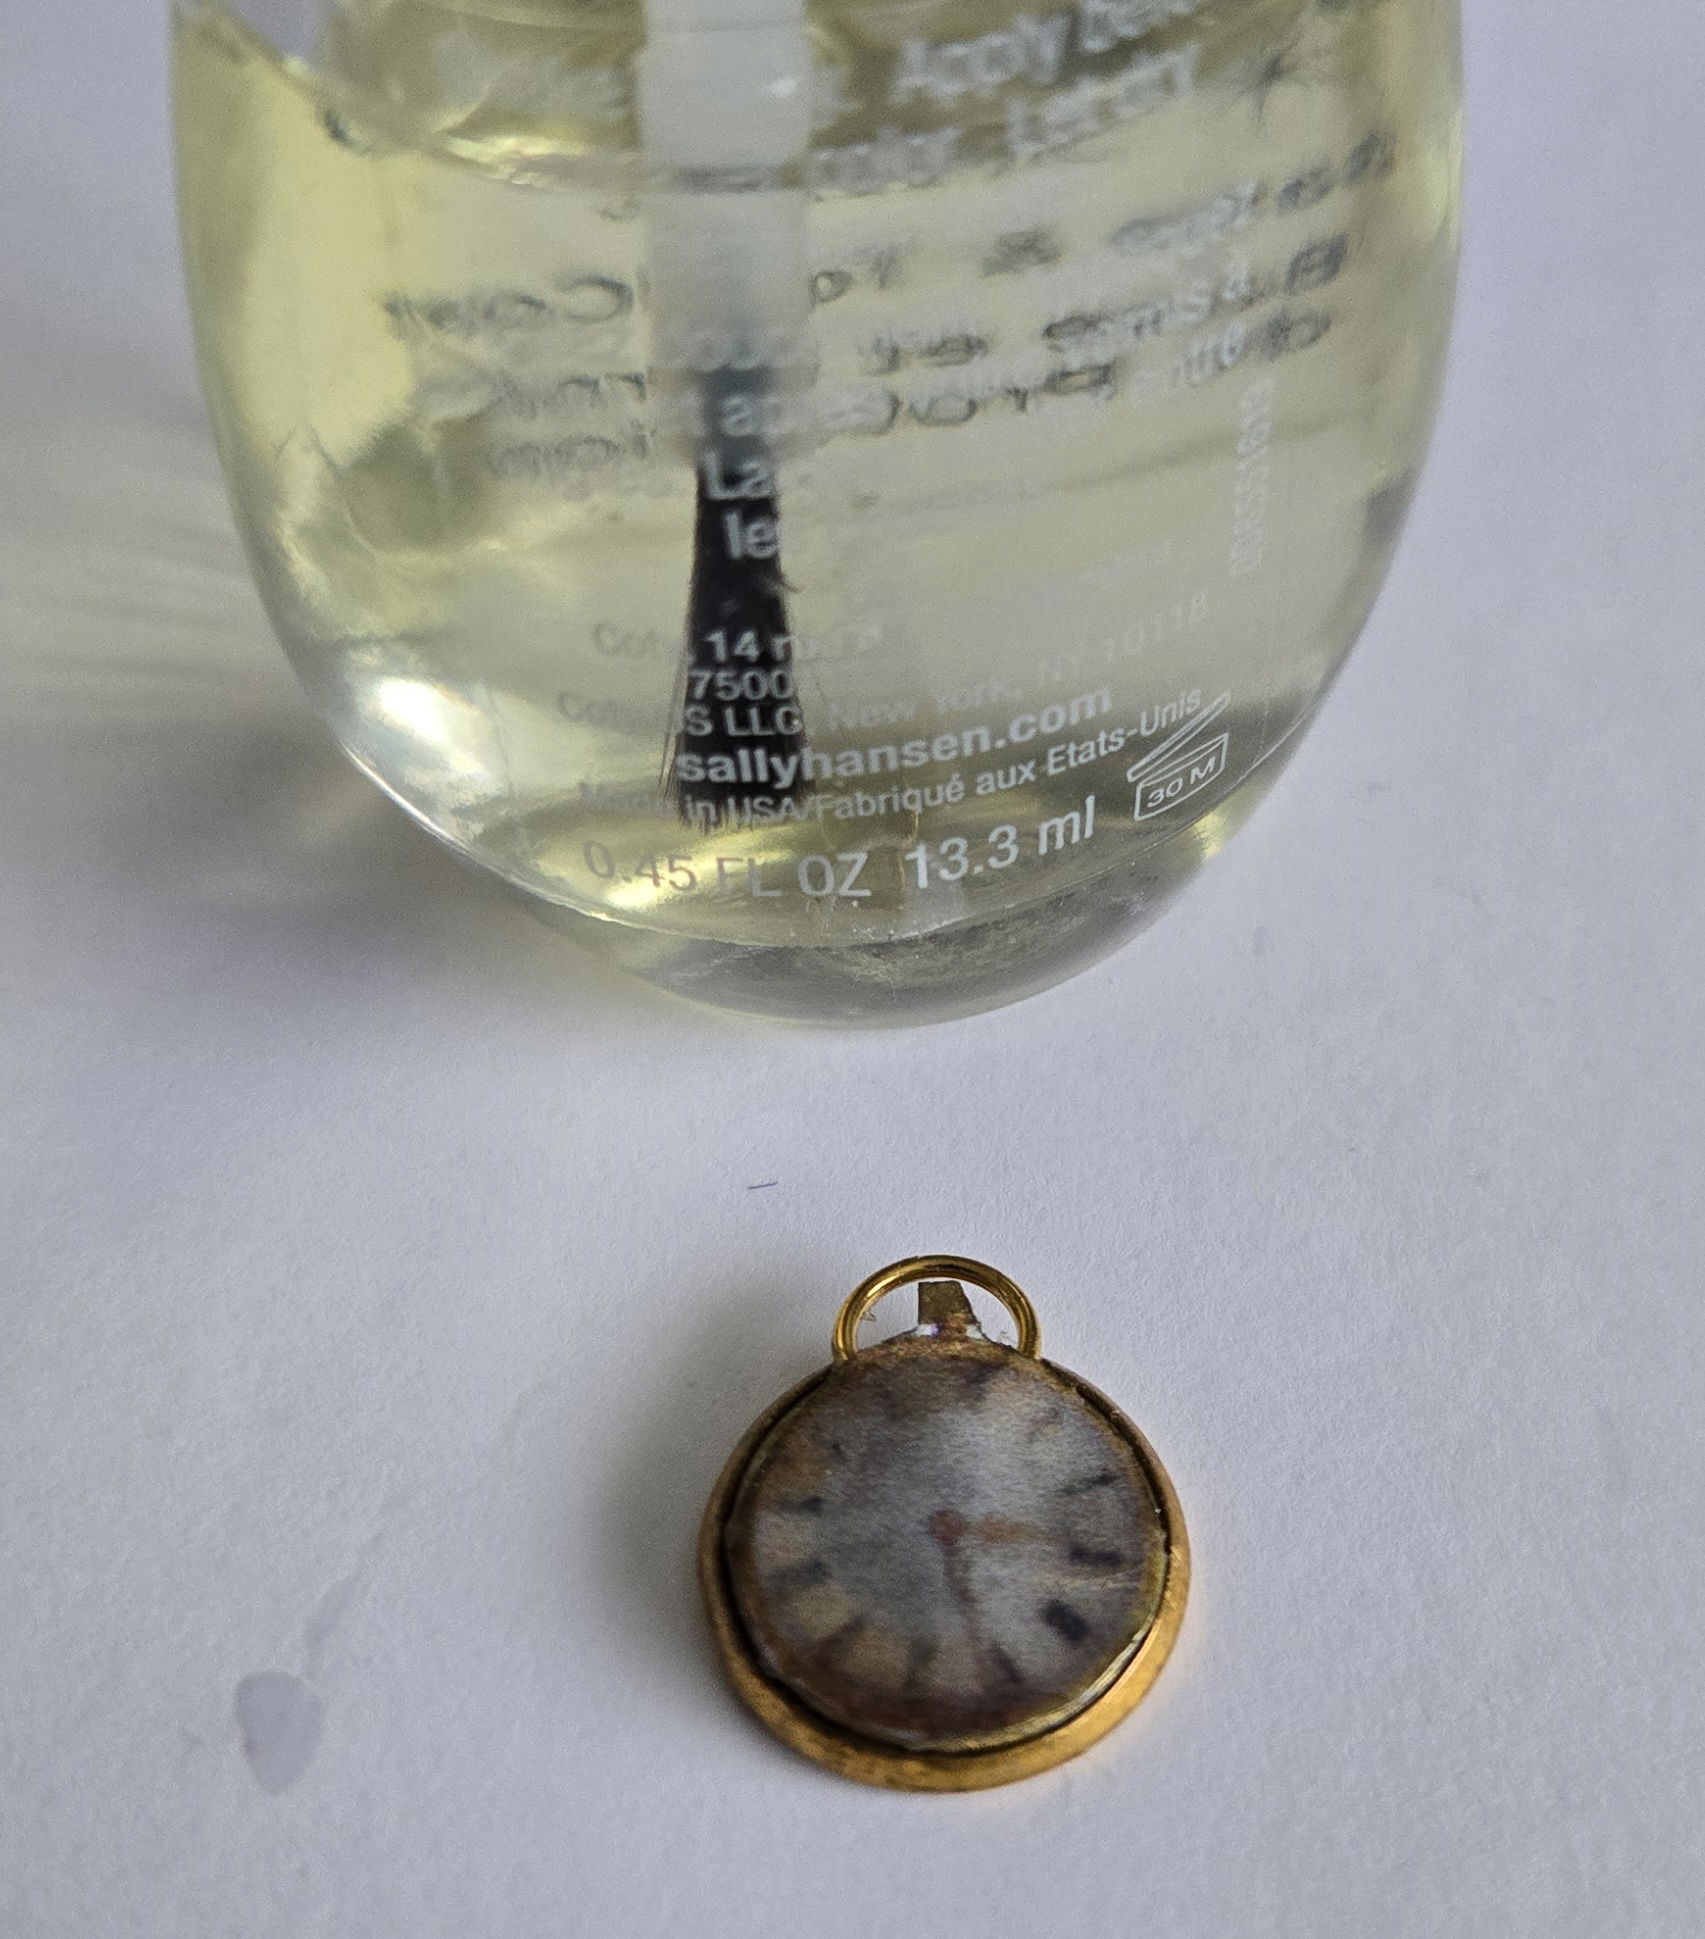
HINT: The cardstock will absorb moisture, so go easy with the glue and wait for the nail polish to dry between light coats.
The lump caused by the missing button shank actually gives the watches a bit of a rounded dome. A lucky surprise.
All the ladies received a watch to hang on their chatelaine.
A watch was set aside for Armand, of course.
Our next blog post will cover how other minatures were created for the chatelaines as well as the watch fobs required by every fashionable gentleman.
Let us know if you try any of these methods. We are always looking for ways to improve. Your comments and support is appreciated.
Time to run!